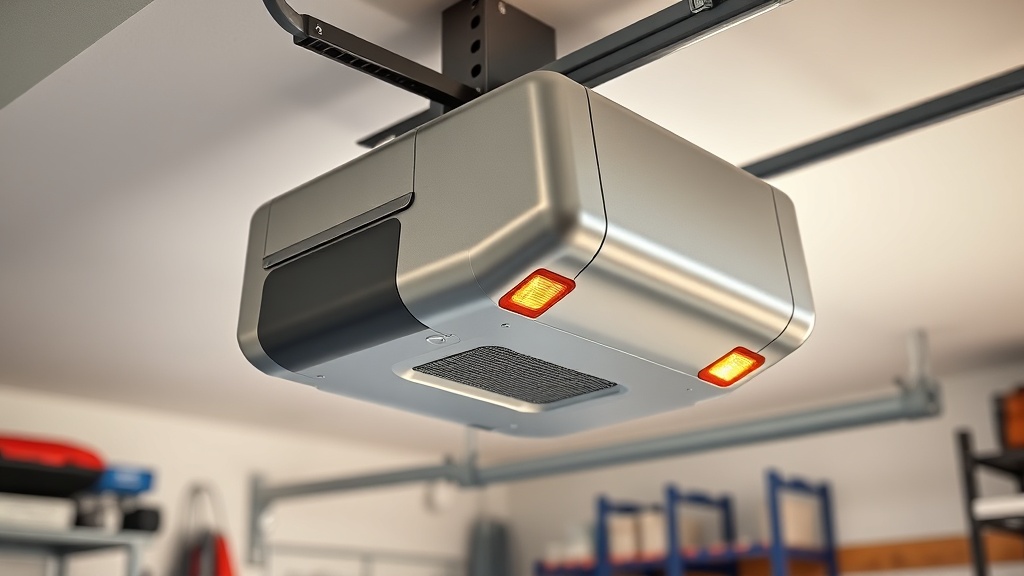
Why Is My Chamberlain B1381 Garage Door Opener Showing a Limit Switch Error?
The Chamberlain B1381 is a popular heavy-duty belt-drive garage door opener known for its quiet operation and robust build. However, like any electromechanical system, it can develop faults over time. One of the most common issues owners encounter revolves around limit switch errors, which often manifest as blinking LED codes on the power head unit. When the opener refuses to close or open fully, or it reverses without reason, the limit switches—typically located on the motor assembly—are prime suspects. This guide walks through systematic testing of the limit switch assembly for the Chamberlain B1381, focusing on diagnosing error codes like code 1-4 or 4-3 that point to limit switch problems. Without proper testing, a simple limit switch fault can be mistaken for a more serious motor or logic board failure, leading to unnecessary part replacements costing hundreds of pounds.
How Do I Identify the Limit Switch Assembly on the Chamberlain B1381?
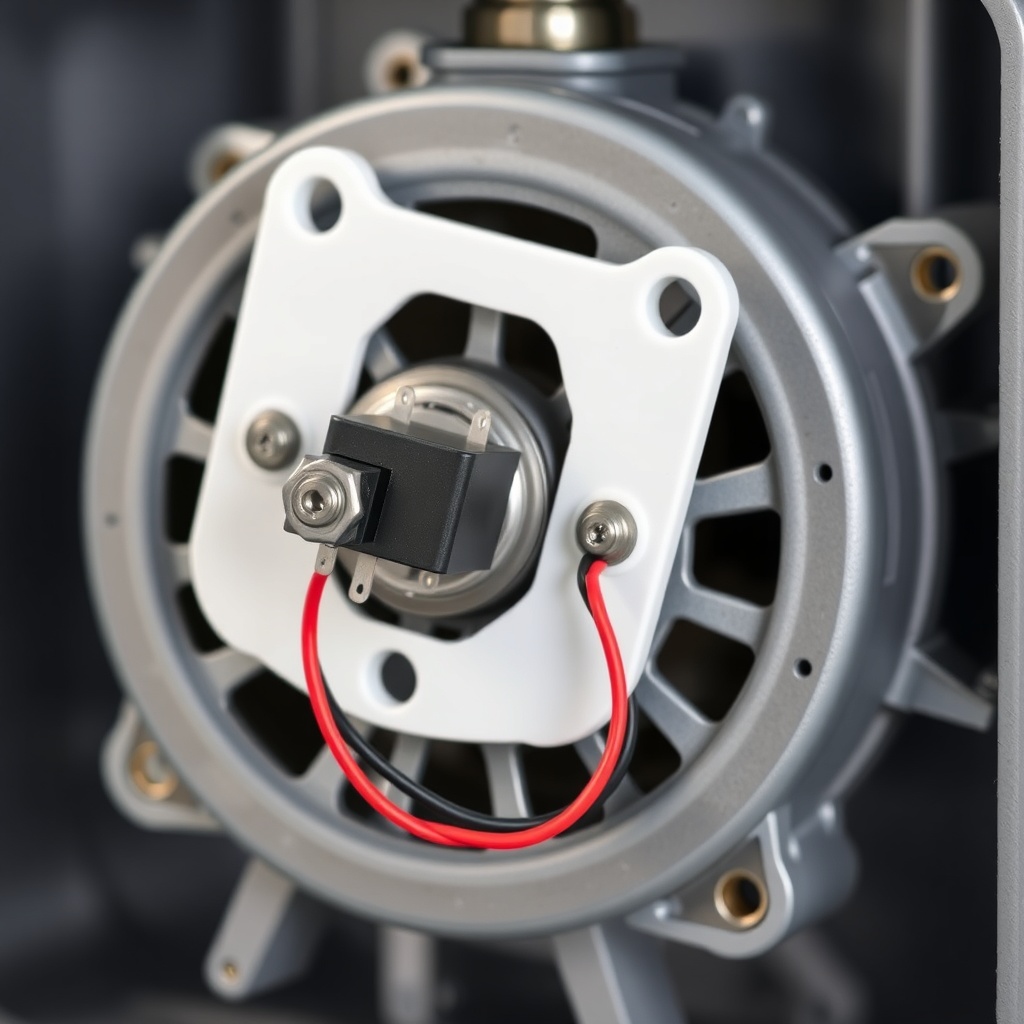
The Chamberlain B1381 uses two microswitches (usually SPDT snap-action switches) mounted on a plastic bracket near the motor shaft. These switches physically contact the traveling limit cam—a rotating disc with adjustable tabs. One switch controls the open limit, the other the close limit. To access them, you must remove the top cover. For a full walkthrough, see our Chamberlain B1381 Opener Cover Removal: DIY Step-by-Step Guide. Once the cover is off, locate the motor assembly at the centre of the unit. The limit switches are small, rectangular black boxes with three terminals each (common, normally open, normally closed). A white plastic actuator arm protrudes from each switch. The close limit switch is typically the one nearest the front (door side) of the opener.
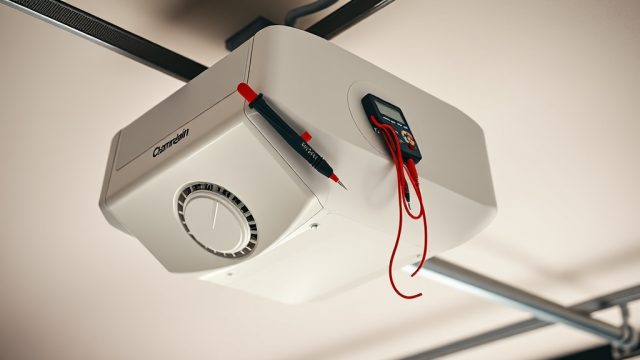
Before testing, disconnect power from the unit. Use a multimeter set to continuity (or resistance) mode. Remove the two Phillips-head screws securing the switch bracket to the motor housing to gain better access to the terminals. Note: the switches are not soldered; they plug into a small connector on the logic board via a harness. Unplug the harness from the main board to isolate the switches from the electronics. This step prevents false readings from back-EMF or other components. Label the wires as you disconnect them—take a photo with your phone for reference. The limit switch connector is usually a 6-pin (or 4-pin) header; pins 1-3 correspond to one switch, pins 4-6 to the other. Consult your manual for exact pin mapping.
How Do I Test the Close Limit Switch for Continuity?
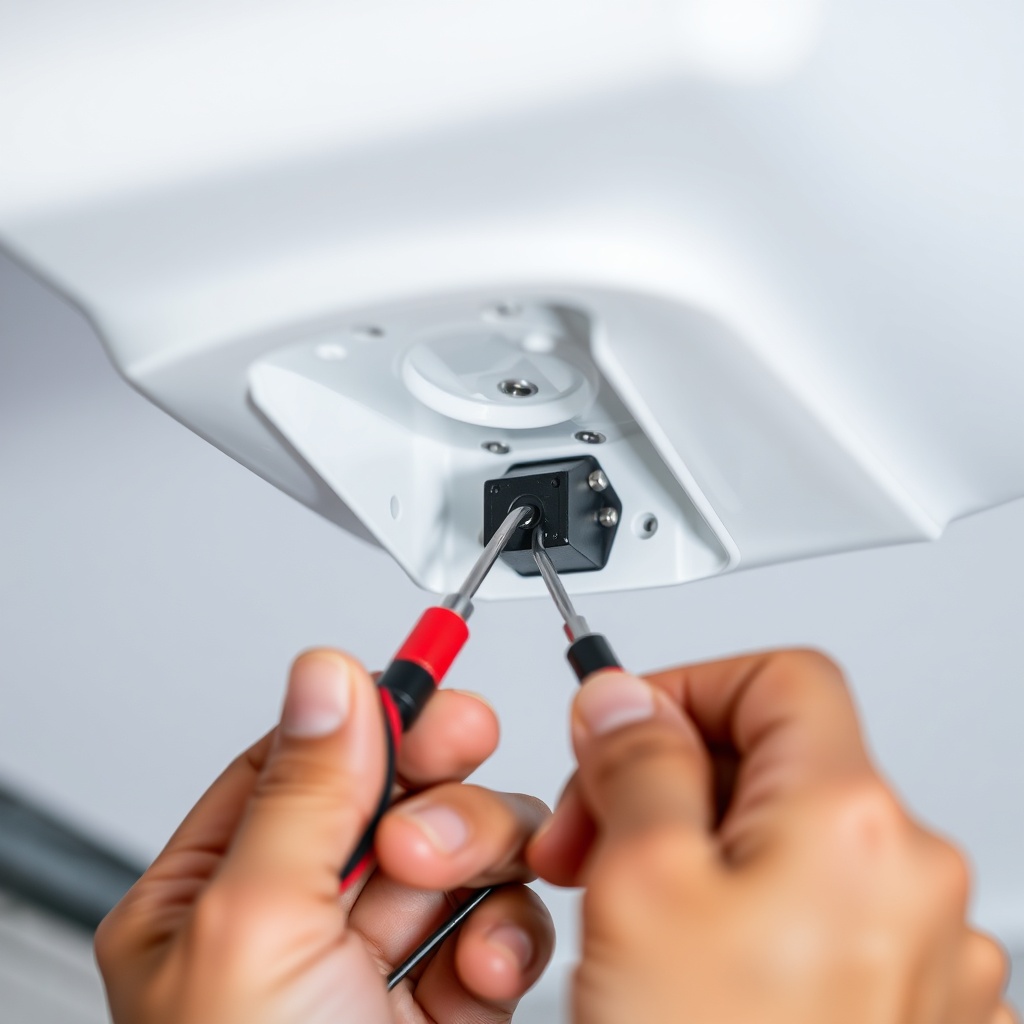
The close limit switch is the most frequent failure point because it activates every time the door completes a close cycle. Symptoms of a faulty close limit switch include: the door stops an inch above the floor, reverses when pressing the wall button, or the opener blinks code 1-4 (close limit error). To test, set your multimeter to continuity (a beep when a circuit is complete). Attach one probe to the common terminal (C) and the other to the normally open (NO) terminal of the close limit switch. With the door fully closed, the actuator arm of the close switch should be depressed by the cam tab. The meter should show continuity (beep) between C and NO. If it does not, the switch is stuck open or the actuator arm is broken.
Next, manually cycle the door by turning the emergency release and moving the trolley by hand. As the door opens, the cam rotates, and the close switch actuator should release. When the actuator is free (no longer depressed), continuity should break between C and NO, and instead you should see continuity between C and NC (normally closed). A reading of continuity on both NO and NC simultaneously indicates a shorted switch, which will also trigger an error code. Replace the switch if readings deviate from this pattern. Cost of a replacement microswitch for the Chamberlain B1381 is typically between £5 and £12 from UK suppliers like Spares2Go or Chamberlain direct. If you suspect the wiring harness is damaged, check the pins for corrosion or bent pins using a magnifying glass.
How Do I Test the Open Limit Switch and Adjust the Cam Tabs?
The open limit switch governs when the motor stops when the door is fully raised. A failing open switch can cause the door to run past the stops or stop mid-travel. Common error codes linked to this are 4-3 (open limit error) or erratic reversal. Testing mirrors the close switch procedure: measure continuity between common and normally open on the open limit switch while the door is fully open (the actuator depressed). It should read continuity. When the door moves toward close (actuator released), continuity should switch to the NC terminal.
If both switches pass the continuity test but the problem persists, the limit cam tabs may be misaligned. Over time, the plastic tabs can wear or slip on the cam shaft. To adjust, locate the two small screws on the cam disc (sometimes covered by a clear plastic guard). Loosen them slightly, with the door in the fully closed position, rotate the close limit tab so it just makes contact with the actuator. Tighten the screw. Repeat for the open limit tab with the door fully open. Do not overtighten; the tabs can crack. Use a flathead screwdriver to gently nudge the tab without bending the actuator arm. Corrosion on the switch terminals can also cause intermittent faults—clean them with contact cleaner and a fibre brush.
| Error Code (Blink Pattern) | Likely Cause | Severity | DIY Fix Difficulty | Estimated Cost (UK) |
|---|---|---|---|---|
| 1 blink, 4 blinks (1-4) | Close limit switch failure / misadjustment | Moderate | Easy (continuity test + adjustment) | £0 (adjustment) / £5-£12 (switch) |
| 4 blinks, 3 blinks (4-3) | Open limit switch failure / misadjustment | Moderate | Easy (continuity test + adjustment) | £0 (adjustment) / £5-£12 (switch) |
| 1 blink, 5 blinks (1-5) | Logic board communication error (can involve limit circuit) | High | Hard (board replacement) | £45-£75 |
| Continuous reversing | Possible limit switch or RPM sensor issue | Moderate | Medium (check both switches & optics) | £0-£20 |
| Door stops halfway | Limit tab slipped or switch intermittent | Low | Medium (adjust cam tabs) | £0 |
What Should I Do if the Limit Switch Tests Fine but Errors Continue?
If both switches pass continuity tests and the cam tabs are correctly adjusted, the issue may lie in the motor’s RPM sensor or the logic board itself. The Chamberlain B1381 uses a magnetic RPM sensor on the motor shaft to detect motion; if the sensor fails or its wiring chafes, the board may misinterpret the door’s position and trigger limit-style errors. Check the small sensor unit near the motor back plate—it looks like a two-wire Hall effect sensor. With the multimeter still in hand, measure voltage across the sensor terminals while manually rotating the motor shaft (use caution, as the motor may have residual magnetism). A functioning sensor will produce a pulsing DC voltage between 0.5V and 5V as the shaft turns. No voltage means a dead sensor—replacement costs around £15-£25.
Another hidden culprit is the wiring harness running from the limit switches to the board. Gently flex the wires near the connector with the meter attached; if continuity breaks, you have a broken wire inside the insulation. This is common on units exposed to attic temperature extremes. Finally, a failing main logic board can sporadically misread the switch inputs. Look for bulging capacitors or burn marks on the board. If the board is at fault, consider replacing it—an OEM Chamberlain board for the B1381 runs roughly £45-£75. Before buying, try a full system reboot: unplug the opener for 10 minutes, then reconnect. Often, a transient power spike corrupts the board’s memory, and a hard reset clears the phantom errors.
How Do I Replace a Faulty Limit Switch on the Chamberlain B1381?
Replacing a limit switch is a straightforward job for anyone comfortable with a soldering iron and basic hand tools. First, purchase the exact replacement microswitch from an authorised Chamberlain parts partner—generic switches may have different force ratings (the OEM switch is typically rated for 1 million cycles at 5A/250VAC). Remove the switch bracket from the motor housing. Unsolder the three wires from the old switch, noting the solder pads: common (centre), NO (left), NC (right). If you prefer not to solder, some UK suppliers offer pre-wired replacement switches with matching connectors—these cost about £15 and plug directly into the harness. Cut the old wires, strip 6mm of insulation, and use crimp connectors if no soldering is available.
Mount the new switch onto the bracket with the actuator arm oriented correctly—the arm should face the cam disc. Reattach the bracket to the motor, route the wires clear of moving parts, and reconnect the harness to the logic board. Test the switches manually with the multimeter before reassembling the cover. Cycle the door manually using the release cord to ensure the cam tabs depress each switch properly at the correct limits. If the switches are within spec but the door still misbehaves, revisit our Chamberlain B1381 Opener Motor Brush Replacement Guide—worn motor brushes can mimic limit switch failure by causing intermittent power delivery.
What Owners Say About Chamberlain B1381 Limit Switches
Real-world feedback from UK owners on forums such as Screwfix and Garador users offers valuable insight. Many report that the limit switch failure on the B1381 tends to appear after 2-3 years of use, often linked to dust ingress in garages without insulation. One London homeowner noted that a simple cam adjustment solved a 1-4 error that had been misdiagnosed as a motor problem by a local engineer—saving £120 in labour. Another owner from Manchester described how a faulty close limit switch caused the door to reverse so aggressively that it bent a panel—highlighting the importance of prompt testing.
Several users emphasise that after replacing a switch, it is crucial to perform the force adjustment procedure as per the manual. Without recalibrating the force sensor, the opener may still think the door met an obstruction and trigger a false reversal. A third commenter pointed out that the OEM switches are superior to cheap replacements; after fitting a £3 generic switch, the opener failed again within three weeks. Stick to Chamberlain-rated parts. If your remote range seemed to worsen alongside limit errors, see our guide on Chamberlain B1381 Remote Range Issues: Diagnosis and Fixes—antenna interference from a faulty limit switch harness can weaken signal strength.
Frequently Asked Questions About Chamberlain B1381 Limit Switch Testing
What does a 1-4 error code mean on my Chamberlain B1381?
A 1-4 error (one blink, pause, four blinks) indicates a close limit switch failure or misadjustment. The opener’s logic board did not receive a proper signal from the close limit switch when the door reached the floor position. Test continuity of the switch as described above; adjust cam tabs if necessary. If the switch tests fine, examine the logic board connector for bent pins.
Can a dirty limit switch cause false errors?
Yes, dust and grease buildup on the switch contacts can cause intermittent continuity loss. Clean the switch terminals with electronic contact cleaner and a soft brush. Also check that the actuator arm moves freely—sticky residue from lubricants can impede it. However, complete failure usually requires replacement.
Do I need to recalibrate the Chamberlain B1381 after replacing a limit switch?
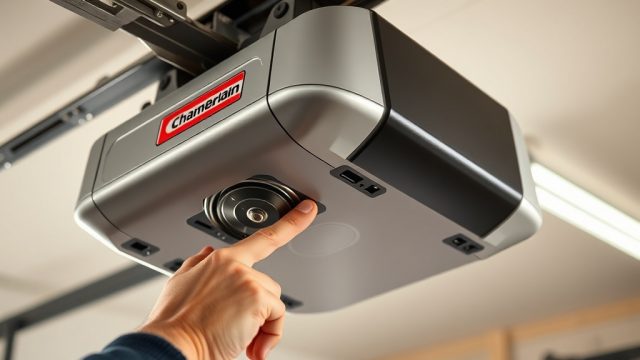
Yes, calibrating the force and travel limits is essential after any limit switch work. Use the “Adjust” button on the opener control panel: press and hold until the UP and DOWN buttons flash, then set the open and close limits using those buttons. Follow the procedure in your manual to prevent door damage. Without recalibration, the opener may incorrectly detect obstructions.
How much does a limit switch replacement cost in the UK?
An OEM Chamberlain microswitch typically costs between £5 and £12. Pre-wired versions with connectors are around £15. Labour costs if hiring a professional can range from £60 to £100 for a callout plus parts. DIY replacement saves significantly—just ensure you have a multimeter and basic tools.
My Chamberlain B1381 works fine when cold but errors after 10 minutes—what gives?
This points to a thermal intermittent fault. A failing limit switch or logic board component may expand when warm, breaking an internal connection. Allow the unit to run until the error appears, then quickly test the limit switch continuity while the unit is still warm. If the switch readings change, replacement is needed. Also verify ventilation—the B1381 needs airflow around the motor.
Should I upgrade to a newer opener instead of fixing limit switches?
If your Chamberlain B1381 is over 8 years old and you are seeing multiple component failures (motor brush wear, RPM sensor issues, logic board instability), upgrading may be more cost-effective. A new B1381 replacement unit costs around £250-£350. However, if only a switch is at fault, fixing it for £12 is obviously cheaper. Evaluate the overall condition: check for rust, noisy bearings, and crumbling belt. For belt maintenance, see our Chamberlain B1381 Belt Replacement: Step-by-Step DIY Guide. If you are experiencing WiFi connection problems alongside limit errors, refer to Chamberlain B1381 WiFi Setup Troubleshooting: Network Compatibility Issues Explained. For chain version maintenance, consult Chamberlain B1381 Roller Chain Lubrication and Maintenance Guide.