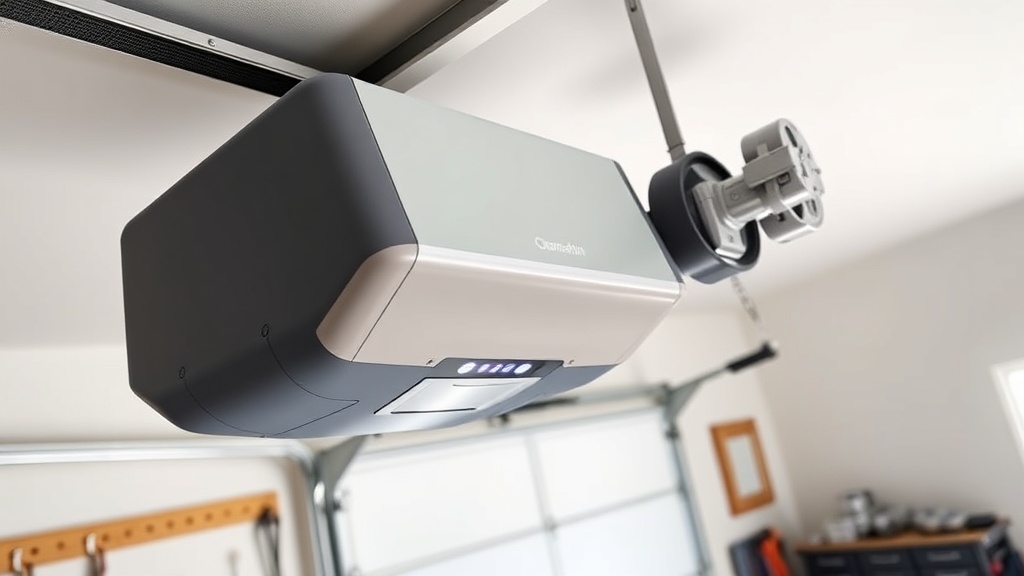
Why Does My Chamberlain B1381 Need a Belt Replacement?
A worn or frayed belt on a Chamberlain B1381 garage door opener can cause noisy operation, uneven travel, and eventual failure. The belt connects the motor to the trolley, and over time, heat, tension, and general wear degrade the rubber and Kevlar reinforcement. If you notice grinding sounds, jerky movement, or a belt that looks cracked or stretched, replacement is essential to restore smooth, quiet function. This guide focuses on the steps for replacing the belt, including safety precautions related to springs and cables that are critical when working near the opener.
Before starting, always disconnect the power to the opener and use locking pliers on the garage door track to prevent accidental movement. Springs and cables store powerful tension; never attempt to adjust or remove them without proper training. For related issues like motor noise, see our Chamberlain B1381 Opener Drive Noise Diagnosis: Chain vs Belt guide.
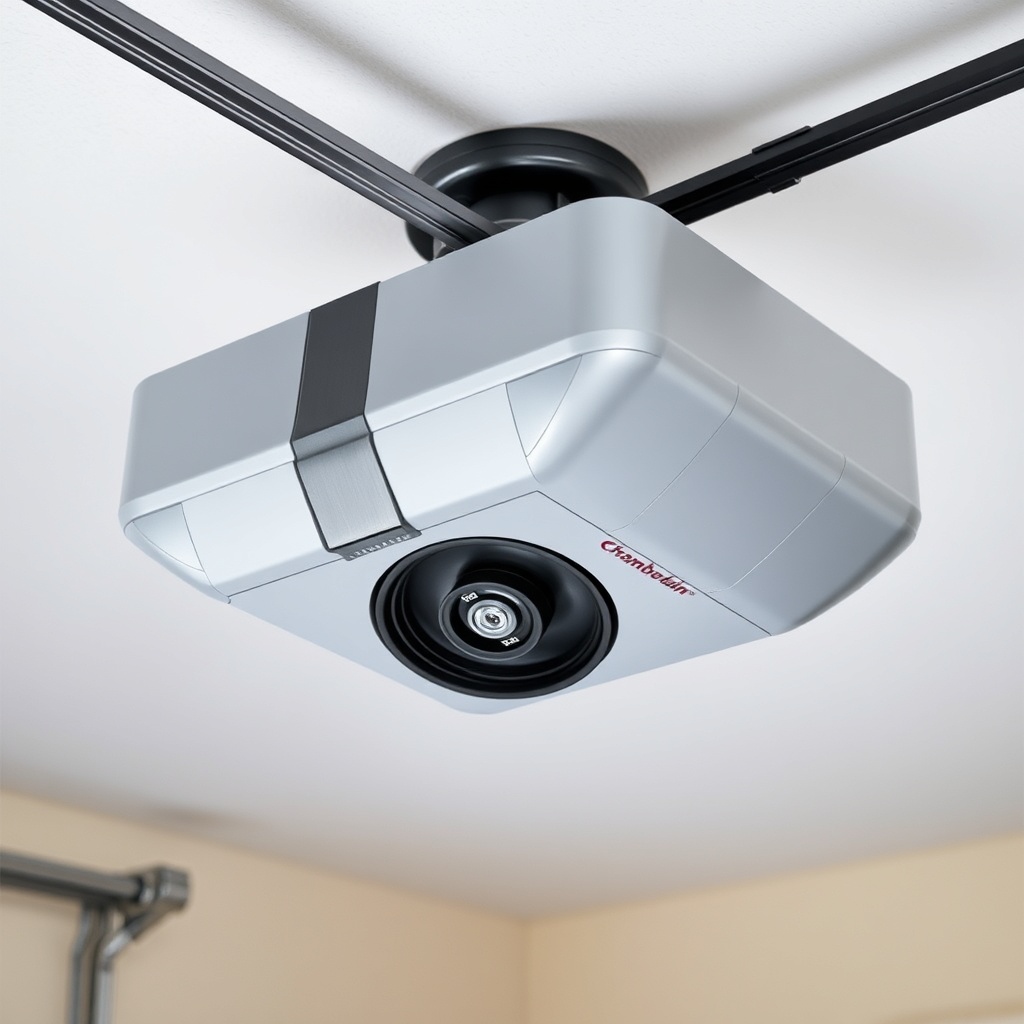
How Do Springs and Cables Affect Belt Replacement?
The belt itself doesn’t directly interact with springs or cables, but the tension in the door’s spring system must be correctly balanced for the belt to operate properly. If springs are too tight or too loose, the belt endures extra stress, leading to premature wear. Before replacing the belt, check the door’s balance: disconnect the opener manually (pull the red release cord) and lift the door halfway. It should stay in place without sagging or rising. If it doesn’t, you need to adjust spring tension—refer to the Chamberlain B1381 Spring Tension Calibration: DIY Tutorial.
Cables run alongside the springs and can become frayed or misaligned. When replacing the belt, inspect the cables for damage. If a cable is loose, it may wrap around the drum and cause the door to bind, which stresses the belt. Always ensure cables are seated properly in the drums and not kinked. Safety caution: springs and cables under tension can cause injury. If you’re unsure, hire a professional.
What Tools and Parts Are Needed for a B1381 Belt Replacement?
You’ll need the specific replacement belt kit for Chamberlain B1381 (part number 041A7898, usually priced between £25 and £40). Tools include a 7/16-inch socket or wrench, a 1/2-inch socket, a flathead screwdriver, a step ladder, locking pliers, and a tape measure. Optional but helpful: a torque wrench for precise cable tension later, though not strictly necessary for belt work. Ensure you have a clean workspace and good lighting.
| Tool/Part | Purpose | Approx. Cost (GBP) |
|---|---|---|
| Chamberlain replacement belt kit (041A7898) | New belt with pulleys and fasteners | £25–£40 |
| 7/16-inch socket/wrench | Loosen sprocket nut and trolley bolts | £5 (if not owned) |
| 1/2-inch socket | Remove motor unit cover bolts | £5 |
| Flathead screwdriver | Pry off belt cover clips | £3 |
| Locking pliers | Secure door track to prevent movement | £8 |
| Step ladder | Safe access to opener | £20+ |
Pro tip: Keep the old belt for emergency splicing if the new one fails, though this is rare.
Step-by-Step Belt Replacement Process
Step 1: Safety First
Disconnect the opener from power by unplugging it or turning off the circuit breaker. Use locking pliers to clamp the garage door track just above one of the rollers to keep the door from moving accidentally. The door should be closed and held in place by the springs and cables.
Step 2: Remove the Belt Cover and Old Belt
Remove the screws from the belt cover on top of the motor unit. Pull off the cover. Locate the sprocket nut at the back of the motor (usually 7/16-inch). Loosen it but don’t remove completely. Next, disconnect the trolley from the belt by sliding it out of the rail. On the B1381, the trolley has a release mechanism—press the lever and pull it free. Carefully slide the old belt out of the rail. Inspect the rail for debris or burrs.
Step 3: Install the New Belt
Thread the new belt through the rail, starting from the motor end. Ensure the belt teeth face the sprocket. Attach the belt to the trolley using the supplied pins and clips. Position the trolley so it’s at the front of the rail (door side). Tighten the sprocket nut to the manufacturer’s torque specification (about 8–10 N·m, or use your feel).
Step 4: Adjust Belt Tension
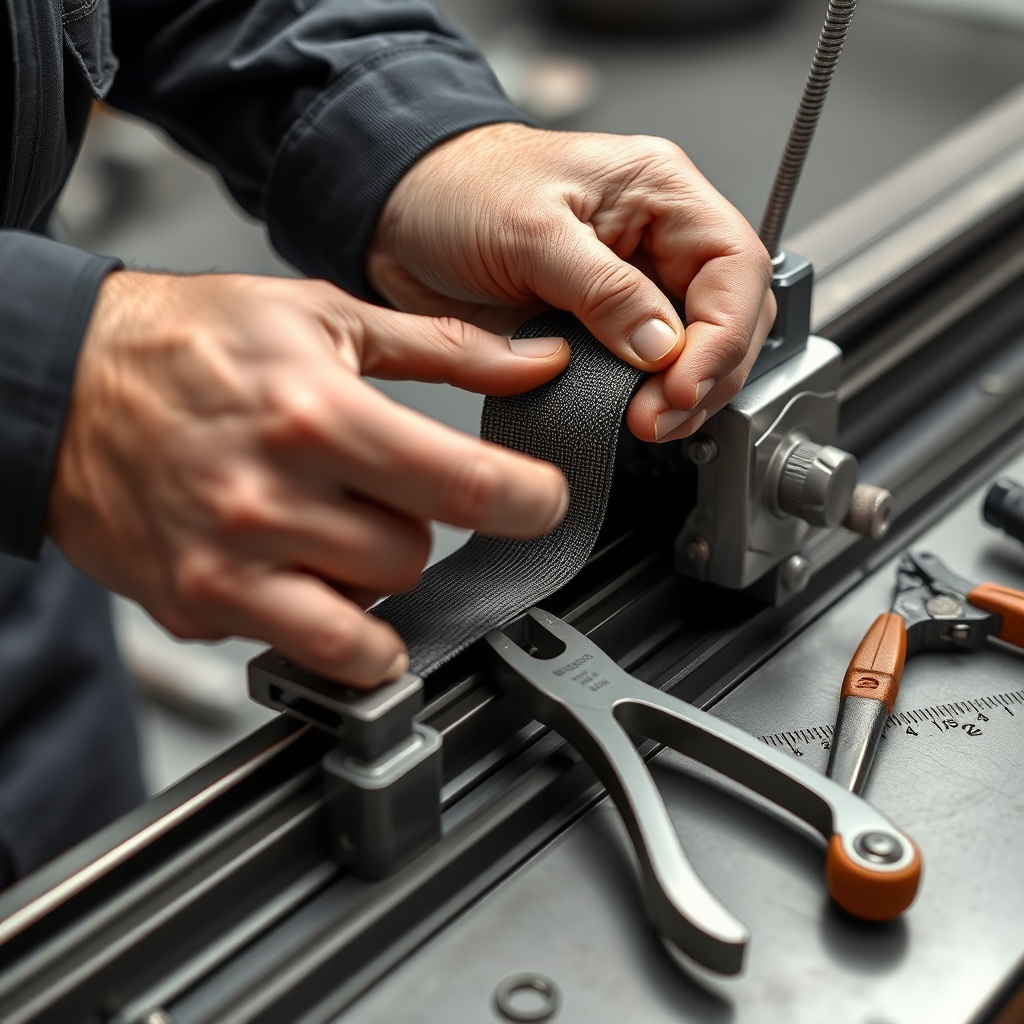
Chamberlain recommends a 1/4-inch deflection when pressing the belt at the centre of the rail. Use a ruler to check: push down gently, and it should dip about 6 mm. Adjust by tightening or loosening the sprocket nut slightly. Be careful not to overtighten, as this strains bearings and the motor.
Step 5: Reassemble and Test
Replace the belt cover and screws. Reconnect power. Test the door manually with the release cord first, then run a full cycle. Listen for any scraping or squeaking. If the door doesn’t open fully or reverses, check the limit switch settings; see Chamberlain B1381 Limit Switch Adjustment: Precise Calibration Guide.
What Owners Say About the B1381 Belt Replacement Process
Owners on UK garage forums often praise the B1381’s belt durability, but many find the replacement procedure manageable with basic tools. A common comment: “The hardest part was getting the old belt out of the rail because it had stretched and stuck. Patience and a bit of lubricant on the rail helped.” Others warn about the tension adjustment: “If you don’t get the 1/4-inch deflection right, the door either slams shut or won’t close. Use a ruler, don’t guess.” Some owners combine the belt replacement with sensor alignment, citing that after belt changes, the sensors drift—so check Chamberlain B1381 Safety Sensor Alignment Guide: Troubleshooting Tips for a quick fix. A minority report error codes after belt replacement, usually from improper trolley seating—reference Chamberlain B1381 Error Code Decoder: Troubleshooting Common Faults for code diagnostics.
One owner specifically noted: “I replaced the belt on my B1381 after 5 years. The door runs quieter than the day it was installed. Cost me £32 for the kit and two hours on a Saturday.” However, another mentioned that WiFi connectivity issues can arise if the motor unit is disturbed—check Chamberlain B1381 WiFi Setup Issues: Step-by-Step Solutions Guide if your MyQ app stops working after the repair.
Frequently Asked Questions
Can I replace the belt without adjusting springs or cables?
Yes, if the door was balanced before. Only adjust springs if the door sticks or is heavy after belt replacement. Cables should be inspected but only replaced if damaged.
How long does a Chamberlain B1381 belt last?
Typically 5–7 years with regular use (2–4 cycles per day). Signs of wear include fraying, cracks, or noise.
What if my new belt is too tight?
Back off the sprocket nut 1/4 turn at a time until deflection is correct. Too much tension can burn out the motor or damage the trolley.
Why is my door reversing after belt replacement?
Likely a limit switch issue. Recalibrate the open and close limits per the manual, or use our guide on Chamberlain B1381 Limit Switch Adjustment.
Can I use a generic belt from another brand?
Not recommended. The B1381 uses a specific pitch and length. Generic belts may slip or cause premature wear. Stick to Chamberlain or LiftMaster parts.
When should I call a professional for belt replacement?
If the door uses torsion springs that you’re uncomfortable adjusting, if cables are frayed, or if you get error codes you can’t resolve. Safety first.