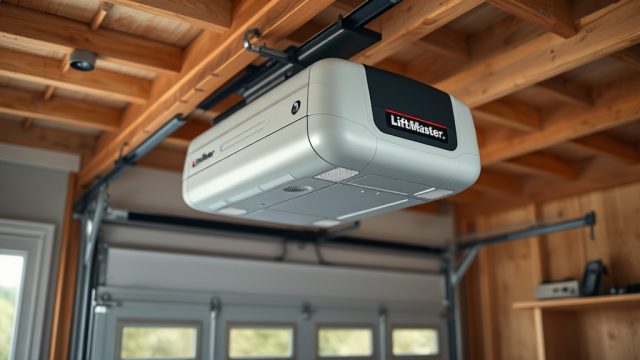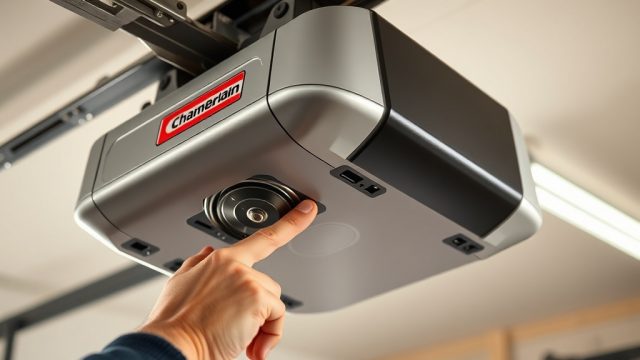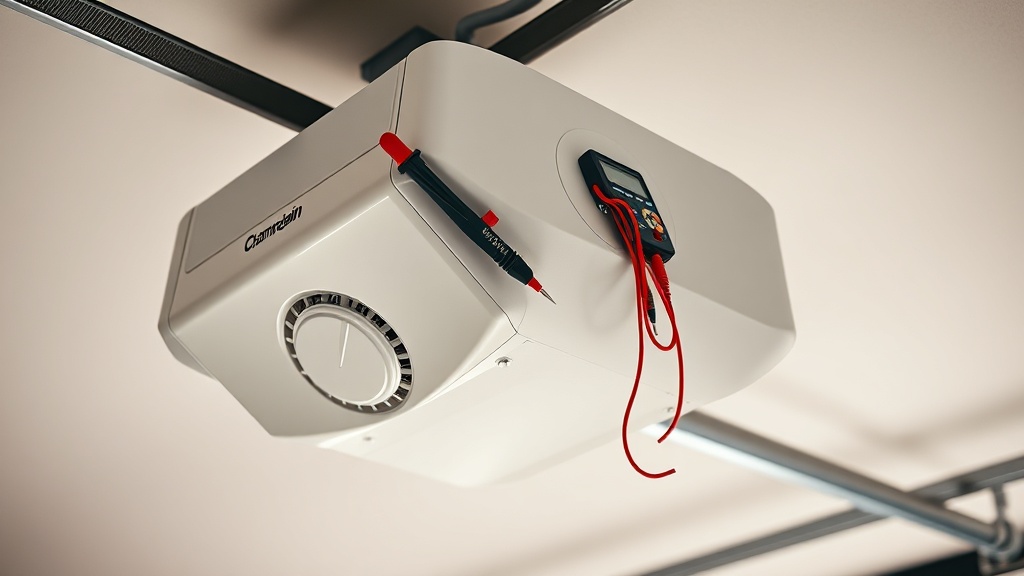
Introduction: Why Stator Resistance Testing Matters for the Chamberlain B1381
When a Chamberlain B1381 garage door opener refuses to move or throws flashing error codes, the stator winding resistance is often the culprit. This DIY guide teaches homeowners how to safely measure the motor stator resistance using a multimeter, interpret error codes linked to open or shorted windings, and decide whether the motor assembly needs replacement. Understanding the electrical health of the B1381’s motor can save unnecessary service calls and help pinpoint why the opener stops mid-cycle or fails to start at all.
How Do I Safely Prepare the Chamberlain B1381 for Stator Testing?
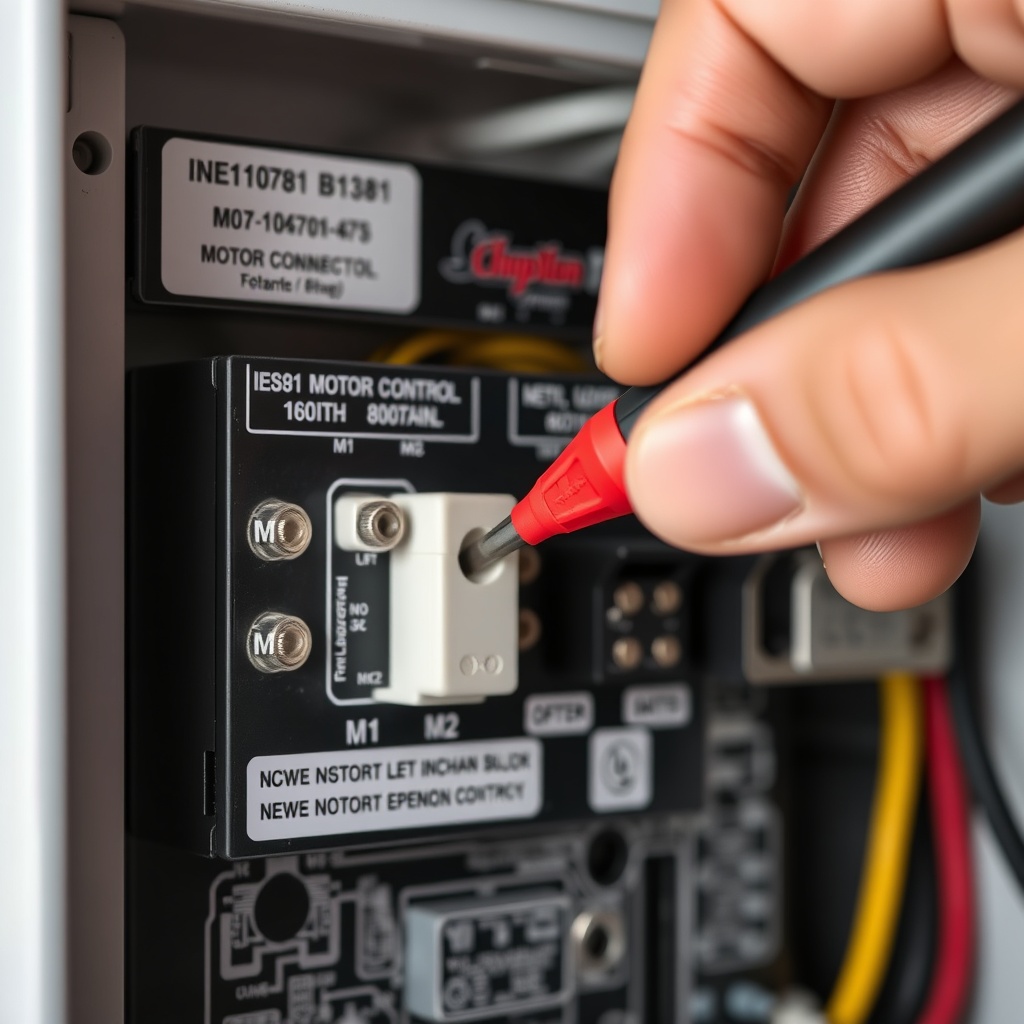
Before touching any electrical components, disconnect the B1381 from mains power by unplugging the unit. For hardwired openers, switch off the dedicated circuit breaker. Allow the unit to sit for 15 minutes so internal capacitors discharge. The Chamberlain B1381 Opener Cover Removal: DIY Step-by-Step Guide will walk you through removing the top cover and exposing the motor control board. Once the cover is off, locate the motor stator terminals—they are marked on the circuit board as “M1” and “M2” near the white DC motor connector. Photograph the wiring before disconnecting anything for reference.
What Error Code Indicates a Faulty Stator on the Chamberlain B1381?
The Chamberlain B1381 uses a series of blinking LED codes on the logic board. A stator problem typically produces code 2-1 (two short blinks, one long pause repeated): “Motor fault – open or shorted winding.” You may also see code 1-3 (one blink, then three rapid blinks) indicating a current overload. Confirm these codes by observing the Learn button LED after power-up. An Chamberlain B1381 Opener Motor Limit Switch Testing: DIY Troubleshooting article can help you rule out limit switch problems, which sometimes mimic motor winding faults.
What Multimeter Settings and Readings Should I Use for Stator Resistance?
Set your digital multimeter to the lowest ohms range (200 Ω or auto-ranging). Probe the M1 terminal (usually the black wire) and M2 terminal (red wire) of the motor connector—do this with the motor harness completely unplugged. The specified stator resistance for a Chamberlain B1381 DC motor should read between 2.5 and 4.2 ohms at room temperature (20°C/68°F). A reading below 2.0 ohms indicates a shorted winding; a completely open circuit (OL or infinite) means a broken winding. Also test each terminal to the motor chassis (ground). Any reading less than 10 megohms suggests a ground fault that can trip the opener’s motor protection.
How Do I Interpret Stator Resistance Readings Against Chamberlain’s Specifications?
Below is a practical comparison table for Chamberlain B1381 stator resistance values and what they mean for your repair decision.
| Measurement (M1–M2) | Interpretation | Required Action | Parts Cost (GBP) |
|---|---|---|---|
| 2.5–4.2 Ω | Normal winding resistance | No replacement needed; check other components (capacitor, board) | £0 |
| 0.0–2.0 Ω | Shorted winding (partial or full) | Replace motor assembly (stator+rotor) | £85–£120 |
| OL (infinite) | Open winding (broken wire) | Replace motor assembly; check drive coupling for seizure | £85–£120 |
| <10 MΩ to chassis | Insulation breakdown (ground fault) | Replace motor assembly immediately | £85–£120 |
| Fluctuating/unstable | Intermittent winding damage or poor probe contact | Clean terminals, retest; if still unstable, replace motor | Variable |
If your readings fall into the “replace” zone, a Chamberlain B1381 Drive Coupling Replacement: Step-by-Step DIY Guide may be needed if the motor seized due to a broken coupling. Always test the stator before ordering a new motor assembly—many code 2-1 errors are misdiagnosed as control board failures.
Can a Bad Start Capacitor Mimic a Stator Problem on the B1381?
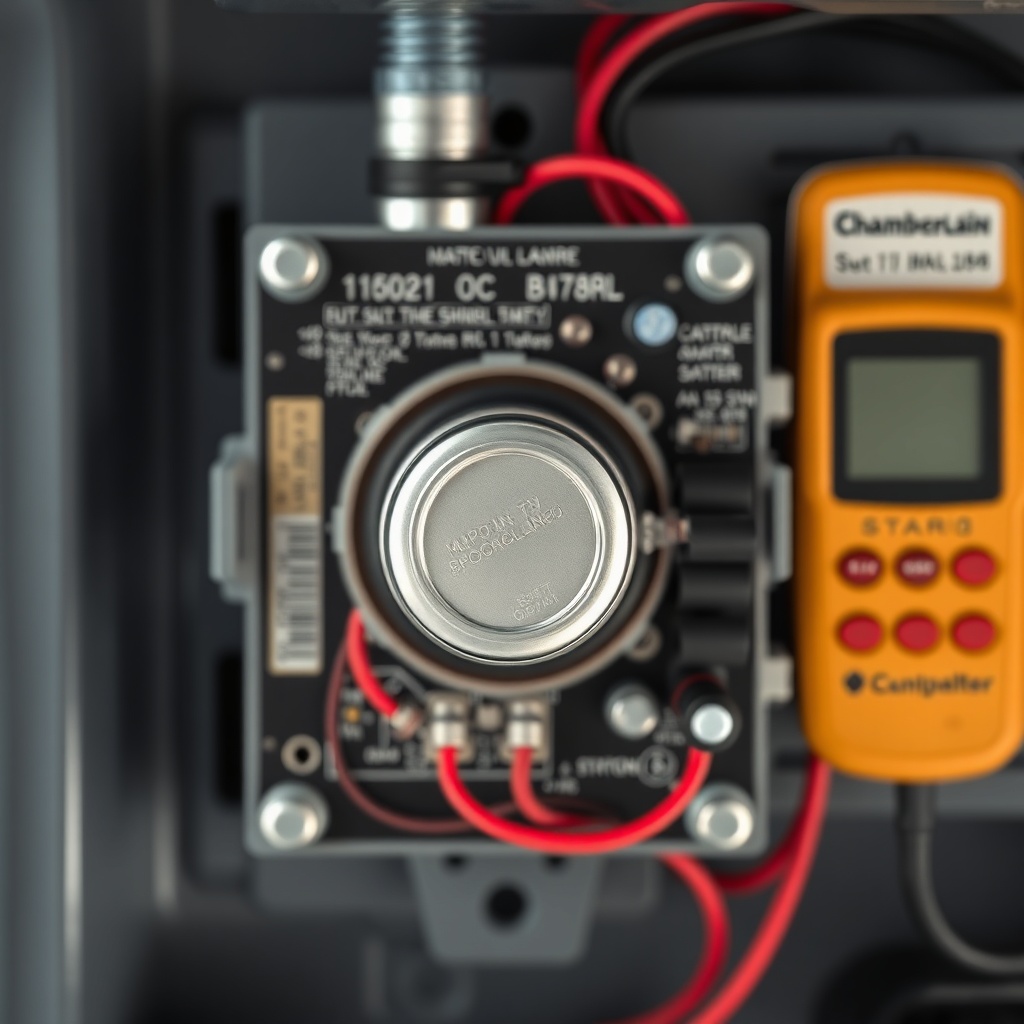
Yes, and it’s a common trap. The Chamberlain B1381 uses a start capacitor on the DC motor circuit. If the capacitor fails (opens or drops capacitance), the motor may hum, run slowly, or not start at all—identical symptoms to a shorted stator. The difference: resistance between M1 and M2 will still read normal (2.5–4.2 Ω) with a bad capacitor. Perform the stator test first. If values are within spec, move to capacitive testing. A failed capacitor typically shows bulging or leaking electrolyte. Our dedicated Chamberlain B1381 Opener Motor Start Capacitor Replacement: Step-by-Step DIY Guide explains how to test and swap that component. Remember to discharge the capacitor safely before handling.
What Steps Should I Follow When Stator Resistance Indicates a Fault?
If your multimeter confirms an open or shorted stator, do not attempt to rewind the stator yourself—it’s a sealed assembly. Follow these steps:
- Order a genuine Chamberlain OEM motor assembly for the B1381 (part number 041C1100 or equivalent). Aftermarket units are available for around £65 but may have different resistance tolerances.
- Disconnect the motor connector and remove the three mounting screws holding the motor to the drive housing.
- Slide the motor out carefully-the stator core is heavy and may still hold residual magnetism.
- Transfer the motor harness and any wiring clips to the new unit.
- Reassemble and perform a Chamberlain B1381 Roller Chain Tension Adjustment: Step-by-Step Guide afterward to ensure the new motor aligns correctly.
- Power up and test. Clear the error code by holding the Learn button for 6 seconds. Run a full open/close cycle.
Do not reuse the old start capacitor with a new stator—replace both together for reliability. If the new motor still triggers code 2-1, inspect the logic board for burnt capacitors or resistive shorting.
What Owners Say About Chamberlain B1381 Stator Failures
Homeowners on UK forums frequently report that a Chamberlain B1381 stator failure appears after 5–7 years of daily use. One user noted: “My opener stopped halfway up, flashed 2-1. Stator measured 0.7 ohms—ordered a replacement motor for £95, and it’s been fine for two years.” Another owner cautioned: “Don’t replace the whole opener. I almost spent £250 on a new unit, but the stator test saved me. Took 30 minutes.” A third DIYer shared: “My error was code 1-3. Replaced only the start capacitor first, but the stator test showed 3.5 ohms—that was fine. Capacitor was bulging. Cost £8 instead of a motor.” A common tip: keep the motor mounting screws greased with white lithium grease to prevent corrosion that can create false resistance readings. Several owners also pointed out that using a non-OEM motor may require adjusting the Chamberlain B1381 Opener Motor Limit Switch Testing: DIY Troubleshooting Guide because the new motor’s torque curve varies slightly.
Frequently Asked Questions About Chamberlain B1381 Stator Resistance
What is the exact stator resistance specification for the Chamberlain B1381 motor?
The manufacturer specifies 2.5 to 4.2 ohms between the M1 and M2 terminals at 20°C. Always use the same multimeter leads throughout testing to avoid lead resistance errors.
How do I clear a code 2-1 after replacing the stator?
Hold the Learn button on the logic board for 6–10 seconds until the LED stops blinking. Then run a travel learn cycle by pressing the black button on the opener for 2 seconds and following the remote setup procedure.
Can a faulty limit switch cause a stator-like error code?
Yes, a stuck limit switch can prevent motor rotation, causing the control board to misinterpret a mechanical block as a winding fault. Always test stator resistance first, then inspect limit switches per the dedicated guide.
Is it safe to test stator resistance with the opener plugged in?
Absolutely not. Disconnect mains power and wait 15 minutes for capacitor discharge. Testing live can damage the multimeter, cause electric shock, or create a short that ruins the control board.
What does a “walking” resistance reading mean?
A reading that drifts up and down by 0.5 ohms or more usually indicates a bad connection at the probe tip, corroded terminal, or an intermittent break in the stator wire. Clean the M1/M2 terminals with isopropyl alcohol and re-test. If it still drifts, the stator has internal micro-cracks.
How often should I check the stator resistance on a Chamberlain B1381?
Only when the opener displays error codes 1-3, 2-1, or runs erratically. Preventive testing every 2 years can identify a failing stator before it leaves the door stuck open or closed.