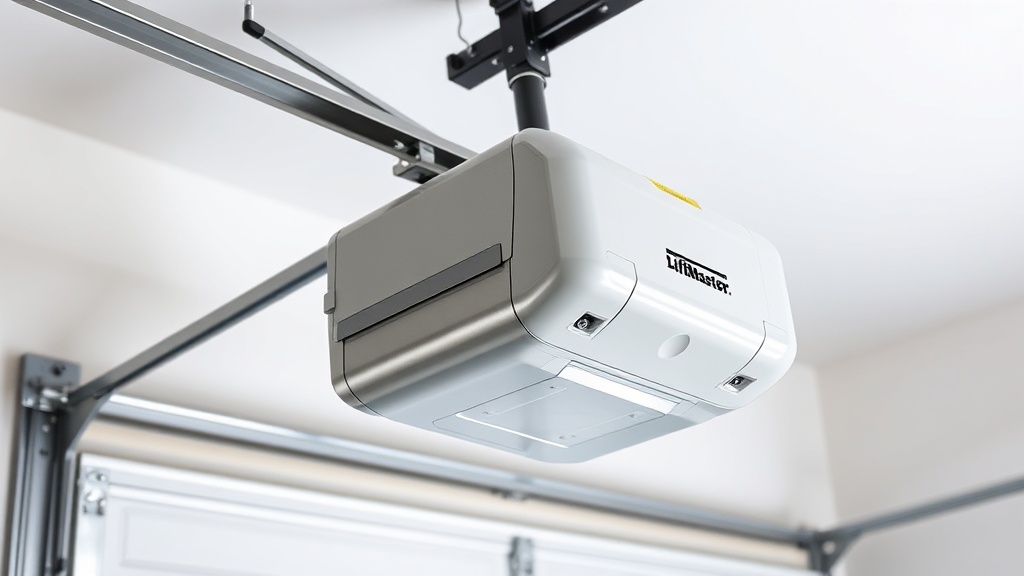
If you’ve settled on the LiftMaster 8550WLB as your next garage door opener, you’re probably wondering what the total installation cost will be and whether you can tackle the job yourself. This guide breaks down the typical prices for professional installation versus a DIY approach, examines the tools and skills required, and helps you decide which route makes the most sense for your home and budget.
What Is the Average Total Cost to Install a LiftMaster 8550WLB?
The total cost of installing a LiftMaster 8550WLB depends heavily on whether you hire a pro or do it yourself. For a professional installation, expect to pay between £450 and £650 in the UK (or roughly $550–$800 in the US). This price includes the opener unit (typically £250–£350) plus labour, minor hardware, and disposal of your old opener. If your garage has unusual ceiling height, low headroom, or requires new reinforcement brackets, add £50–£150.
For a DIY installation, you’ll only pay for the opener kit and any extra parts like a strut or angle iron, which totals around £280–£400. You save £150–£250 in labour, but you’ll need to invest several hours and have a solid understanding of structural mounting and electrical work.
Can I Install the LiftMaster 8550WLB Myself, or Should I Hire a Pro?
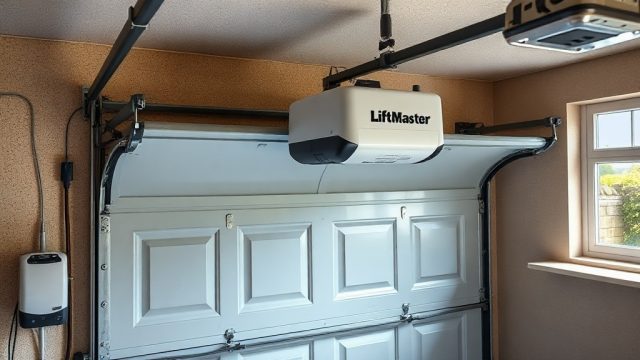
The short answer: yes, a confident DIYer with moderate mechanical skills can install the LiftMaster 8550WLB, but it’s not a beginner project. The 8550WLB is a wall-mount unit (also called a jackshaft opener) that attaches to the side of the torsion spring shaft, not the ceiling. This design eliminates the overhead rail and trolley, but it introduces different challenges.
DIY Pros and Cons
- Pros: Save £150–£250 on labour; you control the timeline; no scheduling hassles.
- Cons: Requires a friend for heavy lifting (unit weighs about 24 kg); you must drill into concrete or wood; precise alignment of the torsion shaft bracket is critical; need to run low-voltage wiring for safety sensors and wall console.
When to hire a pro
- Your torsion bar is not standard (e.g., non-tapered or oversized).
- You have no prior experience with garage springs or electrical wiring.
- You want a warranty on labour and a guaranteed safety inspection.
- Your garage ceiling is vaulted or has very limited clearance for a wall-mounted unit.
Keep in mind that the 8550WLB includes an auto-reverse safety system that must be tested and adjusted after installation—if you’re not comfortable with that, pay a professional. See our LiftMaster 8550WLB Auto-Reverse Test: Ensuring Safety guide for the full procedure.
What Tools and Parts Do I Need for a DIY LiftMaster 8550WLB Installation?
Before you start, gather the following. You likely already have some, but missing a specific tool can derail your afternoon.
| Tool / Part | Purpose |
|---|---|
| Socket set (metric, especially 10mm and 13mm) | Bolts for mounting bracket and shaft coupler |
| Power drill with ⅜” masonry bit | Drilling into concrete floor or ceiling beam |
| Level (4-foot or longer) | Ensuring the unit is perfectly vertical |
| Adjustable wrench or vice grips | Holding the torsion bar while tightening set screws |
| Ladder (step or extension) | Reaching the torsion shaft area |
| Wire strippers / crimpers | Connecting safety sensor wires |
| Torque wrench (optional but recommended) | Tightening the shaft coupler to 40–50 N·m |
| LiftMaster 8550WLB installation kit (comes with unit) | Bracket, hardware, safety sensors, wall console |
You will not need a rail assembly, trolley, or belt tensioner because the 8550WLB is a wall-mount design. If you’re replacing a chain-drive opener, check our LiftMaster 8550WLB Opener Drive Troubleshooting: Chain vs Belt Issues to understand the difference.
How Difficult Is the Mounting and Shaft Coupling Process?
This is the most technical step. The LiftMaster 8550WLB attaches directly to the torsion shaft via a keyed coupler that must slide onto the spring rod. Here’s a reality check:
- You must remove the existing opener’s trolley and rail from the door if you’re replacing a traditional unit.
- The included mounting bracket attaches to the wall next to the spring shaft (usually within 6–8 inches of the centre). You need to drill into the concrete floor or a structural beam.
- Align the shaft coupler so it sits perfectly level—off by even a few millimetres, and the motor may strain or the door won’t open fully.
- Safety sensors must be installed on each side of the door track, about 6 inches above the floor, and wired back to the opener’s terminals.
Most DIYers report taking 3 to 5 hours on this step alone, especially if they need to reposition the bracket. For a detailed walkthrough of the shaft preparation, see our LiftMaster 8550WLB Cable Replacement: When and How—the same shaft access applies.
Does the LiftMaster 8550WLB Come With All Necessary Hardware?
Yes, the 8550WLB includes everything you need to mount the unit and connect the safety system: a steel mounting bracket, hardened set screws, safety sensor brackets, the wall console, and a 24V DC power supply. However, a few items are not in the box:
- Extension cord or hardwiring materials (the plug is standard, but you may need a 1.5 m extension).
- Concrete anchors (suitable for your floor type; the included screws are for wood only).
- Drill bits (if you need larger or smaller than common sizes).
- Safety cable if your garage has a tension spring mounting that requires a restraining cable (check local codes).
If you discover your torsion spring shaft has a different diameter than the opener’s coupler (standard is 1 inch), you’ll need an adapter sleeve. This is rare for modern doors, but older ones may need it.
How Long Does a Typical LiftMaster 8550WLB Installation Take?
Professional installers usually finish in 2 to 3 hours for a straightforward replacement on a standard steel door. DIYers should budget 4 to 7 hours total, including setup, reading the manual, and testing.
The time mostly depends on three factors:
| Factor | DIY Time Increase | Notes |
|---|---|---|
| Removing old opener | +30–60 min | Must disconnect trolley, unbolt rail, take down motor |
| Concrete drilling | +20–30 min | Less if you have a hammer drill; more if floor is reinforced |
| Shaft alignment | +1–2 hours | Critical—if misaligned, door may not close evenly or safety sensors fail |
If your garage has a low headroom or high-lift track, add another 30–60 minutes for bracket adjustments.
What Do Owners Say About Installing the LiftMaster 8550WLB?
Real experiences from homeowners who bought and installed the 8550WLB reveal a few consistent themes:
- “I saved about £180 doing it myself, but the shaft alignment was the hardest part. Took me nearly an hour to get it level.” — Mark, UK (self-installed on a 10×7 steel door).
- “Hired a pro because I didn’t want to mess with the torsion spring. They had it done in 2 hours and demonstrated the auto-reverse test. Worth every penny.” — Sarah, UK (paid £550 total).
- “The wall-mount design is so quiet compared to our old chain drive. Installation was straightforward because I had lots of headroom—no need to drill into the floor.” — James, UK (DIY with a friend).
Most owners agree: if you’re comfortable drilling into concrete and can read a level, the DIY route is manageable. If you’re unsure about spring safety, pay a professional.
Frequently Asked Questions
Is the LiftMaster 8550WLB compatible with my existing garage door?
Yes, it works with sectional and tilt-up doors up to 14 feet wide and weighing up to 140 kg (308 lb). It requires a torsion spring system, not extension springs. If you have a door with low headroom or a high-lift track, you may need an optional bracket kit.
Does the 8550WLB need a stabilising bracket?
Yes, LiftMaster includes a floor-mounted stabilising bracket to prevent the unit from twisting when the door operates. You must anchor it to the concrete floor using the included screws or masonry anchors.
Can I install the 8550WLB if my garage ceiling is insulated or finished?
Yes, the wall-mount design doesn’t need ceiling support, so it’s ideal for finished garages. Just ensure you can run the low-voltage wires behind the drywall or use a surface-mount conduit.
How long does the installation warranty last if I do it myself?
LiftMaster offers a 5-year limited warranty on the 8550WLB motor and parts, but labour is not covered. If you damage the unit during installation, the warranty may be voided. Professional installation often includes a 1–2 year labour warranty from the dealer.
Do I need to hire an electrician to install the 8550WLB?
No, the unit plugs into a standard 120V AC outlet (US) or 230V AC (UK) with a 3-pin plug. If you don’t have an outlet nearby, you’ll need to add one, which may require an electrician—especially if it’s a new circuit.
What if my torsion shaft doesn’t fit the coupler?
The 8550WLB coupler fits a 1‑inch diameter shaft. If your shaft is larger (e.g., 1⅛ inch) or smaller, you can buy an adapter sleeve from LiftMaster or your local dealer. Check the diameter before purchasing.
For a full rundown of common faults and fixes after installation, read the LiftMaster 8550WLB Troubleshooting Guide: Fix 10 Common Issues.