Introduction
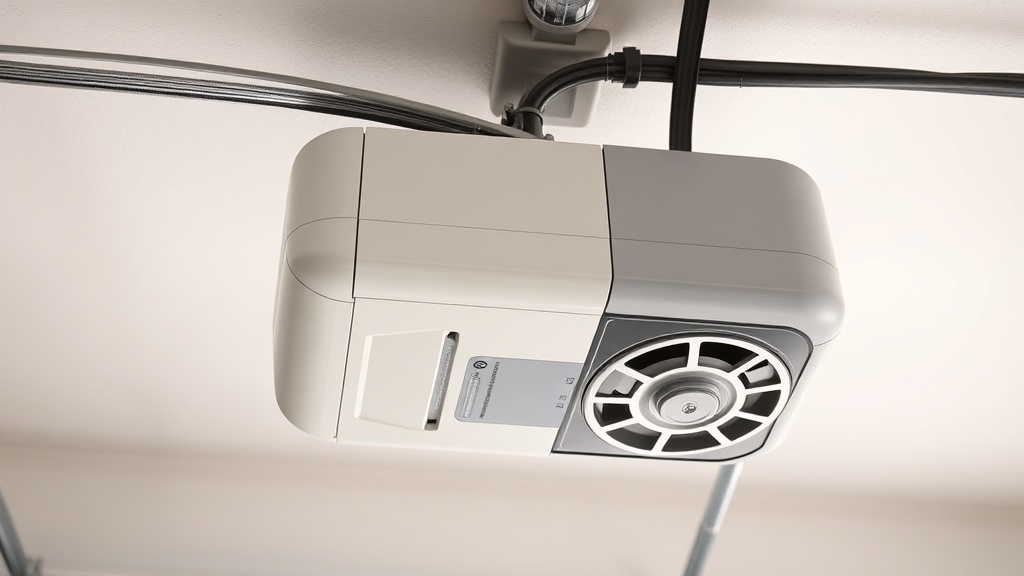
Removing the cover from a Chamberlain B1381 garage door opener is often the first step in diagnosing error codes, performing maintenance, or replacing worn components. This guide walks you through the safe, step-by-step process of cover removal while focusing on common troubleshooting and error code scenarios. Whether you’re dealing with a flashing LED pattern or a silent motor, knowing how to access the internal circuitry is essential for any DIY repair.
Why Would I Need to Remove the Chamberlain B1381 Cover for Troubleshooting?
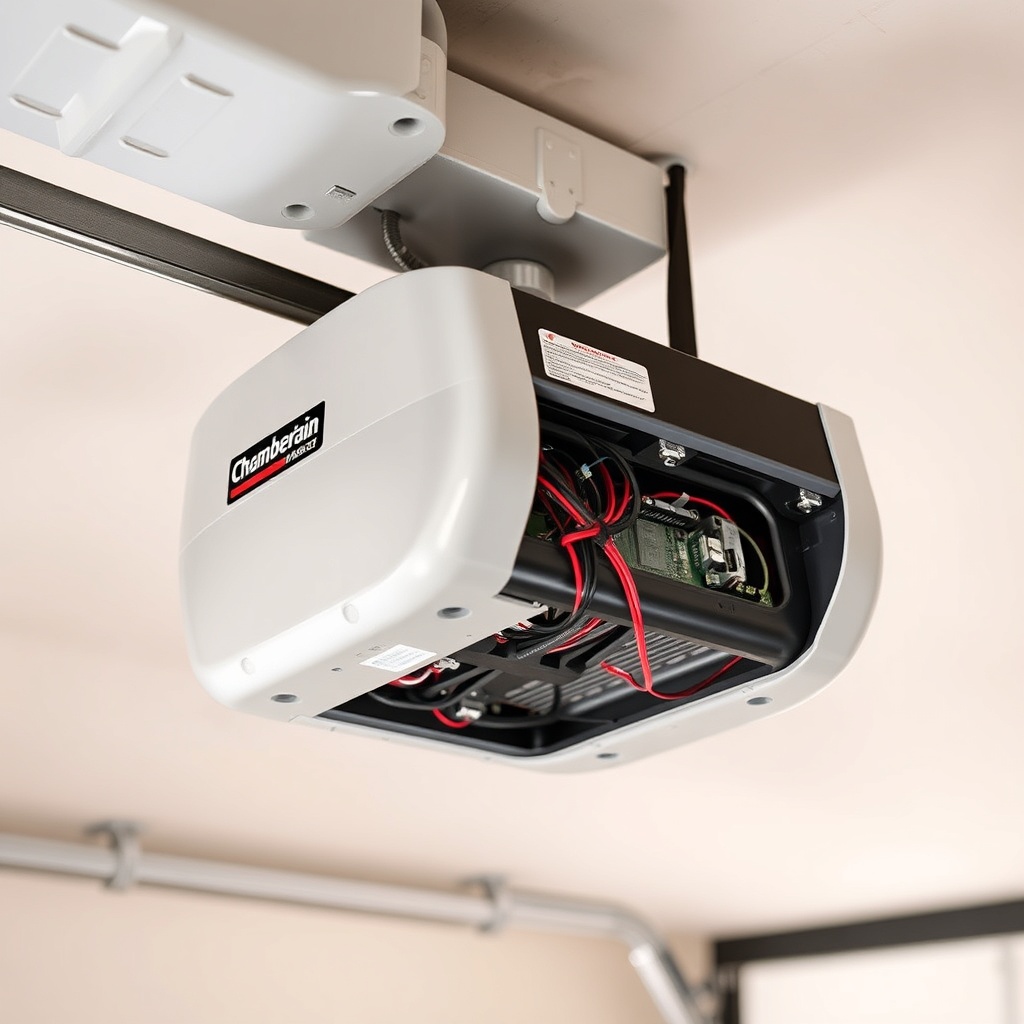
Error codes on the Chamberlain B1381 are typically indicated by blinking LEDs on the logic board or the motor unit. To read these codes, you need direct access to the control board, which sits under the cover. Common scenarios include:
- Motor runs but door doesn’t move (often a travel limit or belt tension issue).
- Opener reverses immediately after hitting the floor (infrared safety sensor misalignment).
- WiFi connectivity drops repeatedly (requires board inspection for loose antenna wires).
- Opener makes grinding noises (motor brush or gear wear).
Removing the cover also allows you to visually check for burnt components, loose wires, or debris that might be obstructing the drive mechanism. For a deeper dive into one specific cause, refer to the Chamberlain B1381 Opener Motor Brush Replacement Guide.
What Tools and Safety Gear Do I Need for Cover Removal?
Before starting, gather the following items:
- Phillips-head screwdriver (#2 size) – for the two top cover screws.
- Flat-head screwdriver – for prying gently at stubborn clips.
- Step ladder – rated for at least 150 kg to reach the opener safely.
- Safety glasses – to protect from any dislodged springs or debris.
- Voltage tester – confirm power is disconnected before touching internal parts.
- Work gloves – sharp metal edges inside the cover can cut skin.
Disconnect the Chamberlain B1381 from mains power by unplugging it or flipping the circuit breaker. Wait 60 seconds for internal capacitors to discharge. Failure to do so can result in electric shock or damage to the logic board.
How Do I Remove the Chamberlain B1381 Cover Step by Step?
Follow these instructions carefully. The Chamberlain B1381 uses a two-piece plastic cover design: the main hood and the light lens assembly.
- Remove the light bulbs: Twist both LED bulbs counterclockwise and set aside. This prevents breakage during removal.
- Locate the two Phillips screws: They are on the top edge of the cover, near the motor housing. One is usually recessed behind a small plastic tab.
- Unscrew both screws completely and store them in a magnetic tray or small container.
- Slide the cover upward about 2 cm. You’ll feel a slight resistance from plastic clips holding the bottom edge.
- Gently rock the cover side to side while pulling outward. The lower clips should disengage without force. If they stick, use the flat-head screwdriver to gently pry the plastic tab outward.
- Lift the cover completely off and set it on a soft surface to prevent scratches.
If you encounter resistance, re-check that all screws are removed and that no wires are caught in the hinge area. For troubleshooting related to belt tension or travel limits after cover removal, see the Chamberlain B1381 Spring Tension Calibration: DIY Tutorial.
What Do the Error Codes on the Chamberlain B1381 Mean?
Once the cover is off, you can read the diagnostic LEDs on the circuit board. The Chamberlain B1381 uses a combination of flashing red and green lights. Below is a common severity and interpretation table:
| LED Pattern (Red/Green) | Error Code Number | Severity | Likely Cause | Solution |
|---|---|---|---|---|
| 1 red flash, pause | 1-1 | Low | Infrared safety sensor misaligned or obstructed | Clean sensor lenses, realign green and red LEDs |
| 2 red flashes, pause | 1-2 | Medium | Travel limit switch failure | Check limit switch contacts, adjust travel limits |
| 3 red flashes, pause | 1-3 | High | Motor thermal overload or jam | Let motor cool 30 min, check for mechanical binding |
| 4 red flashes, pause | 1-4 | Critical | Logic board failure or short circuit | Replace control board or contact service |
| Green rapid flash | N/A | Info | WiFi module booting / network searching | Wait 2 minutes; check router compatibility |
| Solid red (no green) | 2-1 | Medium | Battery backup low or disconnected | Replace battery or check terminal connections |
If you see a pattern not listed here, refer to the owner’s manual or the Chamberlain website. For networking related codes (rapid green), consult the Chamberlain B1381 WiFi Setup Troubleshooting: Network Compatibility Issues Explained.
What Should I Inspect After Removing the Cover?
With the cover off, use a flashlight to perform a visual inspection of these internal components:
- Circuit board: Look for burnt marks, swollen capacitors, or loose connectors. If the board has a “burned” smell, it may need replacement.
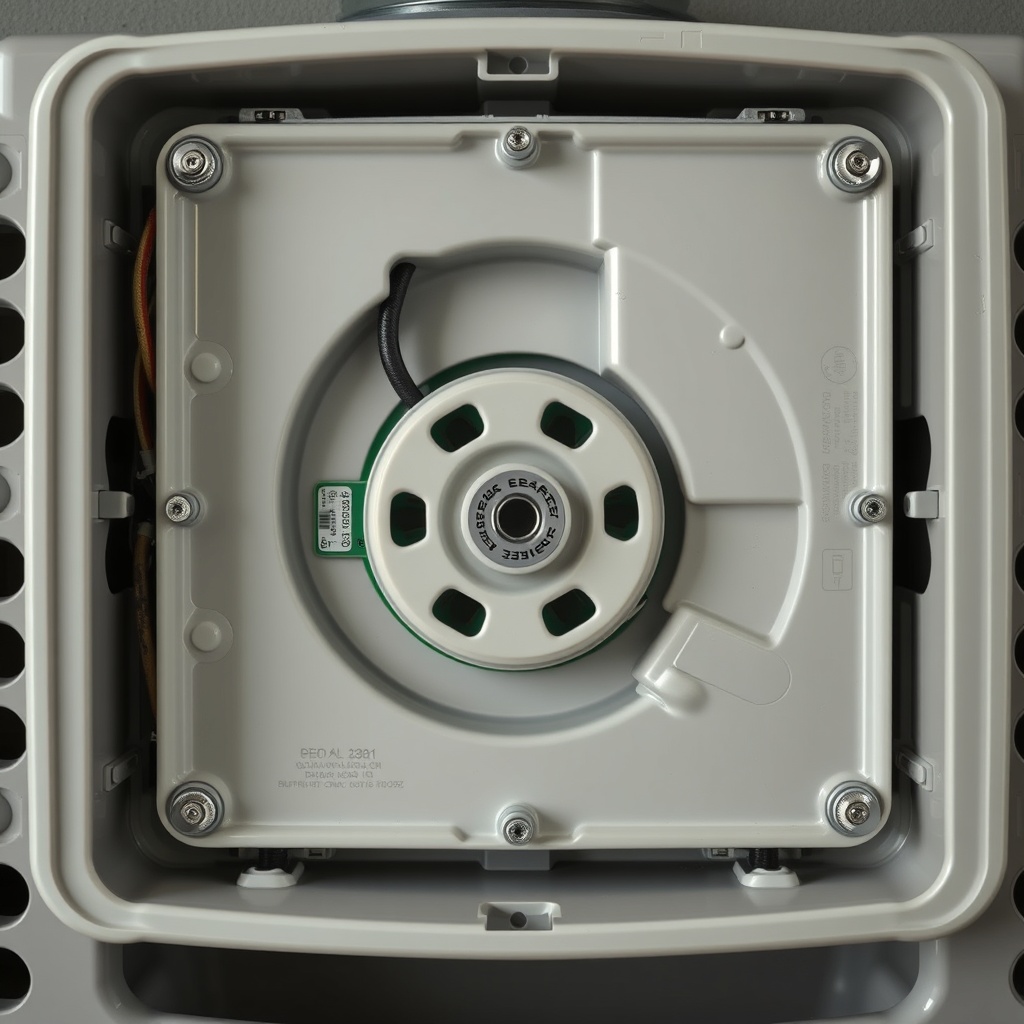
- Motor winding and brushes: Check for black dust (carbon brush wear) or broken brush springs. This is covered in detail in the Chamberlain B1381 Opener Motor Brush Replacement Guide.
- Drive belt or chain: Examine for cracks, fraying, or slack. If the belt is loose, follow the Chamberlain B1381 Belt Replacement: Step-by-Step DIY Guide.
- Capacitor and power supply: Leaking electrolyte or bulging tops indicate failure. Handle with care – capacitors can hold charge for minutes.
- Limit switch assembly: Small microswitches that can get stuck or have broken plastic tabs. Move them manually to test.
What Owners Say About Chamberlain B1381 Cover Removal and Error Codes
Online forums and customer reviews frequently mention cover accessibility as a strong point of the B1381. Owners appreciate that the cover comes off without removing the entire motor unit from the ceiling. Common feedback includes:
- “The two-screw design is simple – took under five minutes once I found the second screw behind the light socket.”
- “Error code 1-4 was a godsend – the red flashes told me exactly that the board was fried. Replaced it myself for £45 instead of calling a technician.”
- “Wish the manual included a clearer diagram of clip locations. Broke one tab prying too hard.” (Note: Using a flat-head screwdriver at the correct angle prevents this.)
- “After removing the cover, I found a loose ground wire that was causing intermittent WiFi drops. Fixed it in ten minutes.”
- “The table of LED codes in the manual is too vague. The three-flash meaning ‘motor thermal overload’ saved me from replacing the whole unit.”
Several users also note that the cover can trap dirt and dust, so cleaning the interior after removal (using compressed air) improves longevity. For regular maintenance, refer to the Chamberlain B1381 Roller Chain Lubrication and Maintenance Guide (if chain drive model) or the belt guide.
Frequently Asked Questions
1. Do I need to disconnect power before removing the cover?
Yes – always unplug the opener or turn off the circuit breaker. Wait 60 seconds for capacitors to discharge. This is critical for safety and to prevent short circuits on the live board.
2. How long does it take to remove the cover on a Chamberlain B1381?
Most DIYers can complete the removal in 3–5 minutes after the first attempt. The first time may take up to 10 minutes if the screws are tight or the clips are stiff.
3. Can I reinstall the cover with the opener energized?
No. Always reconnect power only after the cover is fully seated and screws are tightened. Working live increases the risk of electric shock and damaging the logic board.
4. What does a solid red LED with no green on the B1381 mean?
This typically indicates a battery backup issue (error code 2-1). Check the battery voltage (should be 12V or higher) and ensure the red/black wires are securely connected to the board.
5. The cover doesn’t come off even after removing all screws. What am I missing?
Check if the light lens is still attached. In some units, the lens has a hidden clip near the motor head. Gently insert a flat-head screwdriver between the cover and the metal housing to release the clip. Never force it – plastic cracks easily.
6. After cover removal, my opener shows error code 1-2 (travel limit). What now?
This error usually means the limit switch is stuck or the travel module is misaligned. Manually cycle the switch by pressing it with a screwdriver (while power is disconnected). If it clicks, the problem is likely in the wiring. If not, the limit switch assembly may need replacement.
For issues with remote range after repairs, check the Chamberlain B1381 Remote Range Issues: Diagnosis and Fixes guide.