What Causes the LiftMaster 8500 Motor Thermoprotector to Trip?
The LiftMaster 8500 is a wall-mounted, residential garage door opener known for its quiet belt drive operation and space-saving design. Like any electric motor, its internal thermoprotector is a safety device that cuts power when the windings exceed safe operating temperature. This frequently leads to the opener stopping mid-cycle or refusing to run. Common triggers include a tight door, prolonged continuous use, a failing start capacitor, or a seized bearing. For a deeper dive into heat-related issues, see our LiftMaster 8500 Opener Motor Overheating: Causes and Troubleshooting Guide.
How Do I Diagnose a Faulty Thermoprotector on the LiftMaster 8500?
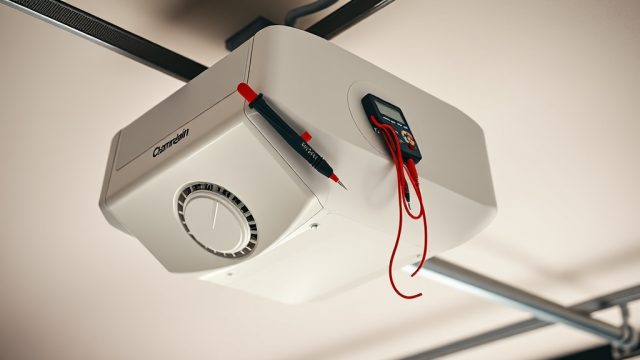
Diagnosing a thermoprotector that has tripped, or one that has failed open, requires a basic multimeter set to continuity (Ω) mode. The thermoprotector is a small, bi-metallic disc-shaped switch located on or embedded within the motor winding. Follow these steps:
- Disconnect power: Unplug the LiftMaster 8500 or turn off the dedicated circuit breaker.
- Access the motor: Remove the cover and locate the motor assembly at the back of the unit. The thermoprotector is usually held by a metal clip or embedded in a plastic housing near the winding leads.
- Test for continuity: Place one probe on each terminal of the thermoprotector. A reading of 0 ohms (continuity) indicates it is closed and functional. An open circuit (infinite ohms) means it has tripped or failed. If the motor is cold and the unit is tripped, the thermoprotector is likely defective.
- Check for temperature: If the motor feels hot to the touch, allow it to cool for 30–60 minutes. The thermoprotector should automatically reset. If it remains open after cooling, replacement is necessary.
What Are the Common Symptoms of a Tripped Thermoprotector?
When the thermoprotector on a LiftMaster 8500 activates, the opener will display specific error codes and behaviour patterns. Recognizing these clues is vital before replacing any parts:
| Symptom / Error Code | Severity | Likely Cause | Action Required |
|---|---|---|---|
| Motor runs 2–3 seconds, then stops; blinking LED code 1-5 | Moderate | Thermoprotector tripped due to heat | Allow motor to cool, check door balance, inspect capacitor |
| Opener will not start; no LED activity | High | Thermoprotector failed open | Test continuity, replace thermoprotector if open when cold |
| Motor runs but door moves slowly or stops mid-cycle | Moderate | Thermoprotector cycling rapidly from overload | Check for binding hinges or worn rollers, examine LiftMaster 8500 Belt Slippage: Diagnosis and Repair Guide |
| Burning smell or smoke from motor housing | Critical | Thermoprotector failed to trip; motor overheating | Immediately disconnect power, replace motor assembly or thermoprotector |
| Opener works after cooling down for 20+ minutes | Low | Intermittent thermal trip (normal operation) | Improve ventilation, reduce duty cycle, upgrade to heavy-duty unit |
How Do I Test the Thermoprotector with a Multimeter?
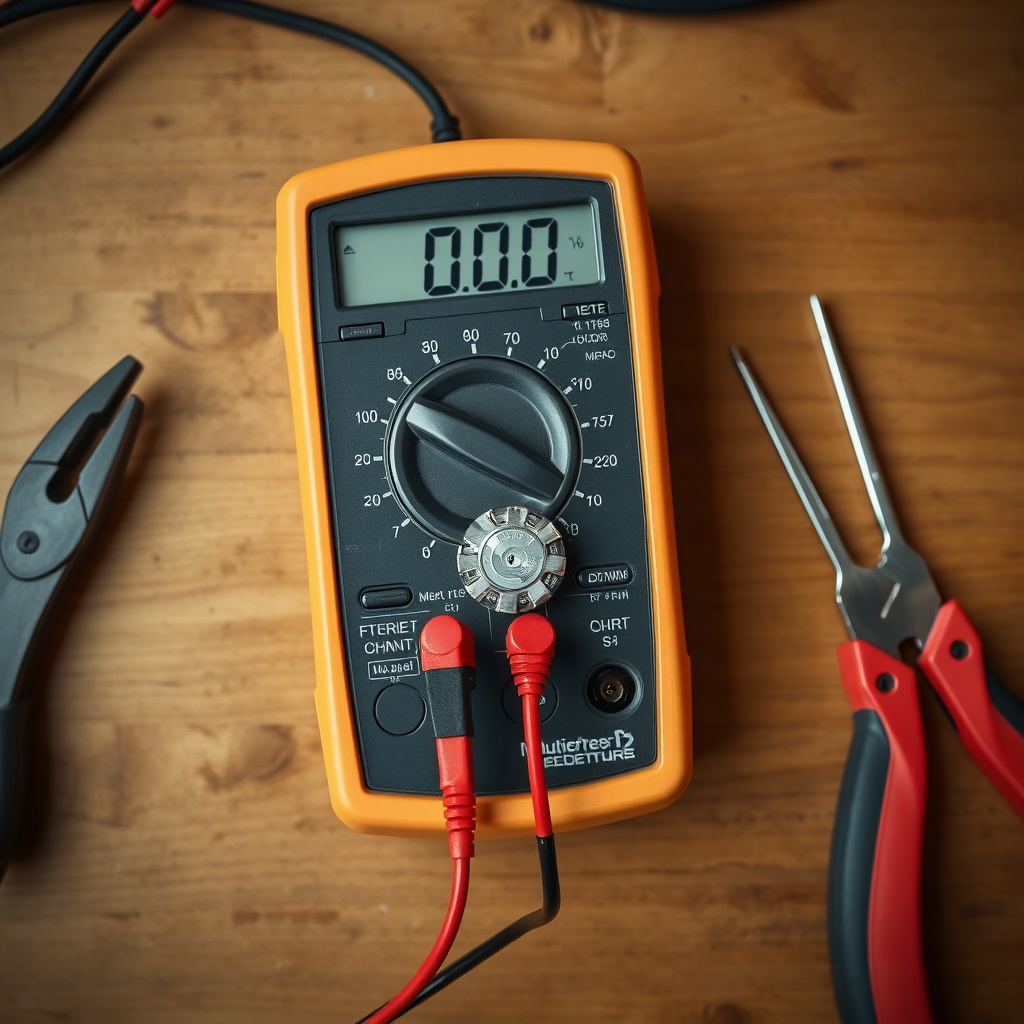
Accurate testing of the LiftMaster 8500 motor thermoprotector requires a digital multimeter with a continuity setting. Here is the step-by-step procedure:
- Safety first: Ensure the garage door opener is unplugged and the capacitor is fully discharged. Capacitors can hold a lethal charge—refer to our LiftMaster 8500 Opener Motor Capacitor Testing: DIY Tutorial for safe discharge steps.
- Locate the thermoprotector: On the LiftMaster 8500, it is typically a white or black oval component, about the size of a 50 pence coin, attached to the motor winding with a spring clip. Trace the two wires from the motor to the component.
- Remove wires: Carefully disconnect the two spade connectors from the thermoprotector terminals. Mark or photograph the orientation.
- Measure continuity: Set the multimeter to continuity or resistance (200 ohms range). Touch the probes to the two terminals. A good thermoprotector will show continuity (0–1 ohm). An open circuit indicates a failure.
- Tap test: Sometimes a stuck contact can be freed by gently tapping the thermoprotector with the rubber handle of a screwdriver while measuring. If continuity appears and disappears, replace the part.
How Do I Replace the Thermoprotector on a LiftMaster 8500?
If testing confirms the thermoprotector is defective, replacement is a straightforward DIY task. Most LiftMaster 8500 models use a standard 130°C (266°F) bimetallic disc. Replacement parts cost between £8 and £15 from hardware suppliers or online retailers. Here is how to proceed:
- Remove the old thermoprotector: Use a flathead screwdriver to gently pry the spring clip open. Slide the component out of its holder.
- Note the orientation: The thermoprotector is not polarity-sensitive, but ensure the new one is firmly seated in the clip.
- Reconnect the wires: Push the spade connectors onto the terminals until they click. Tug gently to verify they are secure.
- Test operation: Before reassembling the cover, plug the opener in and press the wall button. The motor should start and run smoothly. If the motor hums but does not turn, check the start capacitor; see our LiftMaster 8500 Opener Motor Start Capacitor Testing Guide for guidance.
- Reassemble and adjust: Replace the cover, reconnect the door, and perform a full cycle. If the thermoprotector trips again immediately, the root cause may be an overloaded motor. Consult the LiftMaster 8500 Opener Motor Capacitor Replacement: DIY Step-by-Step Guide for capacitor issues.
What Owners Say About the LiftMaster 8500 Thermoprotector
Experienced homeowners and garage door technicians who have repaired LiftMaster 8500 units commonly report that thermoprotector issues are often mistaken for motor failure. One frequent comment is: “The opener stopped working in the middle of a hot summer afternoon. I thought the motor was dead, but after checking the thermoprotector continuity, it was open. A £10 part fixed it.” Another owner noted that after replacing the thermoprotector, the door still tripped the thermal switch because the door springs were misadjusted. The lesson here is that the thermoprotector is a symptom indicator, not the root cause. Many owners also appreciate that the test procedure is simple with a basic multimeter. However, a minority report that the thermoprotector is difficult to access without removing the entire motor bracket, which adds 20–30 minutes to the repair. Overall, the consensus is that this is a reliable component when the door is properly balanced and the opener is not oversized. To prevent recurrence, ensure the door moves smoothly and check the LiftMaster 8500 Safety Sensor Replacement: Step-by-Step DIY Guide for alignment issues that can cause extra drag.
Frequently Asked Questions
1. Can I bypass the thermoprotector temporarily?
No. Bypassing the thermoprotector is extremely dangerous as it can lead to motor fire or permanent damage. Always replace a faulty thermoprotector with an identical rated part (130°C typical).
2. How much does a replacement thermoprotector cost for the LiftMaster 8500?
A genuine or compatible thermoprotector for the LiftMaster 8500 costs between £8 and £15 from UK suppliers. A full motor assembly replacement is significantly more, around £70–£120.
3. Will the thermoprotector reset automatically?
Yes, under normal conditions, the thermoprotector resets automatically once the motor cools down to a safe temperature (typically below 80°C). If it does not reset within 30 minutes, the component is likely defective.
4. What error code does a thermoprotector trip show on the LiftMaster 8500?
The most common error code is a flashing light pattern of 1 flash, pause, and 5 flashes (1-5). This indicates the motor control board detected an over-temperature condition.
5. Can a bad start capacitor cause the thermoprotector to trip?
Yes. A failing start capacitor can cause the motor to draw excessive current during startup, leading to rapid heating and thermal trips. Always test the capacitor if thermoprotector problems persist.
6. How long should I let the motor cool before testing the thermoprotector?
Allow at least 30 minutes of cool-down time before testing. For accurate continuity testing, the motor should be at room temperature (15–25°C). If the thermoprotector shows an open circuit when cold, it is faulty.