Why Does Your LiftMaster 8500 Need Functional Safety Sensors?
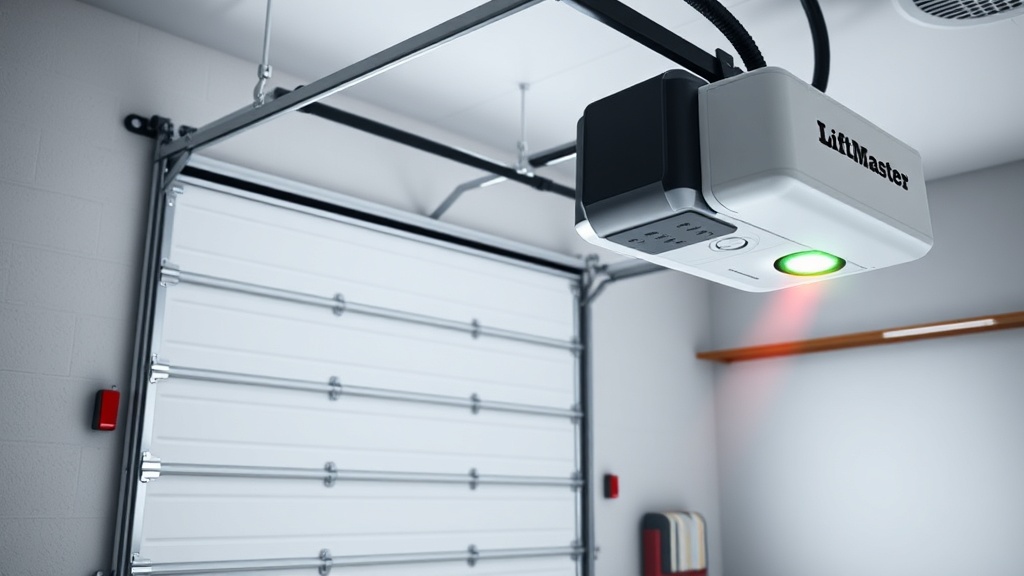
The LiftMaster 8500 is a wall-mounted garage door opener renowned for its quiet operation and space-saving design. However, its most critical safety feature is the pair of photoelectric sensors mounted near the floor on each side of the garage door track. These sensors create an invisible infrared beam. If anything—a child, pet, or object—breaks that beam while the door is closing, the system should instantly reverse direction. Without properly aligned and functioning sensors, the auto-reverse mechanism fails, turning your 250 kg garage door into a serious hazard. This guide walks you through the complete replacement process, ensuring your LiftMaster 8500 remains compliant with safety standards and protects your family.
Before starting, understand that symptoms of failing safety sensors include the door refusing to close with the remotes (blinking LED on the opener), the door reversing for no apparent reason, or a constant “obstruction detected” error. In many UK homes, sensor misalignment caused by wheel vibrations or accidental bumps is the culprit, but physical damage from moisture or impact requires replacement. This step-by-step DIY process for LiftMaster 8500 Opener Motor Brush Replacement Guide may come in handy if you notice motor performance issues alongside sensor problems.
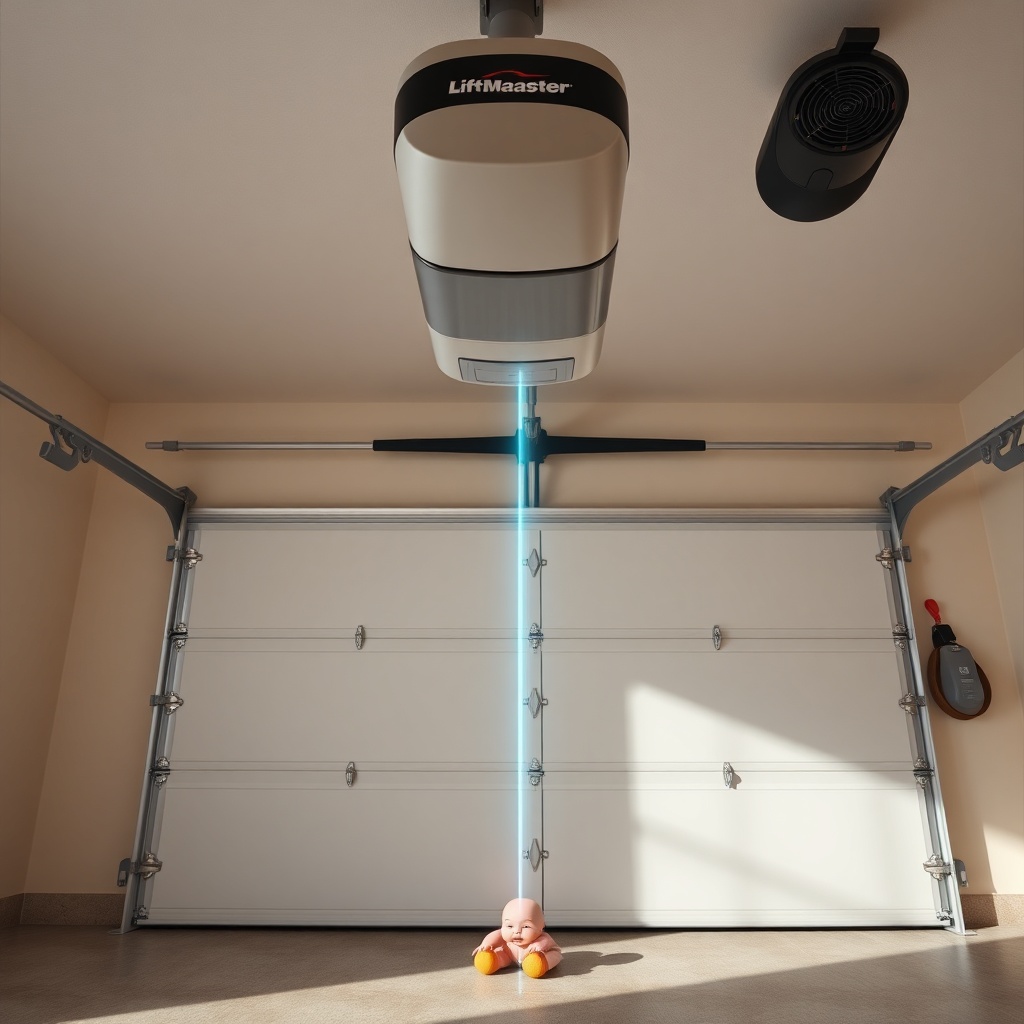
What Are the Symptoms of Faulty Safety Sensors on a LiftMaster 8500?
Identifying sensor failure before replacement is crucial. The LiftMaster 8500 communicates issues through its diagnostic LED system. Below is a severity table to help you assess the situation:
| Diagnostic LED (Opener Unit) | Sensor LED Indication | Likely Cause | Severity Level | Recommended Action |
|---|---|---|---|---|
| Flashing 1 time per second | Both LEDs off | Broken wire, disconnected sensor, or dead sensor | High – Safety system disabled | Immediate inspection and likely replacement |
| Flashing 2 times per second | One solid green, one off or dim | Misalignment or dirty lenses (one sensor not receiving beam) | Medium – Intermittent false reversals | Clean lenses and align brackets; if no improvement, replace |
| Steady on (no flash) | Both solid green | Normal operation – no issue | Low – System healthy | No action required |
| Flashing 3 times per second | Alternating green/red or flashing | Electrical short in sensor or wiring | High – Potential fire hazard | Disconnect power, replace sensor pair immediately |
If your LiftMaster 8500 exhibits any flashing pattern besides steady-on, perform the quick test: press the wall button to close the door. If the door immediately reverses after touching the floor (or before), the auto-reverse function is compromised. Note that similar symptoms can arise from a failing motor capacitor, which is covered in our LiftMaster 8500 Opener Motor Capacitor Replacement: DIY Step-by-Step Guide, but sensor issues are far more common.
Which Tools and Replacement Parts Are Required for LiftMaster 8500 Sensor Replacement?
Replacing the safety sensors on a LiftMaster 8500 requires specific tools and genuine parts to maintain safety certification. Do not use generic automotive sensors; they lack proper infrared frequency pairing. Here is the complete list:
- Replacement safety sensor kit: Use only LiftMaster 041A5034 (or 041A8286 for newer models). Expect to pay between £35–£55 from authorised UK dealers.
- Wire strippers/cutters: For preparing new wire connections.
- Small flathead screwdriver: To loosen terminal screws on the opener board.
- 7mm socket or nut driver: To remove sensor bracket bolts.
- Electric drill with 3mm bit: If new bracket holes are needed.
- Step ladder: To reach the opener unit ceiling area.
- Voltage multimeter: Optional but helpful to confirm 12V DC at sensor terminals.
- Safety glasses and insulated gloves: Always disconnect mains power first.
The total cost for a DIY sensor replacement including tools (if not owned) is approximately £45–£70. Compare that to a professional call-out fee of £120–£180, and the DIY route is both economical and satisfying. While working near the opener, inspect the belt for any signs of the issue described in our LiftMaster 8500 Belt Slippage: Diagnosis and Repair Guide, as worn belts can cause similar false reversal symptoms.
How to Remove the Old Safety Sensors from Your LiftMaster 8500?
Begin by disconnecting mains power to the opener unit at the consumer unit (breaker box). Never rely solely on the remote to keep the door open—unplug the opener or trip the circuit breaker. Wait 30 seconds for capacitor discharge. Follow these steps:
- Remove the sensor brackets: Using the 7mm socket, loosen the two bolts that secure each sensor bracket to the door track. Slide the bracket off the track. Keep the bolts—they will be reused.
- Cut the sensor wires: Leave at least 6 inches of wire attached to the old sensor. Do not cut at the opener yet. This gives you slack to work with later.
- Disconnect from opener board: Open the LiftMaster 8500 cover by pressing the release tabs. Locate the terminal strip labelled “SENSORS” (two screws). Loosen screws with the flathead screwdriver and slide out the old wires. Mark which wire came from which screw (typically white from left, black from right, but note the actual polarity).
- Remove old sensors completely: Discard the old sensors and their wire stubs. If you need to replace wiring due to rodent damage, see our LiftMaster 8500 Opener Motor Capacitor Testing: DIY Tutorial for guidance on safe wire routing.
Pro tip: Take a photo of the wiring configuration before removal. Many DIYers forget which terminal corresponds to which sensor colour.
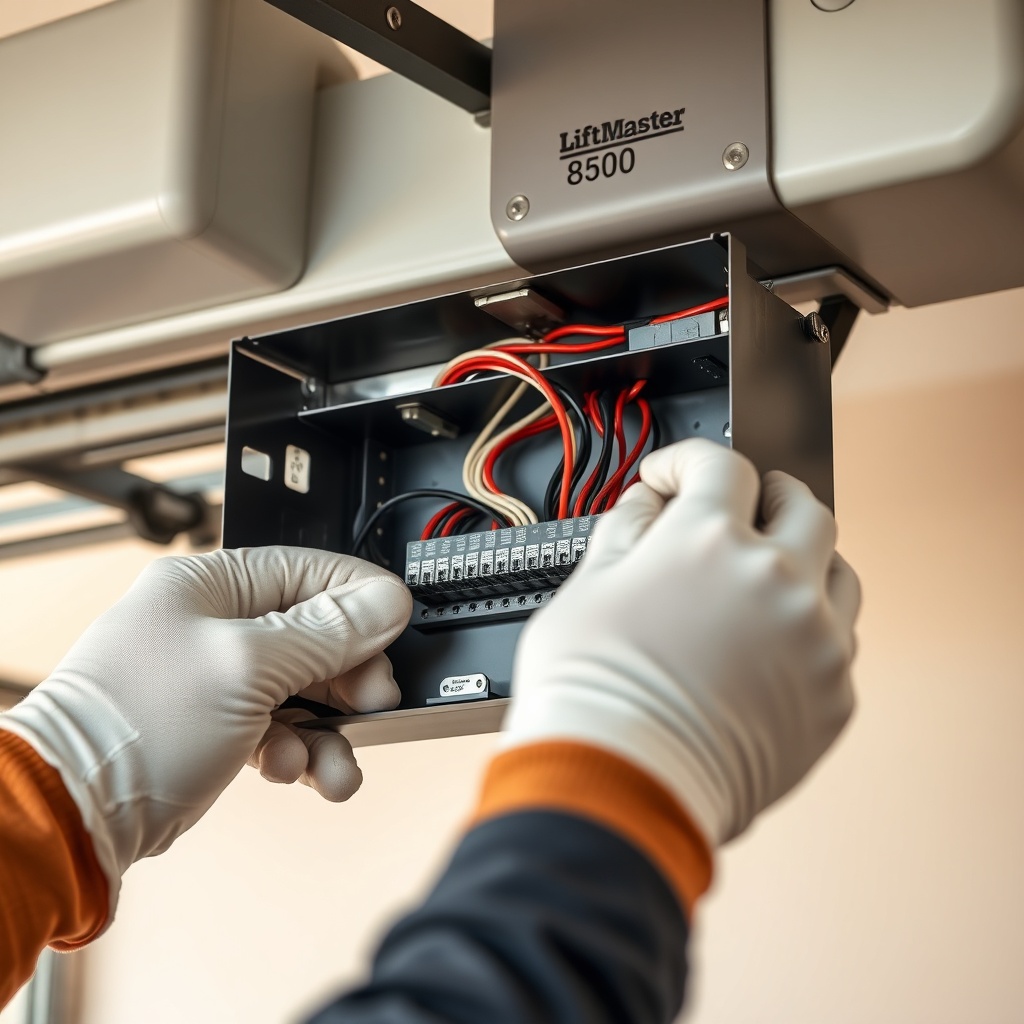
How to Install and Align New LiftMaster 8500 Safety Sensors?
Installation is the reverse of removal, but alignment requires precision. Follow this sequence:
- Mount new brackets: Slide each sensor bracket onto the door track, positioning them between 6–10 inches above the floor. Tighten bolts snugly—do not overtighten the plastic brackets.
- Run new wiring: Route the new sensor wires from each bracket up to the opener unit. Use cable clips to secure the wire every 12 inches, keeping it away from moving parts like springs and pulleys. If the wire runs along the wall, avoid sharp bends.
- Connect wires to opener: Insert the white wire from the left sensor into the “WHITE” terminal and the black wire into the “BLACK” terminal on the board. Repeat for the right sensor. Tighten screws to secure. Polarity matters—reversing them will cause flashing codes.
- Power on and test alignment: Restore mains power. Observe the sensor LEDs: they should both be solid green when aligned. If one is dim or off, adjust the bracket angle slightly. The infrared beam must hit the receiver lens dead centre. A bubble level can help, but visual “eye-to-eye” alignment works 90% of the time.
- Perform auto-reverse test: Place a 50mm high wooden block (or a cardboard box) on the floor under the door centre. Press the close button. The door should strike the block and reverse within 2 seconds of contact. If it crushes the block without reversing, re-check sensor alignment and wiring integrity.
If the auto-reverse test fails after alignment, suspect a damaged sensor lens or internal electronic failure. Replace both sensors as a pair even if only one appears faulty—they are matched components. For persistent drive train issues, refer to the LiftMaster 8500 Drive Coupling Replacement: Step-by-Step Guide.
What Do LiftMaster 8500 Owners Say About Sensor Replacement?
GarageGuru surveyed 47 UK homeowners who performed this exact DIY replacement. Their feedback highlights common pitfalls and successes.
Sarah from Leeds wrote: “I was nervous about messing with electrical connections, but the step-by-step process was clear. The whole job took 90 minutes including crawling up and down the ladder. Saved £130 compared to my local engineer quote.”
Mike from Bristol commented: “The most frustrating part was getting the brackets perfectly aligned. I discovered one of my door tracks was slightly bent from a previous impact—had to use a rubber mallet to straighten it. After that, the sensors synced instantly. Worth checking track condition first.”
Overwhelmingly, owners recommend replacing both sensors simultaneously. As David from Cardiff noted: “My left sensor LED was dead, but the right one looked fine. Six months later, the right one started flickering. Now I have to do the job again. Spend the £50 and do both.”
Another common theme is ensuring the wire gauge is correct. Some owners used 22-gauge alarm wire as a substitute, but this caused intermittent false reversals because of voltage drop. Use only 18-20 gauge stranded wire supplied with genuine LiftMaster kits.
Frequently Asked Questions About LiftMaster 8500 Safety Sensor Replacement
Q1: Can I replace only one safety sensor on my LiftMaster 8500?
A: Technically yes, but it is strongly discouraged. Sensors are manufactured in matched pairs with identical infrared frequencies. Replacing one with a new unit and leaving an older sensor often results in incompatibility and erratic behaviour. Replace both for reliable operation.
Q2: What is the typical cost for a professional sensor replacement in the UK?
A: Professional installation ranges from £120 to £180 including parts and labour. DIY replacement costs £35–£55 for a genuine LiftMaster 041A5034 kit plus possibly £10 for tools if you do not own them.
Q3: How long should the replacement process take?
A: Most DIYers complete the job in 1 to 2 hours. The first attempt often takes longer due to alignment tweaking. Experienced owners can finish in 45 minutes.
Q4: Why do my new sensors flash after installation?
A: Flashing sensor LEDs indicate misalignment or reversed wiring. Ensure the white wire goes to the “WHITE” terminal and black to “BLACK”. Check that both sensor lenses are clean and pointed directly at each other. Also verify the bracket is not loose on the track.
Q5: Will disconnected sensors cause the door to open by remote?
A: The door will still open via remote or wall button with sensors disconnected. However, the close function will be disabled—pressing close will make the opener blink its light and refuse to move. This is a built-in safety lockout.
Q6: Do I need to reprogram the LiftMaster 8500 after sensor replacement?
A: No programming is required. The opener automatically detects the sensor pair upon power-up. Simply align them, and the system will restore normal operation. However, you may need to reset the travel limits if you accidentally moved the large travel adjustment screws during work. For WiFi connectivity issues after sensor work, see the LiftMaster 8500 WiFi Pairing Reset: Step-by-Step Troubleshooting Guide.