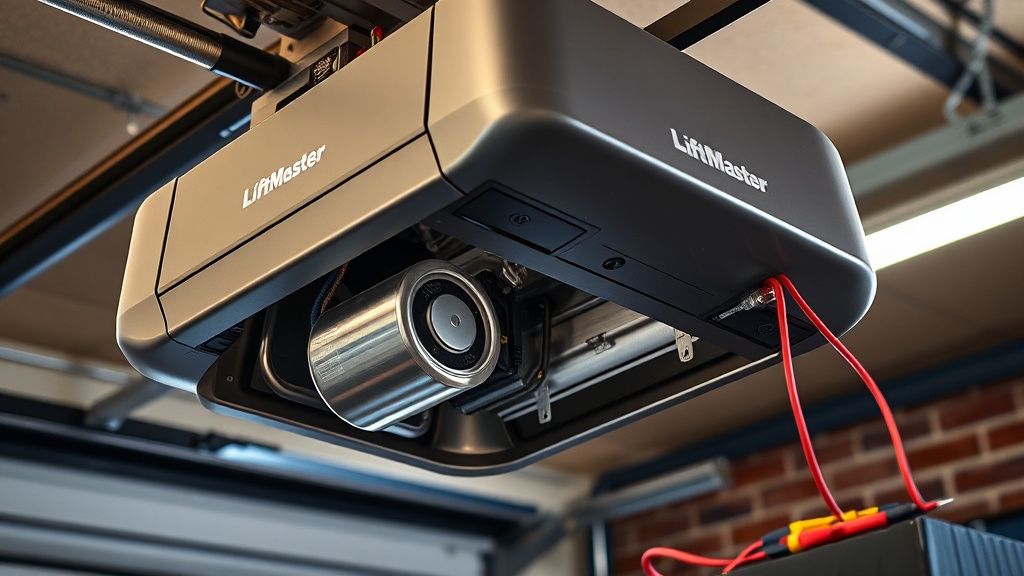
LiftMaster 8500 Opener Motor Start Capacitor Testing Guide
If your LiftMaster 8500 garage door opener hums but refuses to move, or takes several attempts to start, the motor start capacitor is often the culprit. This guide walks through systematic testing of that cylindrical component, helping homeowners identify failures without guesswork. Understanding how to diagnose a capacitor fault saves time and prevents replacing parts unnecessarily.
What Does the Start Capacitor Do in the LiftMaster 8500?
The motor start capacitor stores electrical energy and releases it to provide the initial torque needed to spin the opener’s motor. In the LiftMaster 8500, which uses a direct-drive system rather than a belt or chain, the capacitor must supply consistent voltage during startup. When the capacitor weakens or fails, the motor may stall, run slowly, or produce a noticeable buzzing sound. Testing the capacitor is the first step before considering more complex repairs like drive coupling replacement.
Common symptoms of a failing capacitor include:
- Motor hums but does not rotate
- Opener takes longer than usual to engage
- Intermittent operation after partial restarts
- Error codes on the Smart Control Panel (e.g., blinking 1-5)
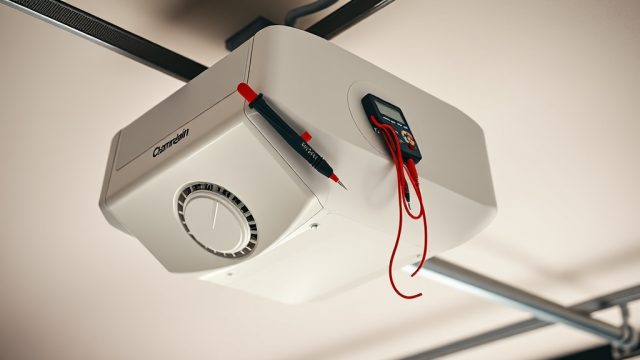
A proper test requires a digital multimeter with capacitance measurement capability. Without one, the capacitor cannot be accurately evaluated.
Which Symptoms Point to a Bad Capacitor vs. Other Issues?
Distinguishing a capacitor fault from other problems prevents wasted time. The table below compares common failure modes for the LiftMaster 8500.
| Symptom | Likely Cause | Severity | Action Required |
|---|---|---|---|
| Motor hums, no movement | Bad start capacitor | Moderate | Test and replace capacitor |
| Motor runs but door jerks | Belt slippage or drive coupling | Moderate | Inspect belt slippage and coupling |
| Motor runs hot, thermal trip | Capacitor or motor windings | High | Test capacitor; check overheating causes |
| No sound, no power | Power supply or control board | High | Check outlet, fuse, or circuit board |
| Door reverses unexpectedly | Safety sensor misalignment | Low | Align or replace safety sensors |
If the opener hums but the motor shaft does not turn, the capacitor is almost certainly at fault. However, verify with a multimeter before ordering parts.
What Tools Are Needed for Capacitor Testing?
Testing the LiftMaster 8500’s start capacitor requires only a few items:
- Digital multimeter with capacitance mode (μF range)
- Insulated screwdrivers (flathead and Phillips)
- Safety glasses
- Pen and paper to record readings
- Optional: capacitor discharge resistor (10kΩ, 5W)
Most household multimeters sold at hardware stores include a capacitance setting. If yours does not, a dedicated capacitance meter costs approximately £20 to £40. For safety, always discharge the capacitor before handling. The LiftMaster 8500’s capacitor holds charge even after the unit is unplugged.
How to Safely Discharge the Capacitor Before Testing?
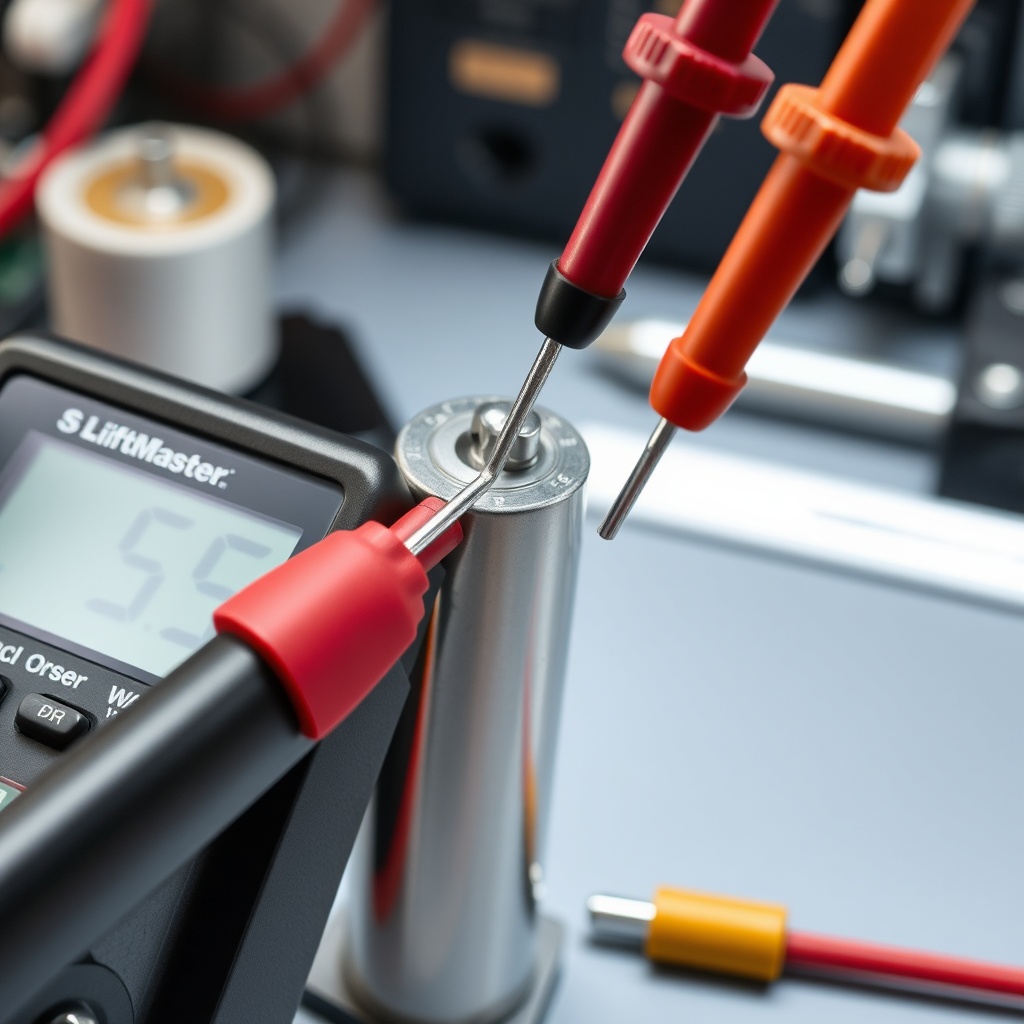
Capacitors store lethal amounts of electrical energy. Even with the opener unplugged, the capacitor can retain charge for days. Follow these steps to discharge it safely:
- Unplug the LiftMaster 8500 from the mains outlet.
- Locate the capacitor under the motor cover (rear of the unit, silver cylindrical component).
- Using an insulated screwdriver, bridge the two terminals together for at least five seconds. A spark may occur—this is normal.
- Alternatively, use a 10kΩ resistor with insulated leads to slowly drain the charge.
- Confirm discharge with a multimeter set to DC voltage; reading should be near zero.
Never short the terminals with bare metal tools if unsure of insulation. After discharging, remove the capacitor from its mounting bracket and note the microfarad (μF) rating printed on the side. For the LiftMaster 8500, common values are 35μF or 40μF at 250VAC. Use this rating as your target for testing.
What Are the Step-by-Step Testing Procedures?
With the capacitor discharged and removed, follow this sequence:
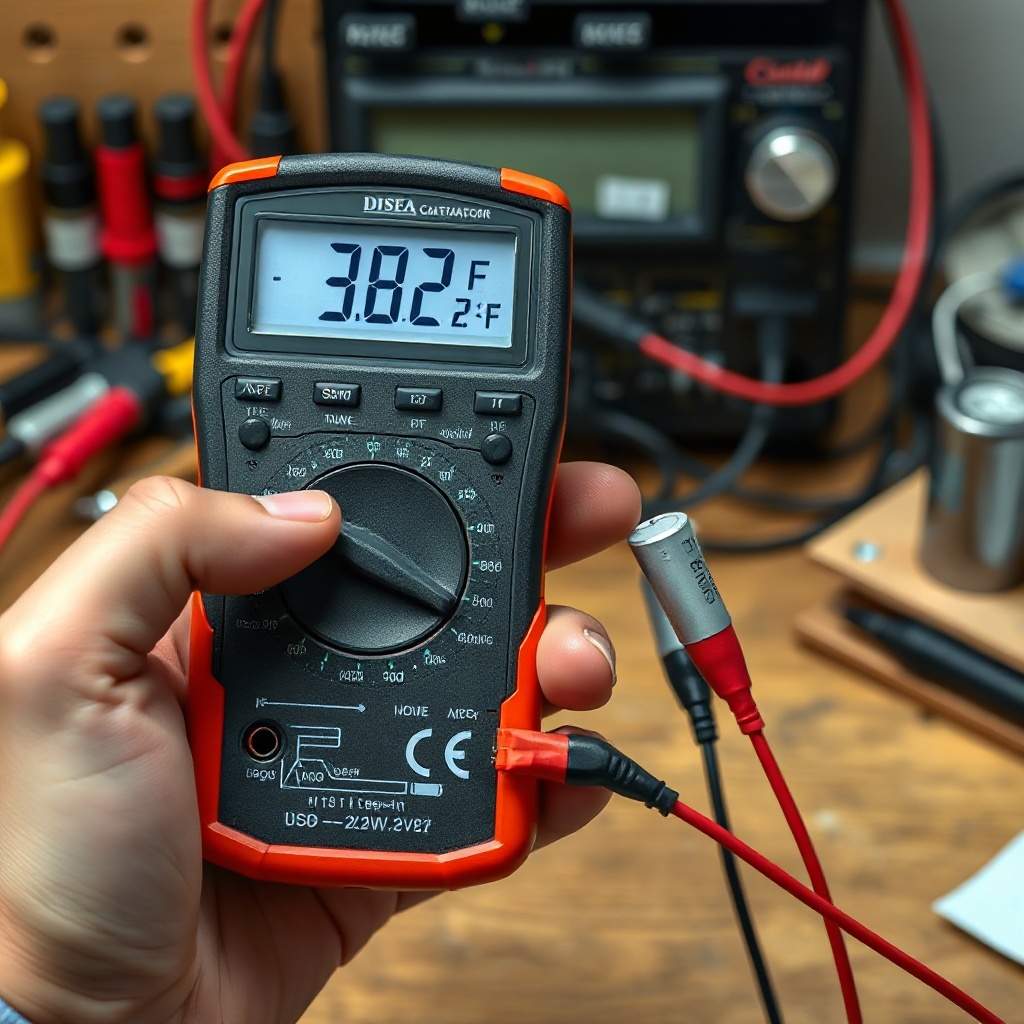
- Set the multimeter to capacitance mode (symbol: “–|(–” or “μF”).
- Insert the black probe into the COM jack and the red probe into the μF jack.
- Touch the probes to the capacitor terminals. Polarity does not matter for a non-polarised start capacitor.
- Read the value on the display. A healthy capacitor should read within ±6% of its rated value. For a 40μF capacitor, acceptable range is 37.6μF to 42.4μF.
- If the reading is below 35μF or shows “OL” (open line), the capacitor is failed.
- Also check for physical signs: bulging top, leaked oil, or burnt smell.
A reading of exactly zero or very low (e.g., 2μF) indicates the capacitor has lost its dielectric properties and must be replaced. If the multimeter shows no capacitance reading, the internal connections have broken completely—the component is dead.
For a detailed visual walkthrough, refer to the capacitor testing DIY tutorial.
What Do the Error Codes Mean When the Capacitor Fails?
The LiftMaster 8500’s control panel blinks error codes that help pinpoint capacitor or motor issues. Common codes related to capacitor failure:
- 1-5 (one flash, pause, five flashes): Motor start failure. Often triggered by a weak capacitor that cannot deliver enough torque.
- 2-2: Motor stalled during travel. This may also occur if the capacitor loses power mid-cycle.
- 2-5: Excessive motor current. A shorted capacitor can draw high amps, causing the control board to trip.
If the opener displays one of these codes and the motor hums, test the capacitor before replacing the entire motor assembly. In many cases, a simple £12 to £20 part restores full function. Ignoring a bad capacitor can lead to motor winding damage over time, as the motor attempts to start without sufficient torque.
What Owners Say About Capacitor Testing
Experienced LiftMaster 8500 owners consistently praise the simplicity of capacitor testing as a first diagnostic step. Many report that a multimeter reading below 30μF on a 40μF-rated capacitor instantly solved their “humming but not moving” problem. One owner noted, “I spent two hours troubleshooting belts and sensors before I tested the capacitor—it was dead simple and fixed everything.” Another pointed out that the capacitor is easily accessible under the rear cover, requiring only a screwdriver and a few minutes. Owners also recommend keeping a spare capacitor on hand, as failures often occur without warning, typically during humid weather or after long idle periods. The consensus: start with the capacitor, and if that tests good, move to capacitor replacement only after verifying the part is genuinely bad.
Frequently Asked Questions
Q1: Can I test the capacitor without removing it from the opener?
A: No—the capacitor must be disconnected from the circuit to obtain an accurate capacitance reading. In-circuit measurements are affected by other components and will give false results.
Q2: What happens if I use a capacitor with a higher μF rating?
A: A slightly higher value (e.g., 45μF instead of 40μF) may work but can cause the motor to run hotter and potentially trip thermal protection. Always replace with the exact OEM rating or as specified by the manufacturer.
Q3: How much does a replacement capacitor cost for the LiftMaster 8500?
A: A genuine OEM capacitor typically costs £15 to £25. Compatible aftermarket parts are available for £8 to £15, but verify the voltage and μF rating match.
Q4: Will a bad capacitor cause the opener to overheat?
A: Yes—if the capacitor cannot supply sufficient starting torque, the motor draws higher running current, increasing heat. This can lead to thermal switch trips or permanent motor damage. See the overheating troubleshooting guide for more details.
Q5: How long does a LiftMaster 8500 capacitor typically last?
A: With normal usage, start capacitors last 5 to 8 years. Frequent power surges, high humidity, or temperature extremes shorten lifespan. Owners in coastal areas may experience failures sooner.
Q6: Do I need to replace any other parts when changing the capacitor?
A: Not usually. However, if the capacitor leaked electrolyte, inspect the wiring and motor terminals for corrosion. In such cases, cleaning contacts and checking the motor winding resistance is wise. Always replace the capacitor with the same type (electrolytic, non-polarised, 250VAC minimum).