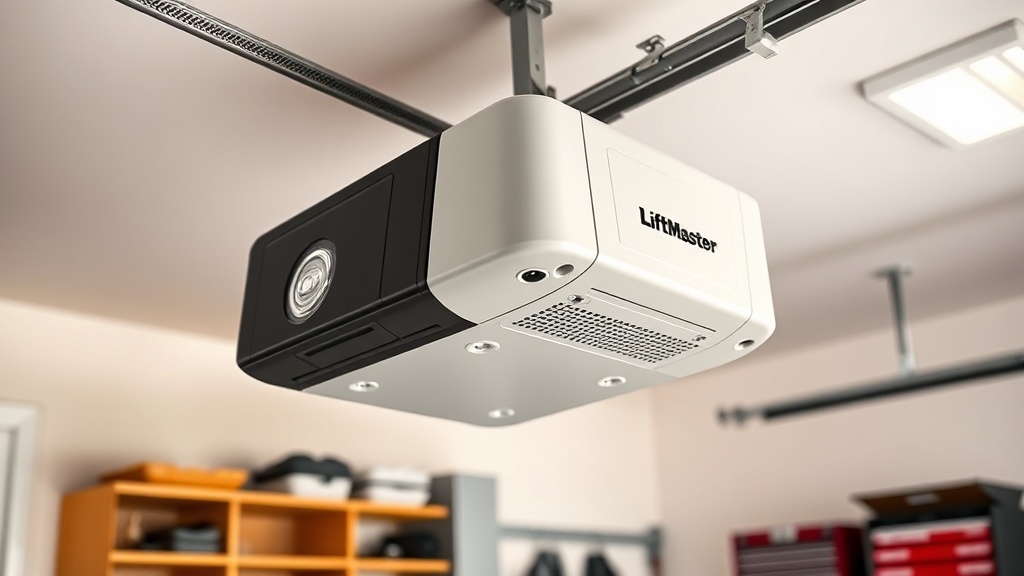
LiftMaster 8500 Opener Motor Capacitor Replacement: DIY Step-by-Step Guide
When the LiftMaster 8500’s motor hums but fails to lift the door, a failing capacitor is often the culprit. This guide walks through capacitor replacement with clear steps, cost estimates in GBP (£), and safety checks. For owners in the UK, replacing the motor capacitor restores smooth, quiet operation and prevents more expensive repairs down the line.
Before starting, always disconnect the opener from mains power and discharge the old capacitor using a 20kΩ resistor across its terminals. A new capacitor typically costs £8–£15 from local hardware stores or Amazon UK.
1. What tools and parts are needed for LiftMaster 8500 capacitor replacement?
Gather the following items before opening the motor cover:
- Replacement capacitor: 120µF, 250V AC, round or oval (check original part number for exact fit). Common brands include Boost, Suntan, and Genteq.
- Insulated screwdrivers: Phillips #2 and flathead (for ground terminal).
- Needle-nose pliers for disconnect terminals.
- Multimeter set to capacitance mode (optional but recommended for verification).
- Safety gear: rubber gloves and safety glasses.
- 20kΩ, 5W resistor (for discharging).
Pro tip: If you’re unsure about the exact capacitance, check the LiftMaster 8500 Opener Motor Capacitor Testing: DIY Tutorial for step-by-step measurement using a multimeter.
2. How do I access the motor capacitor on the LiftMaster 8500?
Follow these steps to expose the capacitor housing:
- Power down: Unplug the opener from the wall socket (240V in the UK). Wait 30 seconds for internal discharge.
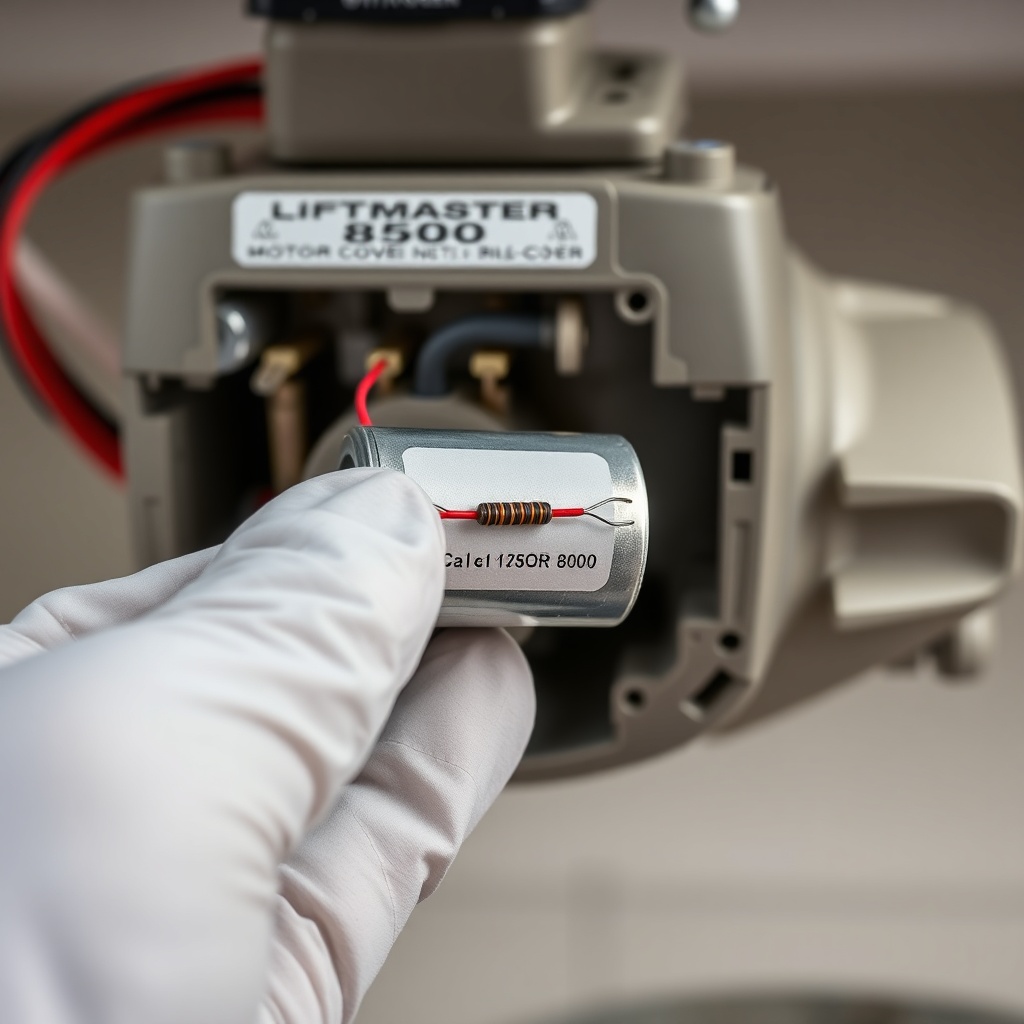
- Remove the motor cover: Unscrew the four Phillips-head screws securing the black plastic shroud. Lift it straight up and set aside.
- Locate the capacitor: It’s a cylindrical or rectangular component mounted on or near the motor’s side, usually with two quick-connect terminals (often covered by a plastic insulator).
- Discharge safely: Hold the resistor across the two terminals for at least 10 seconds. Use rubber gloves and ensure the resistor doesn’t touch the metal motor frame.
Warning: The capacitor can hold charge even after the unit is unplugged. Skipping discharge risks electric shock or damage to the multimeter.
3. Step-by-step: removing and installing the new capacitor
Once the area is safe, replace the capacitor:
- Label wires: Use painter’s tape to mark which wire goes to each terminal (usually a white common wire and a black or red run wire).
- Remove the old capacitor: Grip each spade connector with needle-nose pliers and pull gently. If stuck, gently rock side-to-side. Do not yank wires directly.
- Unscrew the mounting bracket: Most LiftMaster 8500 units have a metal strap or plastic clip. Use a screwdriver to free the old capacitor.
- Insert the new capacitor: Orient the new unit in the same direction. Tighten the bracket snugly—do not overtighten.
- Reconnect wires: Push each spade connector fully onto the new terminals until you hear a click. Recheck polarity: the new capacitor’s terminals are often labelled “C” (common) and “F” (fan/run).
- Secure the cover: Replace the plastic shroud and tighten all four screws.
After replacement, manually move the door to verify the operation. If the door still hums or moves slowly, the motor LiftMaster 8500 Opener Motor Brush Replacement Guide may be needed alongside capacitor testing.
4. Common symptoms of a bad capacitor in the LiftMaster 8500
Recognising these signs saves time and avoids unnecessary part swaps:
- Motor hums but door doesn’t move – most common indicator of a failed start capacitor.
- Door opens slowly or jerks – reduced capacitance disrupts torque.
- Intermittent operation – capacitor may work cold but fail when warm.
- Burning smell or swollen casing – capacitor is leaking or bulging; replace immediately to prevent fire risk.
- Lights flicker when door operates – excessive draw from defective capacitor strains the circuit.
Severity level of capacitor failure
| Condition | Severity | Action needed |
|---|---|---|
| Swollen or leaking capacitor | Critical | Replace immediately; risk of short circuit and fire. |
| Humming but no movement | High | Replace capacitor; test motor resistance afterward. |
| Slow or jerky operation | Moderate | Replace capacitor; also inspect belt and drive coupling. |
| Intermittent hesitation | Low | Test capacitance first; replacement usually resolves. |
5. Can I test the old capacitor before buying a replacement?
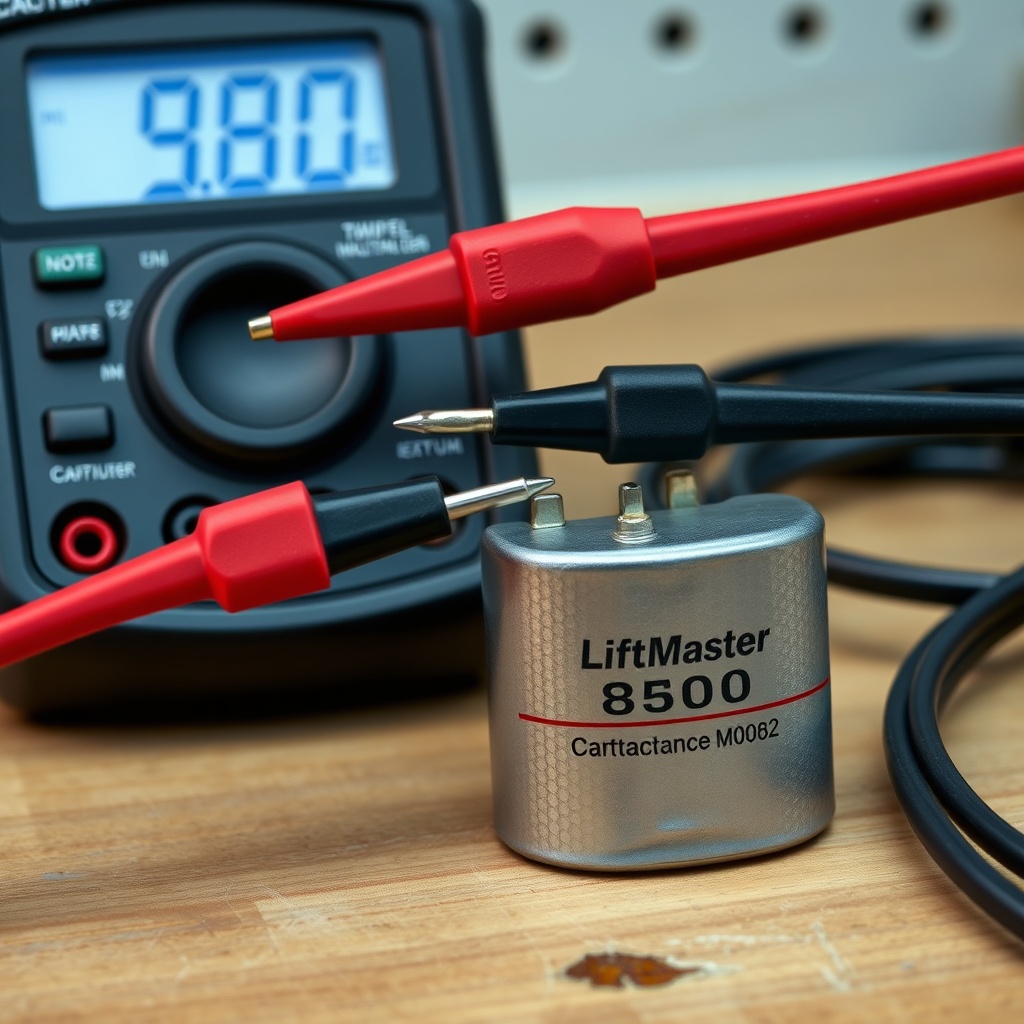
Yes, and it’s always recommended to confirm the fault. Use a digital multimeter with capacitance mode:
- Discharge the capacitor as above.
- Set multimeter to capacitance (µF) – range should be at least 200µF.
- Connect probes to terminals – red to positive (if marked), black to negative. For non-polarised types, polarity doesn’t matter.
- Read the value: A healthy 120µF capacitor should read within 10% of spec (108–132µF). Below 100µF indicates failure.
Note: If the multimeter shows “OL” (over limit) or near zero, the capacitor is open or shorted—replace it. For a thorough primer, see the LiftMaster 8500 Opener Motor Capacitor Testing: DIY Tutorial.
6. What owners say about the LiftMaster 8500 capacitor patch
UK forum and social-media feedback on capacitor replacement is broadly positive. Owners on Garage Door Forum UK and Amazon UK comments highlight these points:
- “Simple fix, saved £120 callout fee.” – Many DIYers say the capacitor swap is the first thing to check when the 8500 hums. Parts from Screwfix or Amazon cost under £10.
- “Replaced capacitor but belt still slipped.” – Some note that a failing capacitor can mask belt wear; after capacitor fix, check the LiftMaster 8500 Belt Slippage: Diagnosis and Repair Guide for follow-up.
- “Quieter than before.” – A new capacitor can reduce motor vibration, making the opener noticeably quieter.
- “Check the drive coupling too.” – Multiple owners suggest inspecting the plastic coupling during the same downtime, as it can crack after years of use.
- “Get the correct voltage – 250V AC, not 400V.” – UK 240V mains requires a 250V-rated capacitor; a 400V unit will physically fit but may run cooler and last longer.
Frequently Asked Questions
Q1: How much does a LiftMaster 8500 motor capacitor cost in the UK?
A1: Usually between £8 and £15 for a standard 120µF 250V AC unit, plus £3–£5 shipping if ordered online. Some brands sell for £12 on Amazon UK.
Q2: Can I use a capacitor with a higher capacitance?
A2: No – do not exceed the original microfarad rating. A higher value will overheat the motor winding and cause early failure. Always match exactly ±10%.
Q3: Why does my LiftMaster 8500 hum but not move after capacitor replacement?
A3: Possible causes include a seized motor bearing, worn brushes, or a broken drive coupling. Check the LiftMaster 8500 Drive Coupling Replacement: Step-by-Step Guide and LiftMaster 8500 Opener Motor Brush Replacement Guide for troubleshooting.
Q4: How long does a replacement capacitor last?
A4: Quality capacitors last 5–10 years under normal UK weather conditions (humidity, temperature swings inside the garage). Long-life types (rated at 85°C) last longer than standard 70°C models.
Q5: Do I need to reprogram the remote after capacitor replacement?
A5: No – the remote and logic board are separate. However, if you accidentally disturb the logic board wiring, see the LiftMaster 8500 Remote Programming: Troubleshooting Common Issues guide for re-pairing.
Q6: Can I replace the capacitor without removing the motor?
A6: Yes – the capacitor is accessible by removing only the plastic shroud (four screws). No need to unbolt the motor assembly. The entire replacement takes 20–30 minutes.