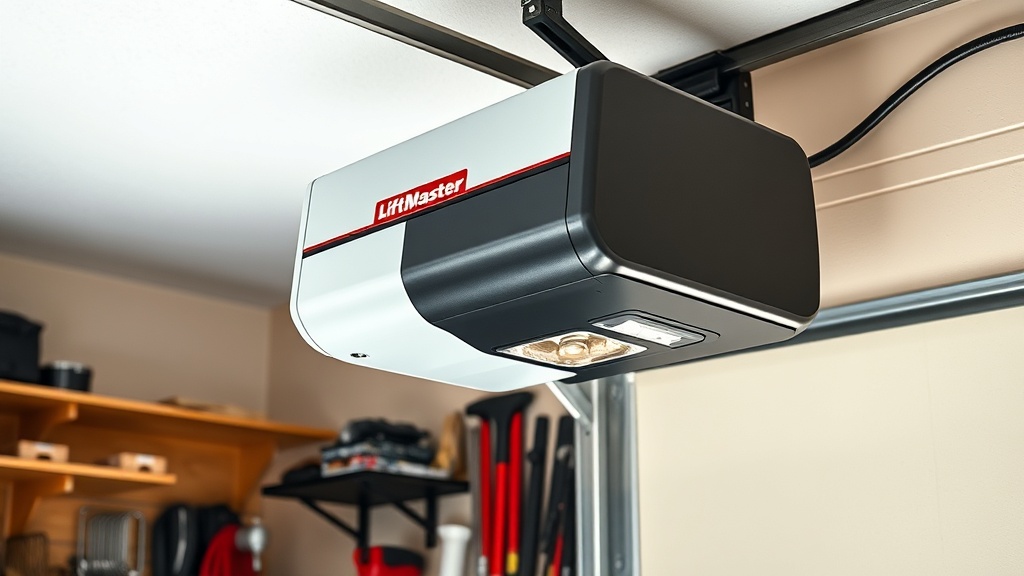
LiftMaster 8500 Drive Coupling Replacement: A Comprehensive Guide
The LiftMaster 8500 wall-mount garage door opener is renowned for its space-saving design and robust performance. However, like any mechanical system, its drive coupling can wear over time, leading to slipping, grinding noises, or complete failure. This guide provides a detailed, step-by-step process for replacing the drive coupling on your LiftMaster 8500, ensuring safe and efficient operation.
What Is the Drive Coupling and Why Does It Fail?
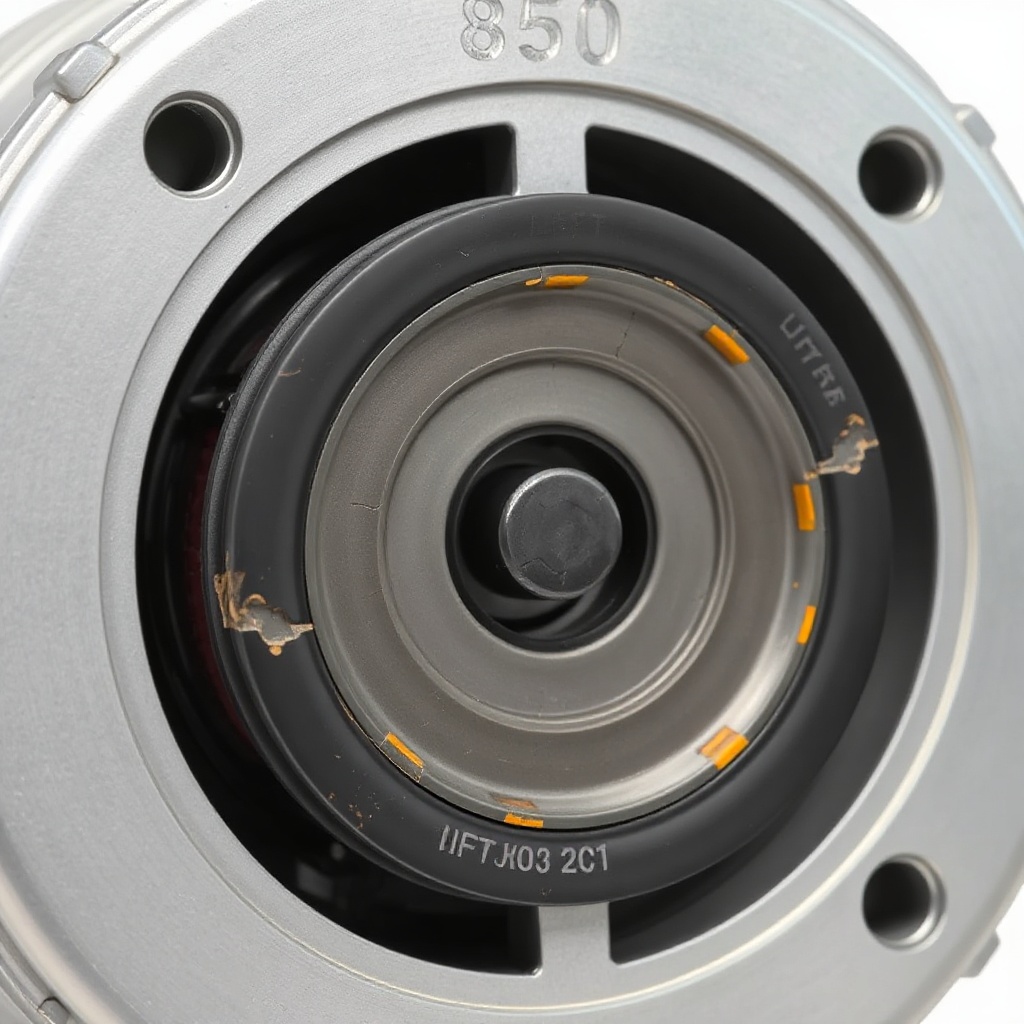
The drive coupling is a small but critical component that connects the motor shaft to the gearbox assembly. In the LiftMaster 8500, it is typically a rubber or urethane insert that absorbs torsional stress during opening and closing cycles. Over time, this coupling can become brittle, crack, or wear down, particularly in high-usage scenarios or extreme temperatures.
Common failure signs include a chattering or clicking sound from the motor area, intermittent operation, or the opener motor running but the door not moving. If ignored, a failed coupling can lead to motor shaft damage or gearbox wear, increasing repair costs. Replacing it promptly is essential and typically costs between £15–£30 for the part alone, with professional labour adding £60–£120 if hired.
How to Diagnose a Failing Drive Coupling on a LiftMaster 8500
Before proceeding with replacement, confirm that the drive coupling is indeed the issue. Follow these diagnostic steps:
- Visual inspection: Remove the motor cover (secured by four screws) and look at the coupling between the motor and gearbox. Cracks, melted rubber, or excessive wear indicate failure.
- Manual test: With the power disconnected, try turning the motor shaft by hand. If it spins freely without engaging the gearbox, the coupling is likely stripped.
- Sound check: Reconnect power and activate the opener. A high-pitched whine or clunking that increases with speed points to a worn coupling.
If you suspect other motor issues, such as capacitor failure, see our LiftMaster 8500 Wall-Mount Opener Motor Capacitor Testing Tutorial for related diagnostics.
What Tools and Replacement Parts Do You Need?
Gather the following items before starting the replacement. Using the correct specification ensures longevity and safety.
| Tool/Part | Specification | Estimated Cost (GBP) |
|---|---|---|
| Replacement drive coupling | LiftMaster OEM part #041B1179 (for 8500 series) | £18–£28 |
| Socket set | 1/4-inch and 5/16-inch sockets | £10–£20 (if not owned) |
| Flat-head screwdriver | Medium size, for prying | £3–£8 |
| Torx T25 bit | For motor cover screws | £5–£10 (if not owned) |
| Lubricant (optional) | White lithium grease or silicone spray | £5–£12 |
| Safety gloves | Standard work gloves | £5–£15 |
Note: Always use OEM or equivalent high-quality parts to avoid premature failure. Aftermarket couplings may cost less (£8–£15) but often have shorter lifespans.
Step-by-Step Guide to LiftMaster 8500 Drive Coupling Replacement
Perform this repair with the power disconnected. Allow the opener to cool if it has been running recently.
Step 1: Disconnect Power and Release Door
Unplug the opener from the mains or switch off the circuit breaker. Pull the emergency release cord (red handle) to disengage the door from the trolley. Manually lift the door halfway to verify it moves smoothly—if it binds, adjust the door first.
Step 2: Remove the Motor Cover
Using a T25 Torx bit, remove the four screws securing the motor cover. Lift the cover straight off and set it aside. You will now see the motor assembly and the drive coupling at the front shaft.
Step 3: Detach the Shaft Retaining Ring and C-clip
Locate the small C-clip or retaining ring on the motor shaft next to the coupling. Use flat-head screwdrivers to carefully pry it off—do not lose it. Note its orientation for reassembly.
Step 4: Remove the Old Drive Coupling
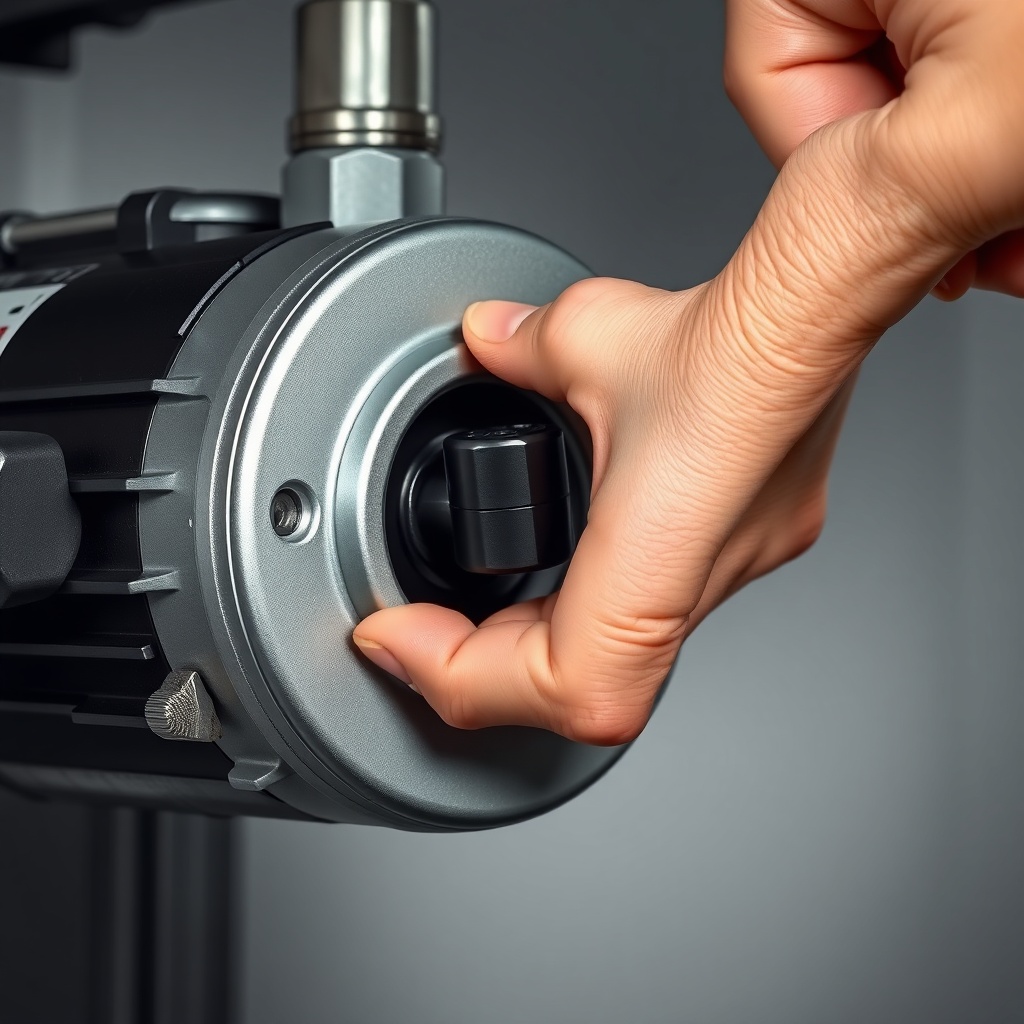
Slide the old coupling off the motor shaft. If it is seized, gently work it loose with a screwdriver, taking care not to damage the shaft splines. Clean the shaft with a rag to remove debris.
Step 5: Install the New Coupling
Apply a thin layer of white lithium grease to the inside of the new coupling (optional but reduces friction). Slide it onto the motor shaft fully, ensuring it seats evenly against the gearbox input. Reinstall the C-clip and retaining ring, verifying they lock into place.
Step 6: Reassemble and Test
Replace the motor cover and secure with the four Torx screws. Restore power. Re-engage the door by pulling the emergency release cord towards the opener. Press the remote or wall button to test: the door should open and close smoothly. Listen for unusual noises—if clicking persists, the coupling may be misaligned.
If the motor still has issues, consult our LiftMaster 8500 Opener Motor Replacement Cost: DIY vs Pro Guide for broader motor considerations.
What Are the Risks of Delaying Drive Coupling Replacement?
Procrastination can turn a £20 repair into a £300 motor replacement. A failing coupling places excessive stress on the motor shaft keyway and gearbox input splines. Over time, these can wear or break, necessitating full motor or gearbox replacement. The motor itself can also overheat if it labours against a slipping coupling, potentially damaging windings or the capacitor.
Homeowners who attempt DIY repairs but lack experience often misdiagnose the issue, replacing the coupling when the real problem is worn motor brushes. For brush-related guidance, see our LiftMaster 8500 Opener Motor Brush Replacement Guide.
What Owners Say About LiftMaster 8500 Drive Coupling Reliability
Owners in online forums and review sites frequently praise the LiftMaster 8500’s quiet operation but note that the drive coupling is a known wear item, especially in colder climates. Many DIYers successfully replace it in under an hour, citing clear instructions and accessible part numbering. A common tip shared is to apply a light coating of anti-seize compound to the shaft to make future removals easier.
Some users report that aftermarket couplings fail within six months, reinforcing the value of OEM parts. Professionals note that the coupling is the most common repair for the 8500 after five years of regular use. Overall, owners appreciate that the design allows for a simple fix without dismantling the entire unit, saving on service call fees.
If you are also dealing with connectivity issues, our LiftMaster 8500 WiFi Pairing Reset: Step-by-Step Troubleshooting Guide can help resolve those separately.
Frequently Asked Questions About LiftMaster 8500 Drive Coupling
Q1: How long does a LiftMaster 8500 drive coupling last?
Typically, the OEM coupling lasts 5–8 years under normal usage (2–4 cycles per day). Colder climates or heavy daily use can shorten this to 3–5 years.
Q2: Can I drive the opener without a coupling?
No. Operating the opener without the coupling will allow the motor to spin freely, which can damage the motor shaft and gearbox input splines, potentially voiding any warranty.
Q3: What is the part number for the LiftMaster 8500 drive coupling?
The OEM part number is 041B1179. Some aftermarket versions use equivalent numbers, but verify compatibility with the 8500 series before purchase.
Q4: How much does it cost to have a professional replace the coupling?
Professional replacement typically costs £80–£150, including labour (30–60 minutes) and parts. This varies by region and service call fees.
Q5: Can I use a universal coupling instead of a LiftMaster-specific one?
While some universal couplings fit, they often have different dimensions or hardness, leading to premature failure. OEM or exact-fit replacements are recommended for safety and durability.
Q6: What should I do if the new coupling still slips after installation?
Check that the coupling is fully seated on the shaft and that the C-clip is correctly positioned. Also inspect the gearbox input splines for wear—if they are stripped, you may need a gearbox replacement. For further motor diagnostics, see our LiftMaster 8500 Opener Motor Capacitor Testing: DIY Tutorial.
If the problem persists, we recommend consulting a professional.