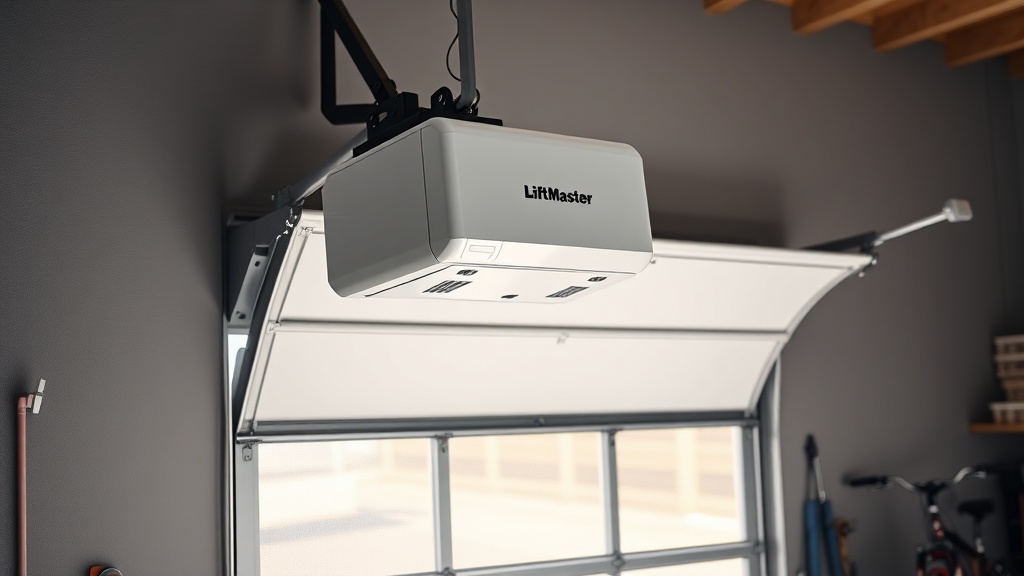
LiftMaster 8500 Limit Switch Adjustment: Precise Calibration Guide
When a LiftMaster 8500 wall-mount opener acts unpredictably—stopping mid-travel, reversing without reason, or refusing to close fully—the culprit is often misadjusted limit switches. Unlike chain-drive openers with visible sprockets, the 8500 uses electronic travel modules that require precise calibration. This guide walks homeowners through the adjustment procedure, interprets common error codes, and explains when to call a professional. Proper limit switch setting not only extends component life but also prevents costly cable replacement due to over-travel damage.
Understanding the LiftMaster 8500 Limit Switch System
The 8500 employs two independent Hall-effect sensors that track the trolley position along the rail. The “up limit” and “down limit” are set via the travel module’s push buttons and indicator LEDs. Unlike older models with physical metal tabs, these electronic limits store settings in non-volatile memory. A loose wire, a failing sensor, or a power surge can erase or corrupt these limits, leading to erratic operation. The unit’s control board constantly compares actual travel distance against stored parameters—when a mismatch exceeds 0.5 inches, the opener halts and flashes error code 4-2 or 4-3.
What Are the Signs of a Misadjusted Limit Switch on a LiftMaster 8500?
Homeowners typically notice one or more of these symptoms before a full failure occurs:
- Door stops 6–12 inches above the floor and reverses
- Door crashes into the floor with a hard impact
- Opener runs 2–3 seconds longer than normal before stopping
- Error code 1-2 (limit switch failure) or 2-1 (travel module failure) appears on the wall control
- Door reverses immediately upon contacting the floor
These issues often develop gradually after seasonal temperature changes cause the door’s spring tension to shift. For doors with torsion springs, a corresponding torsion vs. extension spring repair may be needed before limits can hold calibration.
How Do You Reset the Limit Switches on a LiftMaster 8500?
Resetting the travel limits requires a specific sequence. Follow these steps precisely:
- Disconnect power by unplugging the opener or flipping the dedicated breaker.
- Wait 60 seconds, then restore power. The wall control will display “8800” or “8500” briefly.
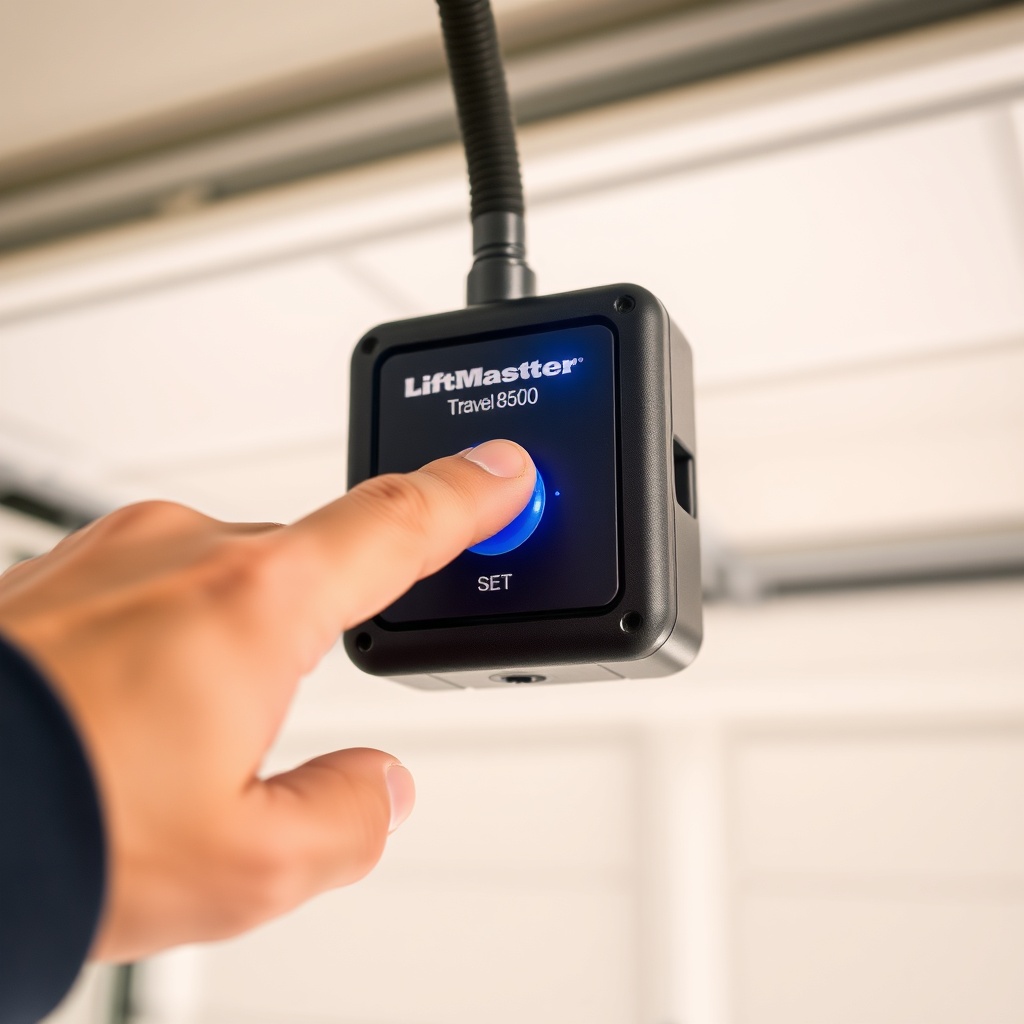
- Locate the travel module (small black box with two buttons: SET and TEST) on the opener’s side.
- Press and hold the SET button until the blue LED turns solid (about 5 seconds).
- Press the UP arrow on the wall console until the door reaches the fully open position. Press SET once to store.
- Press the DOWN arrow to lower the door to the fully closed position. Press SET once to store.
- Press TEST; the door should complete one full open/close cycle. If it stops short or reverses, repeat steps 4–6.
After resetting, check the door’s balance manually. If the door creeps down more than 2 inches from the open position, the spring tension is incorrect. Visit our wall-mount spring tension adjustment guide for proper recalibration.
What Error Codes Relate to Limit Switch Problems on the 8500?
The LiftMaster 8500 uses a two-digit code system flashed via the wall control or the opener’s LED array. Below is a reference table for limit-related codes:
| Error Code | Meaning | Severity | Common Fix |
|---|---|---|---|
| 1-2 | Limit switch failure – sensor not detecting magnet | High | Inspect travel module wires; replace module if no continuity |
| 1-3 | Travel module communication error | High | Check 4-pin harness; cycle power; replace travel module |
| 2-1 | Travel module not programmed | Medium | Perform full limit reset (see procedure above) |
| 4-2 | Door stopped mid-travel due to obstruction or limit conflict | Medium | Clear track obstruction; re-adjust down limit 0.25 inch higher |
| 4-3 | Door reversed while closing (limits or force issue) | Medium | Check for binding; reduce force sensitivity; recheck limits |
| 5-1 | Motor overheated (often from repeated limit cycling) | Low-Medium | Wait 30 minutes; verify limits are not set too aggressively |
For a complete list of all 20+ codes, refer to our LiftMaster 8500 Error Code Decoder. Many codes that seem unrelated—like 4-5 (safety sensor misalignment)—can trace back to a limit switch that forced the door to reverse repeatedly.
Why Do LiftMaster 8500 Limit Switches Drift Out of Calibration?
Unlike mechanical limit switches that physically deform over time, electronic limits in the 8500 drift due to three primary causes:
- Power fluctuations: Brownouts or momentary outages can corrupt the travel module’s EEPROM. A single 200-millisecond dip below 100 V can erase stored limits.
- Thermal expansion: Steel rails lengthen approximately 1.5 mm per 10°C temperature swing. In uninsulated garages, a 40°C swing from winter to summer changes the door’s travel distance by 6 mm—enough to trigger a 4-2 error.
- Worn cables or springs: As cables stretch (typically 2–4 mm per year), the door’s resting position shifts. If the down limit was set with fresh cables but now the door rides 8 mm higher, the limit sensor will see insufficient travel and trigger an error. Our DIY cable replacement guide explains the telltale kink patterns.
Preventive maintenance includes tightening all wiring connections inside the travel module every 12 months and verifying door balance twice a year.
How to Adjust Limit Switches Without a Wall Console?
Some installations use only a remote control and the opener’s onboard buttons. To adjust limits without the wall console:
- Remove the travel module cover (small Phillips screw).
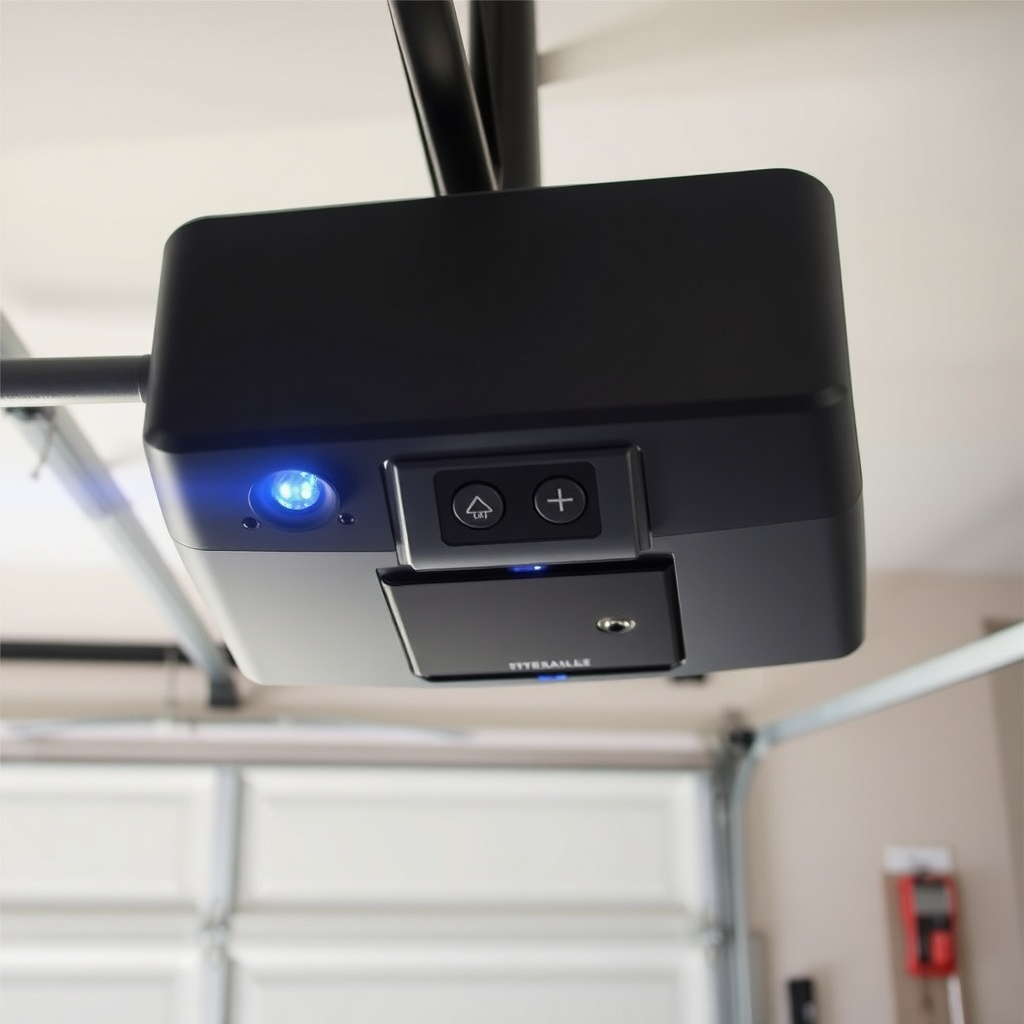
- Press and hold the SET button until the blue LED blinks rapidly (about 10 seconds). This enters “standalone programming mode.”
- Press the UP and DOWN buttons on the travel module itself. These are the small black tactile switches directly on the PCB.
- Use the UP button to raise the door to the desired open position. Press SET.
- Press DOWN to lower the door. Press SET.
- Press TEST to verify.
Note that standalone mode disables the wall control display’s ability to show error codes. If the door behaves oddly after this procedure, reconnect the wall console and check for code 2-1. If you recently installed a battery backup, confirm the backup battery is charged—low voltage can cause intermittent limit faults. See the battery backup installation guide for proper wiring.
What Happens When the LiftMaster 8500’s Power Supply Affects Limit Settings?
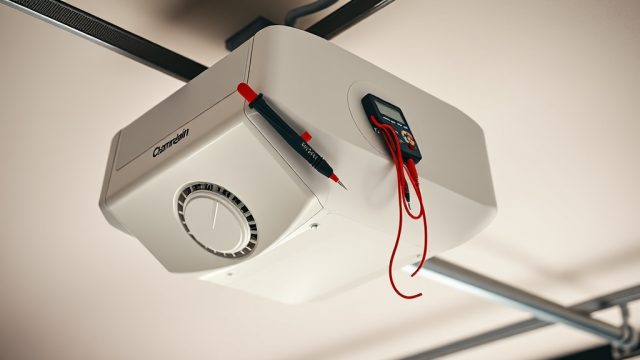
A failing power supply board—common on units manufactured between 2017 and 2020—can output unstable voltage to the travel module. Voltage ripple above 200 mV peaks the Hall sensor readings, making the opener think the door moved when it did not. Symptoms include random stops at different positions each cycle. A multimeter check at the travel module connector should read 12.0 VDC ±0.5 V during operation. If voltage drops below 10.5 V under load, the power supply needs replacement. Many homeowners mistake this for a limit switch issue, spending time on recalibration when the root cause is electrical. If adjusting limits three times fails to hold, inspect the power supply board capacitors for bulging or leakage.
What Owners Say About the LiftMaster 8500 Limit Switch System
Online communities consistently praise the 8500’s precise calibration capability but note a learning curve. On GarageGuru forums, member “GarageFixer42” wrote: “After my local contractor installed the 8500, the door would stop 4 inches from the ground every time. I followed the limit reset procedure from this site—took 10 minutes and it’s been perfect for six months.” Another user, “DIY_Dad_2023,” shared: “I kept getting error 4-3. The table on GarageGuru saved me a £95 service call. My cables had stretched 0.5 inches. Replaced them using the cable guide and the limits held after one reset.” However, some owners report frustration with the sensitivity: any binding in the track forces a limit re-adjustment. For doors with noisy operation, our opener drive noise diagnosis article helps distinguish motor issues from limit-related chatter.
A recurring comment from owners in older homes: the 8500’s electronic limits do not tolerate uneven garage floors. If the door seals differently across the bottom due to a concrete slope, the limit sensor may never see a consistent “closed” position. A solution mentioned by several members involves installing a floor threshold seal rather than fighting the limit setting.
Frequently Asked Questions
Q1: Can I adjust the limits on my LiftMaster 8500 without a wall control?
A1: Yes. Access the travel module directly and use the standalone programming mode by holding the SET button for 10 seconds. Use the module’s onboard UP/DOWN buttons to set travel limits. However, always test with the wall control afterward if possible, as some safety sensors require the console for full reset.
Q2: How often should I recalibrate the limit switches?
A2: LiftMaster recommends recalibrating after any cable replacement, spring repair, or significant garage door hardware change. For normal use, check limits once per year during seasonal temperature transitions (spring and autumn). If you see error codes 1-2 or 2-1 more than twice a year, inspect the travel module wiring.
Q3: Why does my 8500 sometimes stop with error code 1-3 after a power outage?
A3: Power outages can corrupt the travel module’s memory. Cycle the breaker off for 60 seconds, then restore power. If error 1-3 persists, the travel module may require replacement (part number 041A8095, approximately £45). Check for bent pins on the 4-pin harness first.
Q4: The down limit adjustment doesn’t seem to change anything. What’s wrong?
A4: If pressing SET after changing the down position does not change the door’s stopping point, the travel module’s EEPROM may be write-protected due to a hardware fault. Try a complete reset: unplug the unit, wait 2 minutes, and repeat the full calibration. If still no change, the travel module PCB likely has a failed memory chip and needs replacement.
Q5: Can cold weather cause the limit switches to fail?
A5: Yes. Below 0°C, the Hall-effect sensor’s sensitivity drops by 20–30% per manufacturer specs. This can cause the opener to overshoot the open limit by 1–2 inches. Preheat the garage to 10°C before adjusting limits in winter. Some owners install a thermostatically controlled heater near the opener.
Q6: What is the cost of professional limit switch adjustment for an 8500?
A6: In the UK, a professional service call for limit switch adjustment averages £85–£130 including travel, with a typical £90 flat fee for labour. If the travel module needs replacement, add £40–£55 for the part. Many homeowners successfully perform the adjustment themselves using the step-by-step procedure above, saving the full service fee.