Introduction to the LiftMaster 8500 Wall-Mount Spring Tension Adjustment
For homeowners with a LiftMaster 8500 wall-mount garage door opener, proper spring tension is essential for balanced operation, safety, and longevity. When springs lose tension or need adjustment after cable replacement or routine maintenance, a DIY approach can save time and money, but requires careful attention to torque. This tutorial provides a step-by-step guide to adjusting torsion or extension springs on the LiftMaster 8500, focusing on the critical role of springs and cables in the system.
Why Does Spring Tension Matter for the LiftMaster 8500?
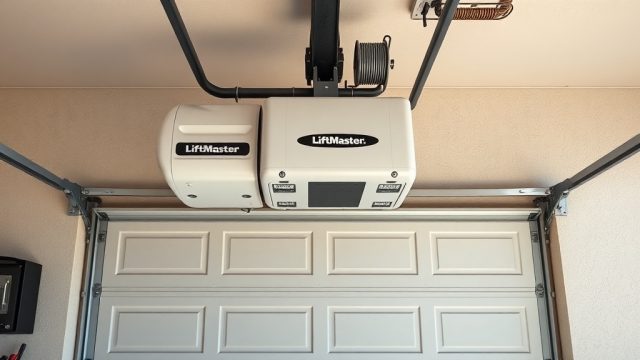
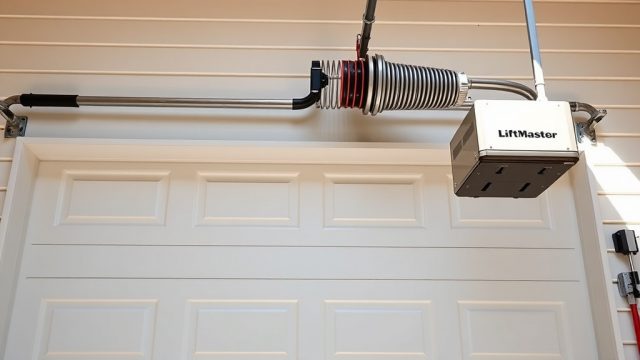
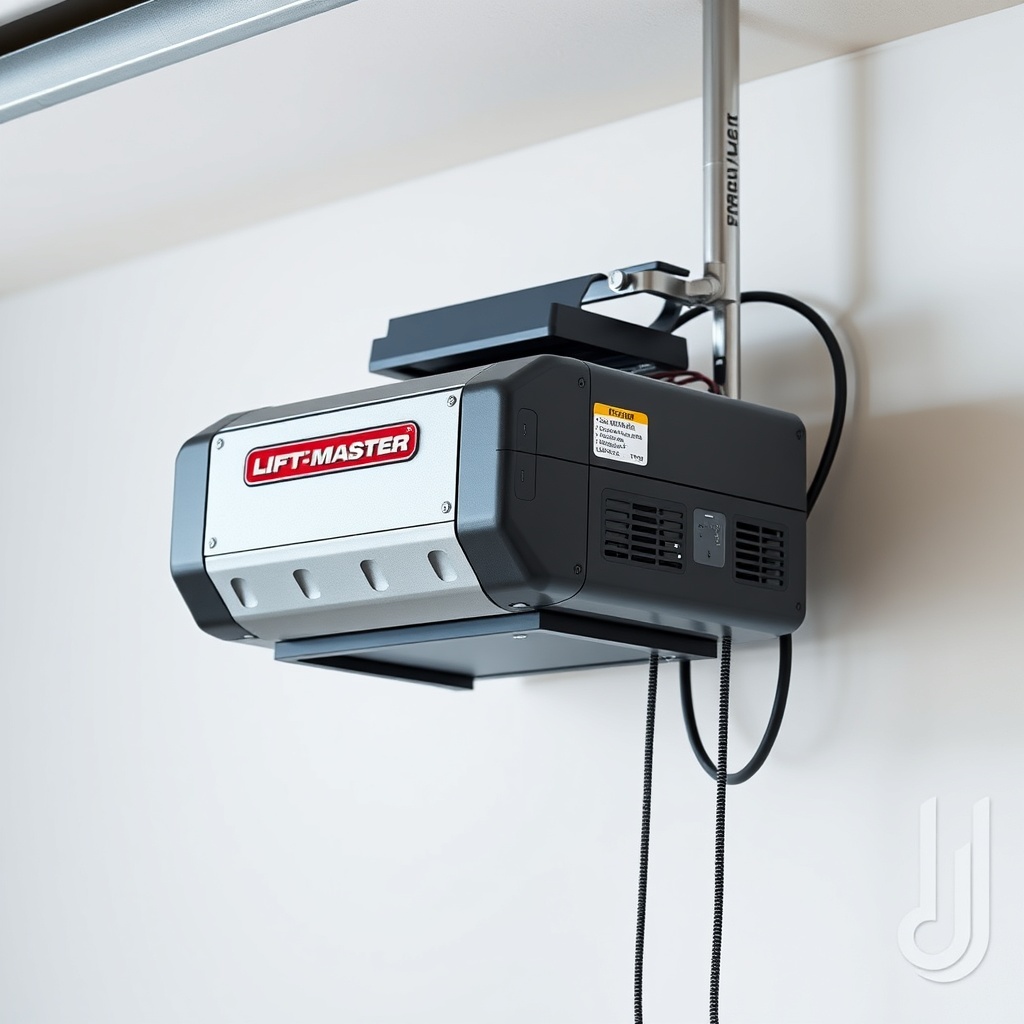
The LiftMaster 8500 uses a wall-mount design that eliminates the overhead track and relies on a torsion shaft to lift the door. Proper spring tension counterbalances the door’s weight, reducing strain on the motor and cables. If springs are too loose, the door may fall abruptly or cause cable slack; if too tight, the door may bind or the motor may overwork. Regular adjustment ensures smooth operation and prevents premature wear on the cables and opener drive.
Spring tension also affects safety. An unbalanced door can pull the cables off the drums, leading to costly repairs. The LiftMaster 8500’s built-in safety sensors and cable limiter help, but correct spring tension is the foundation.
How Do You Identify Spring Type: Torsion vs. Extension?
Before adjusting, confirm your door’s spring system. The LiftMaster 8500 is compatible with both torsion and extension spring setups, but the adjustment method differs. Refer to our detailed torsion vs. extension guide for specific differences.
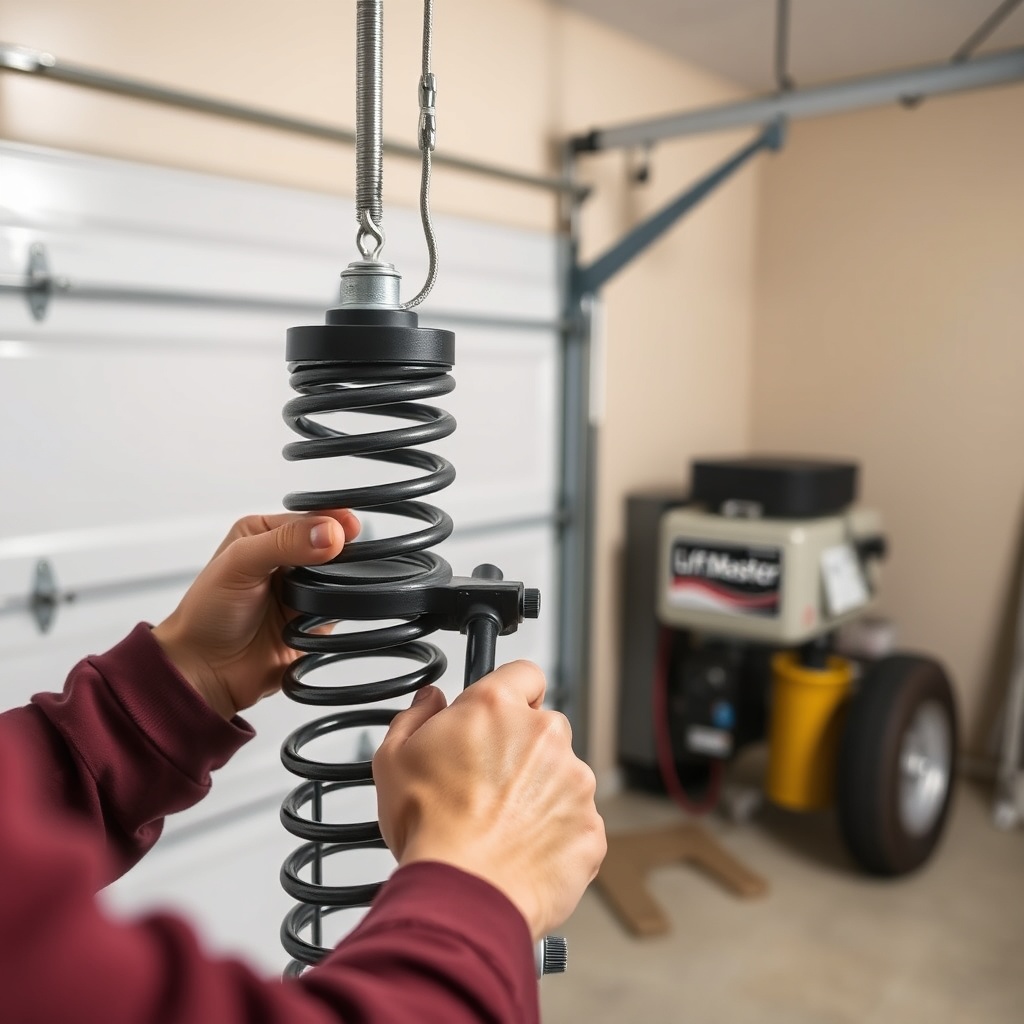
- Torsion springs: Mounted horizontally above the door opening on a steel shaft. They use winding cones and set screws. Most common with LiftMaster 8500 installations due to space-saving design.
- Extension springs: Stretch alongside the horizontal tracks, secured by safety cables. Less common with wall-mount openers but still present in some retrofits.
The LiftMaster 8500’s side-mounted motor engages the torsion shaft directly, making torsion adjustment more straightforward. Extension spring adjustment requires balancing both sides equally.
What Tools Are Needed for Spring Tension Adjustment?
Gather the following tools and safety gear before starting. Prices given in GBP (£) are approximate at time of writing.
| Tool | Purpose | Estimated Cost (£) |
|---|---|---|
| Winding bars (2x, 0.5-inch diameter for torsion springs) | Insert into winding cone to turn spring | £15-25 per pair |
| Adjustable spanner (10-inch) | Loosen/tighten set screws on cones | £10-20 |
| Screwdriver set (flathead and Phillips) | Remove cable clamps or retainer pins | £8-15 |
| Clamp-on vice grips (locking pliers) | Secure torsion shaft while adjusting | £10-18 |
| Torque wrench (ft-lb) – optional | Measure precise tension | £25-50 |
| Work gloves and safety glasses | Protect against spring slip or breakage | £5-10 |
| Step ladder or sturdy platform | Access high-mounted springs | £30-60 |
Always use two winding bars for torsion springs—never a screwdriver—to maintain control. For extension springs, a spring adjustment tool or simple C-clamp may suffice.
Step-by-Step Torsion Spring Adjustment for LiftMaster 8500
Follow these steps only after disconnecting the LiftMaster 8500 from power and ensuring the door is fully closed and locked (use vice grips on the track). Incorrect adjustment can cause serious injury or damage to the opener’s drive train.
1. Determine Required Tension Change
With the door closed, pull the emergency release cord. Manually lift the door halfway—if it falls, springs need more tension; if it rises, reduce tension. A balanced door stays in place when halfway.
2. Secure the Torsion Shaft
Clamp the vice grips onto the torsion shaft near the centre bearing plate to prevent rotation. This is critical on the LiftMaster 8500 because the motor’s side arm connects to the shaft—do not let it spin.
3. Loosen Set Screws on Winding Cone
Using the adjustable spanner, slightly loosen the two set screws on the winding cone (usually hex-head). Do not remove them—only loosen enough to allow the cone to rotate.
4. Insert Winding Bars
Insert one winding bar into a hole in the cone, parallel to the door. Insert the second bar into another hole, usually offset by 90 degrees. Keep a firm grip.
5. Turn the Spring to Add or Remove Tension
For more tension, push the top bar downward (toward the door) to increase spring coils. For less tension, push upward. Each quarter turn adds about 1/2 turn of coil. Do not exceed a total of 3 full turns without re-evaluating balance.
6. Retighten Set Screws
Once adjusted, hold the spring steady with one bar, retighten both set screws to 10-15 ft-lb (use torque wrench if available). Remove winding bars slowly.
7. Test Balance
Reconnect the opener, close the door, and test using the automatic setting. Check the Wi-Fi features and safety sensors. Repeat adjustment if needed.
Step-by-Step Extension Spring Adjustment for LiftMaster 8500
Extension spring adjustment is less common but works for older installations. Always ensure safety cables run through the springs to prevent dangerous recoil.
1. Identify Adjustable End
Extension springs have a fixed S-hook on one end and an adjustable bolt with nuts on the other (attached to the track bracket).
2. Loosen Lock Nuts
Using a spanner, loosen the lock nut on the adjustable bolt. Turn the bolt clockwise to stretch the spring (increase tension) or counterclockwise (decrease tension). Adjust both sides equally.
3. Re-Tighten and Test
After adjustment, tighten the lock nut. Test door balance manually. If springs are severely out of adjustment, consider replacement—see our cable replacement guide for accompanying cable checks.
What Owners Say About Spring Adjustment on the LiftMaster 8500
User feedback from garage forums and review sites highlights several consistent points:
- “The wall-mount design makes spring adjustment easier because the motor doesn’t block access.” – Many owners appreciate the clear space above the door.
- “I had to re-tune my torsion springs after installing a LiftMaster 8500 because the old spring tension wasn’t balanced for the new motor.” – This is common when replacing a standard opener.
- “Follow the cable paths carefully—if springs are off, cables can jump drums.” – Those who neglected adjustment often face repair costs.
- “The LiftMaster 8500 error code system helped me identify a high-tension fault.” – See our error code decoder for related issues.
- “Adjusting springs every 6 months extends cable life.” – Proactive maintenance is praised.
Frequently Asked Questions
1. Can I adjust LiftMaster 8500 springs without disconnecting the opener?
No. Always disconnect the opener from power and disengage the door from the carriage (pull the red emergency cord) before working on springs. Operation of the motor during adjustment can cause sudden movement.
2. How often should spring tension be checked?
Every 6 months, or after any cable replacement (see our cable replacement guide). Also check if the door feels heavier or if the opener makes unusual noise (refer to noise diagnosis article).
3. What is the correct tension in foot-pounds for torsion springs on a LiftMaster 8500?
There is no universal number—it depends on door weight and cable drum diameter. A typical single-car garage door (7-8 ft wide, 200 lb) requires about 30-50 ft-lb of torque per spring. Use a torque wrench and achieve balance where the door stays put when halfway open.
4. Is a battery backup affected by spring tension?
Yes. Improper spring tension causes the motor to work harder, draining the battery faster. Check our battery backup installation guide for optimal setup.
5. Can I adjust springs if my LiftMaster 8500 displays an error code?
First, resolve any error codes using our error code decoder. Many codes (like 1-4 or 2-1) relate to cable or spring issues, so spring adjustment may be part of the fix. Always clear faults before testing.
6. Do I need professional help for spring adjustment?
If you are uncomfortable handling high-tension springs or do not have proper winding bars, hire a pro. Incorrect torsion adjustment can cause spring breakage or door collapse. The LiftMaster 8500 warranty only covers professional installation.