Why Should I Replace the Cables on My LiftMaster 8500?
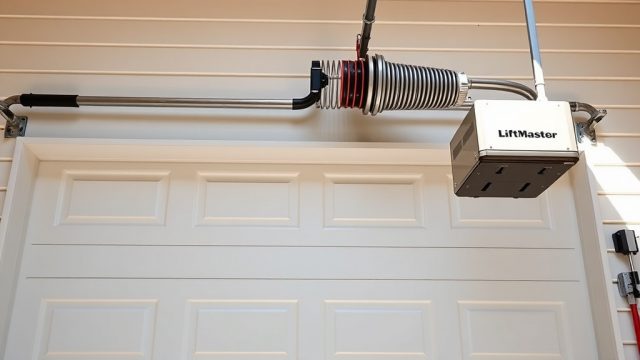
The LiftMaster 8500 is a popular wall-mounted garage door opener known for its space-saving design and quiet operation. Over time, the cables that lift and lower the door can fray, snap, or become unbalanced, posing a safety risk and causing operational failures. Replacing these cables through a DIY approach saves money and restores smooth, reliable function. This guide provides a clear, step-by-step process tailored to the LiftMaster 8500’s unique cable routing.
Do I Need a Specific Cable for the LiftMaster 8500?
Yes, the LiftMaster 8500 uses a specific cable type due to its side-mounted design and torsion spring system. The standard replacement kit includes two galvanized steel cables, typically measuring 1/8-inch in diameter and varying lengths (usually around 12 to 16 feet per side). Always verify your door’s weight and spring type (torsion vs. extension) before purchasing. Using incorrect cables can lead to dangerous imbalances. For full details on spring systems, see our LiftMaster 8500 Spring Repair: Torsion vs Extension Guide.
| Specification | LiftMaster 8500 Cable | Standard Ceiling-Mount Cable |
|---|---|---|
| Cable Diameter | 1/8 inch (3.2 mm) | 1/8 inch (3.2 mm) common |
| Length (per side) | 12–16 feet (3.7–4.9 m) | 10–14 feet (3–4.3 m) |
| Material | Galvanized steel, 7×19 strand | Galvanized steel, 7×19 strand |
| Cable Stop Type | Welded stop (pre-formed loop) | Often requires crimping |
| Routing | Over cable drum, through roller track, to bottom bracket | Over cable drum, down to bottom bracket |
| Common Failure Mode | Fraying at drum or bottom bracket | Fraying at drum or bottom bracket |
Note: Cables are sold in pairs. Single-cable replacement is not recommended due to balance issues.
What Tools and Materials Are Needed for the Job?
Gather these tools and materials before starting. Do not attempt to cut corners—using improper tools can cause injury or damage the opener.
- New cable kit: Genuine LiftMaster or compatible galvanized steel cables with welded stops (do not use universal cables without stops).
- Winding bars: Two 1/2-inch diameter steel bars, 18 inches long—mandatory for torsion spring tension.
- Socket wrench set: 1/2-inch drive with sockets (7/16″, 1/2″, and 9/16″ typically needed).
- Screwdrivers: Flathead and Phillips #2 for removing cable drum covers and brackets.
- Locking pliers (Vise-Grips): At least two pairs to secure the door and cables.
- Safety glasses and gloves: Essential to protect against sharp cable ends and spring tension.
- Ladder: Stable step ladder to reach the torsion tube and cable drums.
- Spray lubricant: Silicone-based lubricant for new cable movement (do not use WD-40 as it attracts dirt).
How Do I Safely Release Tension from the Springs?
⚠️ Danger: Torsion springs are under extreme tension. Serious injury or death can result from improper handling. If unsure, hire a professional.
- Disconnect the LiftMaster 8500 from mains power and unplug the battery backup (if installed).
- Manually release the door by pulling the emergency release cord. The door should move freely by hand. If it does not, check the guides for binding.
- Open the door fully and clamp it in position using two locking pliers on the tracks, just above the top rollers.
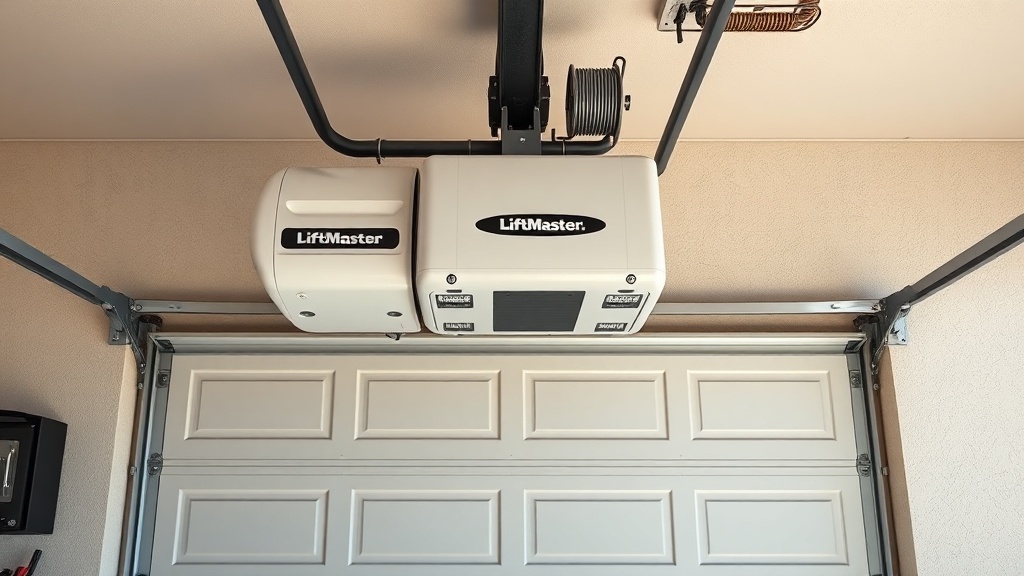
- Locate the torsion spring(s) mounted horizontally above the door opening. On the LiftMaster 8500, springs are attached to a central torsion tube.
- Insert one winding bar into a hole in the winding cone (the cone closest to the centre of the spring). Rotate the bar downward to relieve tension. Always keep both bars in adjacent holes—never remove one unless the other is securely inserted.
- Slowly and carefully unwind each spring fully, counting the number of turns recorded during installation (typically 7–10 turns for a standard door). If no record exists, unwind one full turn at a time until the cable slackens.
- Once tension is released, remove the winding bars. The springs are now safe to work around.
After releasing tension, proceed to cable removal immediately to avoid accidental spring re-tension.
How Do I Remove the Old Cables from the LiftMaster 8500?
With the springs safely unwound, follow these steps to remove the damaged cables.
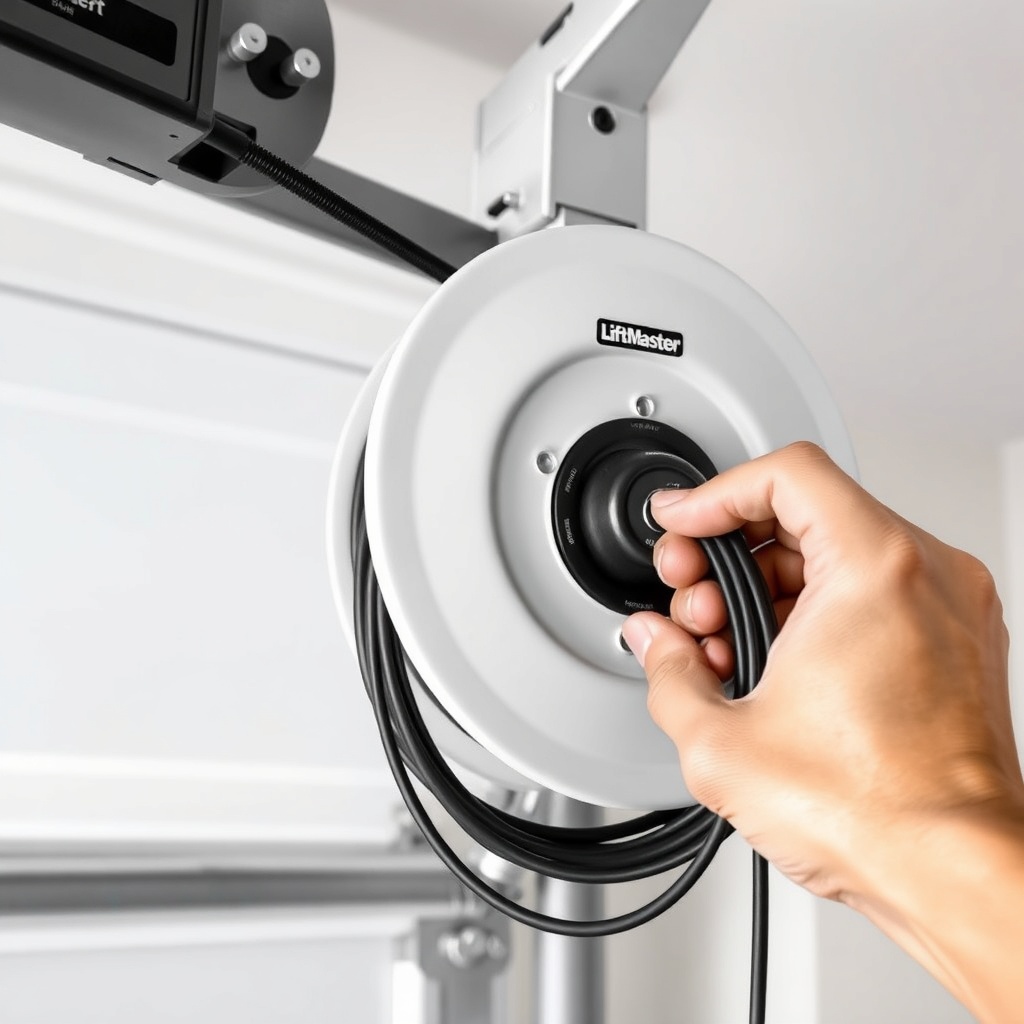
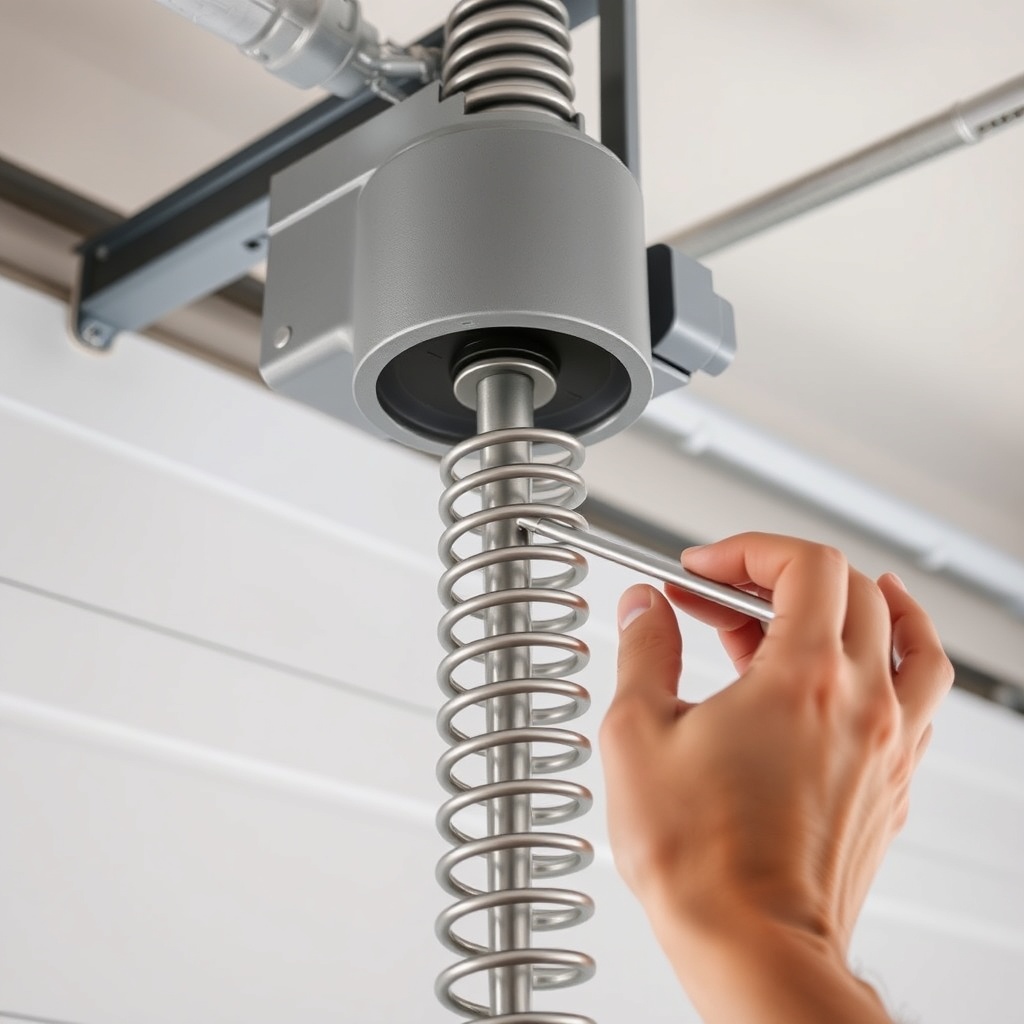
- Step 1: Locate the cable drum on the torsion tube. On the LiftMaster 8500, the drum is positioned at the end of the tube near the door track. Use a socket wrench to loosen the set screw on the drum (usually 1/4-inch hex). Slide the drum sideways to free the old cable.
- Step 2: Unthread the cable from the drum’s groove. Pay attention to the routing direction (typically clockwise or anti-clockwise).
- Step 3: Follow the cable path down to the bottom bracket on the door’s bottom corner. The cable end has a pre-formed loop that attaches to a pin or clevis. Use flathead screwdriver to pry the retaining clip gently, then slide the cable loop off the pin.
- Step 4: Remove the cable completely, including any clips or guides along the track. Inspect the drum and bottom bracket for wear or damage. Replace if necessary.
- Step 5: Repeat for the other side. Label old cables if needed for orientation, though new cables are identical.
How Do I Install the New Cables on the LiftMaster 8500?
Installation is essentially the reverse of removal, with careful attention to routing.
- Step 1: Thread the new cable’s pre-formed loop over the bottom bracket pin. Secure with the retaining clip. Ensure the cable lies flat and does not twist.
- Step 2: Route the cable upward along the door’s edge, passing through any roller brackets if applicable. The cable should run straight without kinking.
- Step 3: At the top, feed the cable end through the cable drum’s groove. Align the cable so it sits snugly in the groove, starting from the inner side. Ensure the cable’s stop (if welded) sits against the drum’s edge or inside a notch—do not cut or crimp unless specified.
- Step 4: Re-tighten the set screw on the drum to secure the cable. Do not overtighten (typical torque: 8–10 Nm).
- Step 5: Repeat for the other side, ensuring both cables are identical lengths. If one is longer, the door will lift crookedly.
- Step 6: Re-tension the springs by inserting winding bars into the winding cone. Rotate the bars upward in half-turn increments, alternating sides, until the cable is taut but not stretched. Typically, you need to wind the spring until the cable has no slack when the door is fully closed. Count the turns and record them for future reference.
- Step 7: Remove the locking pliers from the tracks. Manually test the door’s balance: it should stay in place when halfway open. If it drifts up or down, adjust spring tension accordingly.
After installation, reconnect the LiftMaster 8500 to power. Run a full open/close cycle to confirm smooth operation. If the door makes a loud noise or binds, re-check cable routing. For guidance on related error codes, refer to our LiftMaster 8500 Error Code Decoder: Troubleshooting Common Faults.
What Owners Say About Replacing Cables on the LiftMaster 8500
Homeowners who have performed cable replacement on the LiftMaster 8500 consistently praise the straightforward design but warn about safety. Many report saving between £150 and £250 by doing it themselves rather than hiring a technician. Common feedback includes:
- “I never realised how simple the routing was until I watched a few tutorials. The spring tension scared me most, but taking it slowly worked.” – David, Norwich
- “My cables snapped at 3am, and I replaced them in two hours. The kit cost £35, versus a callout fee of £90 plus labour. Well worth it.” – Sarah, Leeds
- “The hardest part was getting the cable stop seated correctly in the drum. Once I understood the groove direction, it was fine.” – Mark, Glasgow
- “I messed up the first time by not winding the springs enough—the door was too heavy. A second attempt with a turn count record fixed it.” – James, Bristol
Frequently Asked Questions
How often should I replace cables on a LiftMaster 8500?
Galvanized cables typically last 5–7 years under normal use. However, inspect them annually for fraying or rust. Replace immediately if you see broken strands or hear squeaking during operation.
Can I replace only one cable if the other looks fine?
No, always replace both cables simultaneously. Even if one appears intact, it has identical wear and will likely fail soon. Uneven cables cause door imbalance, premature spring wear, and opener strain.
What is the cost of a replacement cable kit for the LiftMaster 8500?
A genuine LiftMaster 8500 cable kit costs £25–£45 in the UK, depending on the supplier. Compatible aftermarket kits cost £15–£30 but may lack welded stops. Always verify compatibility with your door’s weight rating.
Why is my LiftMaster 8500 cable making a grinding noise after replacement?
Grinding usually indicates a misrouted cable rubbing against the track or drum edge. Check that the cable sits evenly in the drum groove and does not contact the bracket. Lubricate the cable path with silicone spray. If noise persists, recheck spring tension.
Can I perform cable replacement without unwinding the springs?
No, you must release spring tension first. Attempting to remove cables under tension is extremely dangerous—the cable can snap and cause severe injury. Always follow the safe tension release steps outlined above.
Does replacing cables affect the LiftMaster 8500’s battery backup or WiFi?
No, cable replacement only affects the mechanical lifting system. The battery backup and WiFi module are separate. However, after installation, recalibrate the opener’s travel limits if the door’s balance changes. For WiFi issues, see our LiftMaster 8500 WiFi Setup Troubleshooting: Fix Connection Issues. For battery backup, refer to LiftMaster 8500 Battery Backup Installation: Step-by-Step Guide.