Introduction: Understanding LiftMaster 8500 Safety Sensor Wiring
Properly wired safety sensors are critical for the LiftMaster 8500 wall-mounted garage door opener’s auto-reverse function. Incorrect wiring can lead to intermittent door reversal, failure to close, or even dangerous pinch hazards. This tutorial provides a step-by-step guide to wiring the safety sensors for reliable auto-reverse operation, ensuring your garage door system meets safety standards.
Why Are Safety Sensors Important for the LiftMaster 8500?
The LiftMaster 8500 relies on two infrared safety sensors positioned at the bottom of the garage door tracks. Their primary function is to stop and reverse the door if an object, pet, or person is detected in the path. This auto-reverse feature is essential for preventing accidents and complying with modern safety regulations. Without correctly wired sensors, the door may not reverse on contact, creating a serious safety risk. Additionally, a faulty sensor wiring can trigger error codes, such as code 4-1 or 5-1, which prevent door operation entirely. For a complete list of error codes, refer to the LiftMaster 8500 Error Code Decoder: Troubleshooting Common Faults article.
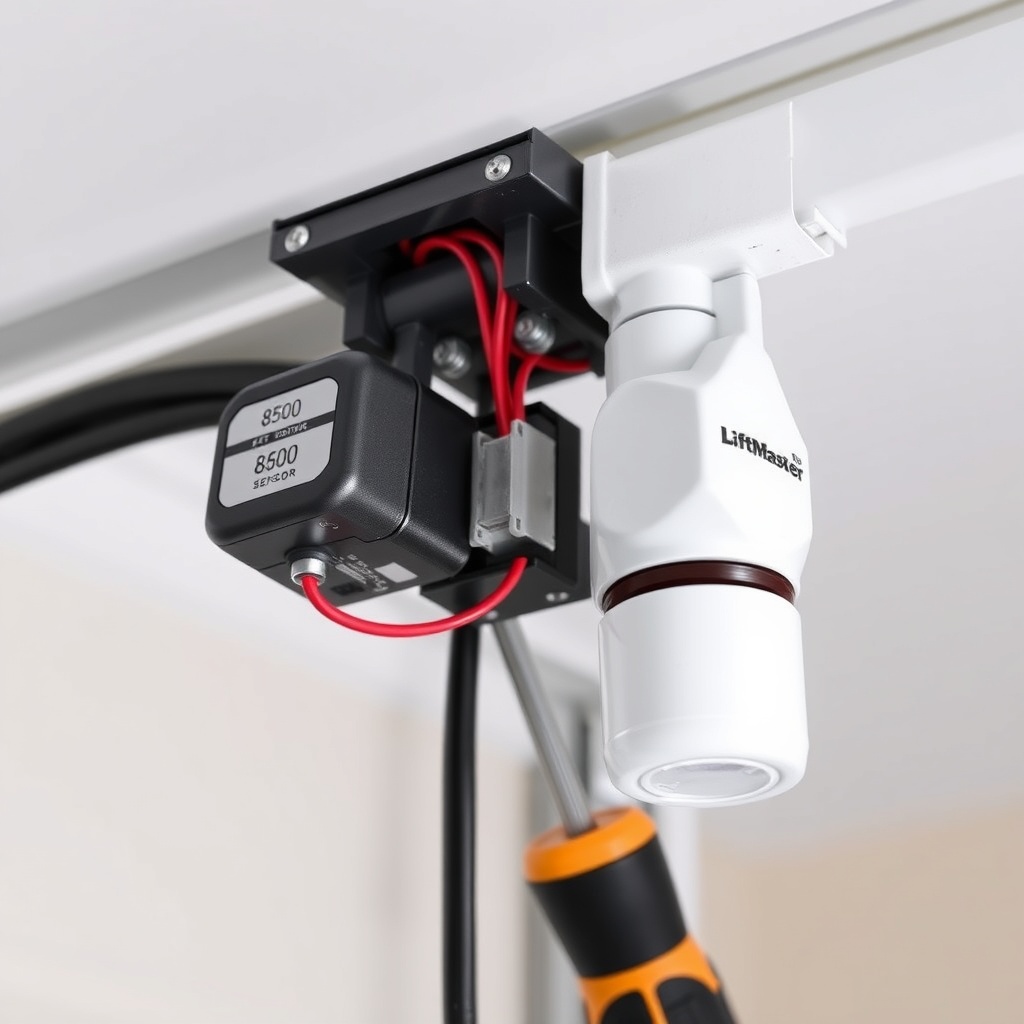
The sensors emit a beam that must be uninterrupted for the door to close. When wiring, ensure the sensors are aligned and the wires are connected properly to the opener’s terminal block. Typically, the wiring involves connecting the white wire from each sensor to the opener’s “White” terminal, the black wire to the “Black” terminal, and the grey or blue wire (if present) to the “Grey” terminal for the closing sensor only.
What Tools and Materials Are Needed for Safety Sensor Wiring?
Before starting the wiring process, gather the following tools and materials to avoid interruptions:
- Wire strippers (20-22 AWG recommended)
- Phillips head screwdriver (small size)
- Ladder or step stool
- Safety glasses and gloves
- LiftMaster 8500 safety sensor kit (if replacing)
- 22-gauge solid core wire (if extending wires)
- Wire nuts or connectors (if splicing)
Ensure the power to the opener is disconnected at the breaker or unplugged to prevent electric shock. The LiftMaster 8500 operates on 120V AC, so safety precautions are paramount.
How to Wire LiftMaster 8500 Safety Sensors for Auto-Reverse?
Follow these step-by-step instructions to wire the sensors correctly:
- Mount the sensors: Attach both sensors to the garage door tracks, approximately 6 inches above the floor. The sending sensor (usually with an LED indicator) should be on one track, and the receiving sensor on the opposite track.
- Prepare the wires: Use wire strippers to remove about 1/2 inch of insulation from each wire end. Typically, the sensor wires are colour-coded: white (common), black (power), and grey or blue (signal for receiving sensor).
- Connect to the opener: Locate the terminal block on the back of the LiftMaster 8500. Connect the white wires from both sensors to the “White” terminal. Connect the black wires from both sensors to the “Black” terminal. Connect the grey wire from the receiving sensor to the “Grey” terminal. The sending sensor may have a green or yellow wire; this is not used for basic wiring.
- Secure the wires: Tighten each terminal screw firmly to ensure a good electrical connection. Avoid overtightening to prevent wire breakage.
- Align the sensors: Both sensors must face each other precisely. The LEDs on the sensors should illuminate continuously when aligned. If the LED is blinking or off, adjust the sensor positions slightly.
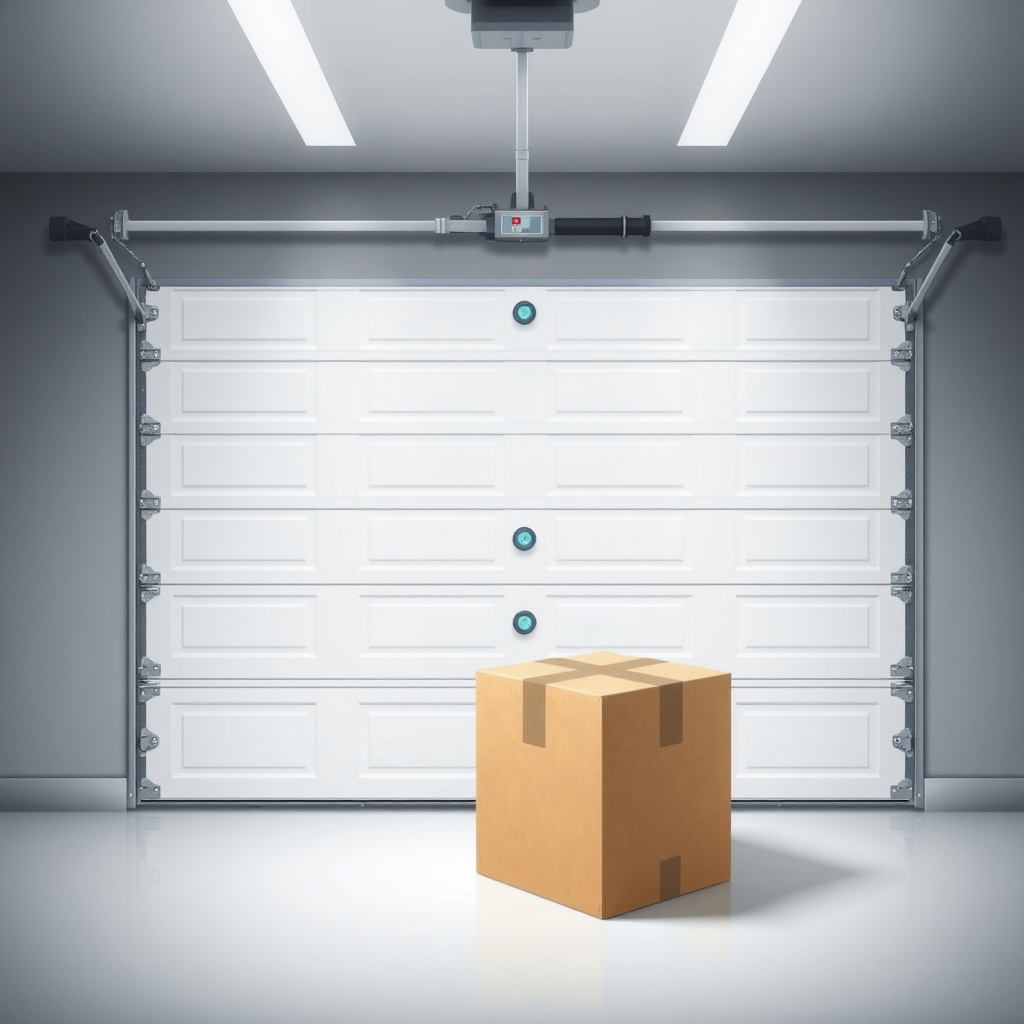
- Test auto-reverse: After wiring, plug the opener back in. Place a small object (e.g., a cardboard box) in the door’s path. Attempt to close the door. The door should stop and reverse immediately upon contact. If not, re-check the wiring and alignment.
For installations involving battery backup, see the LiftMaster 8500 Battery Backup Installation: Step-by-Step Guide for additional wiring considerations.
What Are the Common Wiring Mistakes and How to Fix Them?
| Common Mistake | Severity | Symptoms | Solution |
|---|---|---|---|
| Reversed wire connections (white/black swapped) | High | Door won’t close; constant reversal; LED on sensor off | Swap the wires on the terminal block; ensure white to white, black to black |
| Loose terminal screws | Medium | Intermittent door reversal; flashing LED on sensor | Tighten screws; ensure wire ends are fully inserted |
| Grey wire connected to wrong terminal | High | Receiving sensor LED stays off; error code 4-1 | Connect grey wire to “Grey” terminal only; check diagram |
| Sensor misalignment (tracks not parallel) | Medium | Door reverses randomly; sensors flash | Realign sensors; use a level to ensure they face each other |
| Damaged or cut wire insulation | High | Short circuit; breaker trips; sensor LED off | Replace damaged wire section; use wire nuts or splice |
If error codes persist after correcting wiring, refer to the troubleshooting guide in the LiftMaster 8500 Limit Switch Adjustment: Precise Calibration Guide to ensure limit settings are not interfering.
What Owners Say About LiftMaster 8500 Sensor Wiring
Many LiftMaster 8500 owners appreciate the straightforward wiring process once the colour codes are understood. John from Manchester shared, “After reading the manual, I wired the sensors in 20 minutes. The auto-reverse test worked perfectly. The key is aligning the sensors exactly.” Sarah from Glasgow noted, “I had a shaky connection at the terminal block. Tightening the screws fixed the intermittent reversal issue.”
A few users reported challenges with the grey wire connection, especially when replacing older sensors. One reviewer on a DIY forum wrote, “The grey wire from the receiving sensor is easy to miss. Once I connected it correctly, the door closed without error.” The consensus is that proper wiring ensures reliable safety function, and many owners combine the sensor wiring process with other maintenance tasks like cable replacement. For related guidance, check the LiftMaster 8500 Cable Replacement: DIY Step-by-Step Guide which often accompanies sensor work.
Owners also recommend testing the auto-reverse function monthly, especially after wiring adjustments. Noise from the opener can sometimes indicate a need for drive system checks, as detailed in the LiftMaster 8500 Opener Drive Noise Diagnosis: Causes and Solutions article.
How to Test the Auto-Reverse Function After Wiring?
Testing is straightforward:
- Initial test: Place a 1-inch thick piece of wood or a cardboard box in the centre of the door opening.
- Close the door: Use the remote or wall controller to close the door. The door should stop and reverse upon contacting the object.
- Repeat test: Perform the test three times to ensure consistency.
- Manual test: If the door reverses without contact, check sensor alignment and wire connections.
- Monthly check: Repeat the test as part of routine maintenance.
If the door fails to reverse, disconnect power and re-inspect all wiring. The spring tension can also affect auto-reverse performance; for adjustments, see the LiftMaster 8500 Wall-Mount Spring Tension Adjustment: DIY Tutorial.
Frequently Asked Questions
Q: What wire colours are used on LiftMaster 8500 safety sensors?
Typically, the sensors use white (common), black (power), and grey (signal for the receiving sensor). The sending sensor may have a green or yellow wire which is not connected.
Q: Why does my LiftMaster 8500 keep reversing when closing the door?
This is usually due to misaligned sensors, loose wires, or a grey wire connected to the wrong terminal. Check alignment and tighten all terminal screws.
Q: Can I replace only one safety sensor on my LiftMaster 8500?
Yes, but it is recommended to replace both sensors as a pair to ensure compatible performance. Mixing old and new sensors can cause intermittent issues.
Q: Do I need to disconnect power before wiring safety sensors?
Yes, always disconnect power at the breaker or unplug the opener to avoid electric shock or damage to the control board.
Q: How often should I test the auto-reverse function?
Test monthly using a 1-inch object. This ensures the sensors and wiring remain functional.
Q: What does it mean if both sensor LEDs are off after wiring?
This indicates no power reaching the sensors. Check that the wires are connected to the correct terminals (white to white, black to black) and that the opener has power.