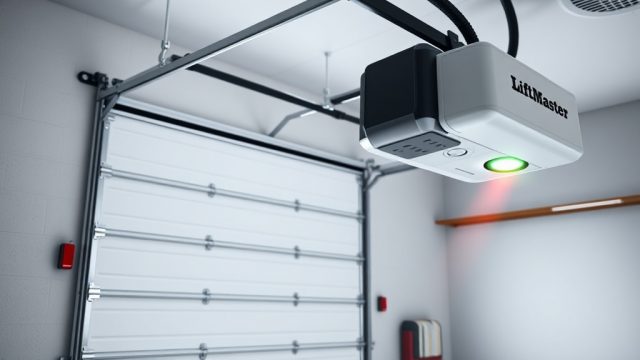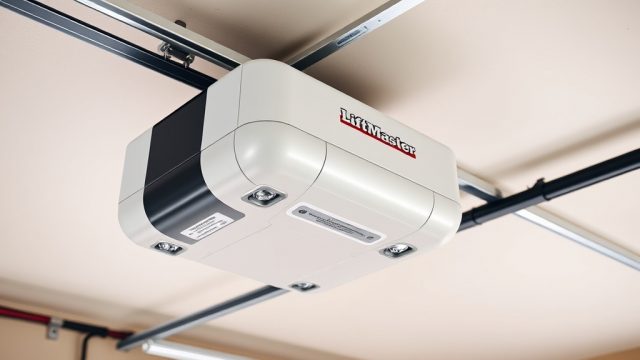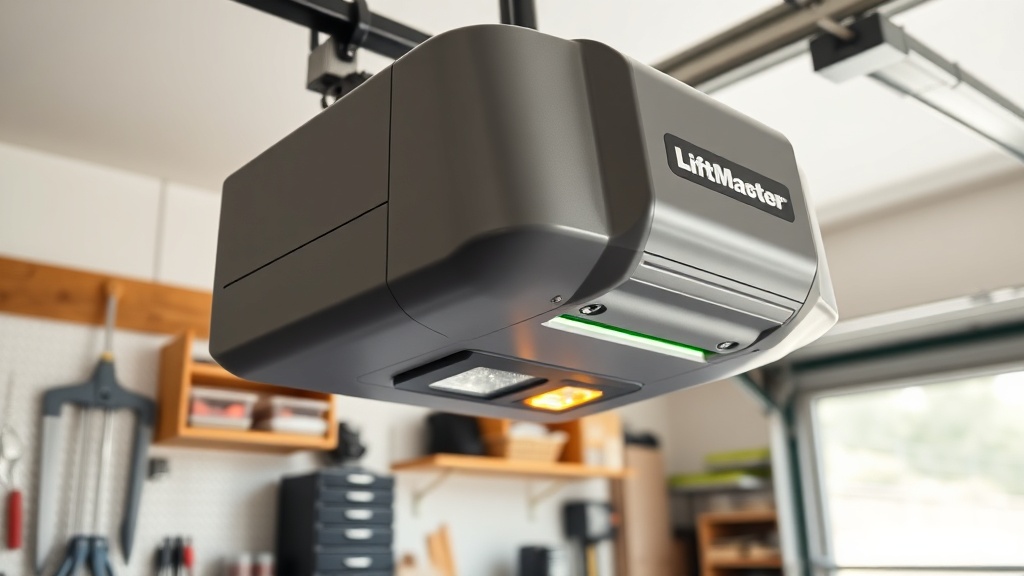
What is the LiftMaster 8500 Safety Sensor Auto-Reverse System?
The LiftMaster 8500 is a wall-mounted garage door opener renowned for its space-saving design and quiet operation, but its core safety feature remains the photoelectric sensor pair that triggers the auto-reverse function. These sensors, mounted on either side of the garage door track near the floor, emit an invisible infrared beam. When that beam is interrupted by a person, pet, or object while the door is closing, the opener immediately stops and reverses direction. This mandatory safety mechanism, required by law on all modern openers, prevents potentially severe injuries or property damage. Understanding how to align and troubleshoot this system is critical for every LiftMaster 8500 owner because even a minor misalignment caused by a bumped sensor, a loose bracket, or a dusty lens can disable the auto-reverse feature and leave the door inoperable.
When the safety sensors are misaligned or obstructed, the opener’s logic board will not allow the door to close using the remote or wall button; it will only respond to the close command if the control is held down continuously. This failsafe design ensures that a safety hazard is never ignored. For UK homeowners, replacing damaged sensors costs between £25–£50 for a genuine LiftMaster 8500 sensor pair, while a full service call from a certified technician can range from £80–£150. Fortunately, most alignment issues can be resolved in under 30 minutes with simple tools.
Why Are My LiftMaster 8500 Sensors Not Working?
The most common cause of safety sensor failure on the LiftMaster 8500 is simple misalignment. The sensors must face each other perfectly square so the transmitting sensor’s beam hits the centre of the receiving sensor. Over time, vibrations from normal door operation, accidental bumps from trolleys or boxes, or even a settling garage floor can shift the brackets. The first sign of trouble is the opener refusing to close the door via the remote – the travel limit switch calibration may be perfect, but if the sensors are blocked, no closure will occur.
Diagnosing the Warning Lights
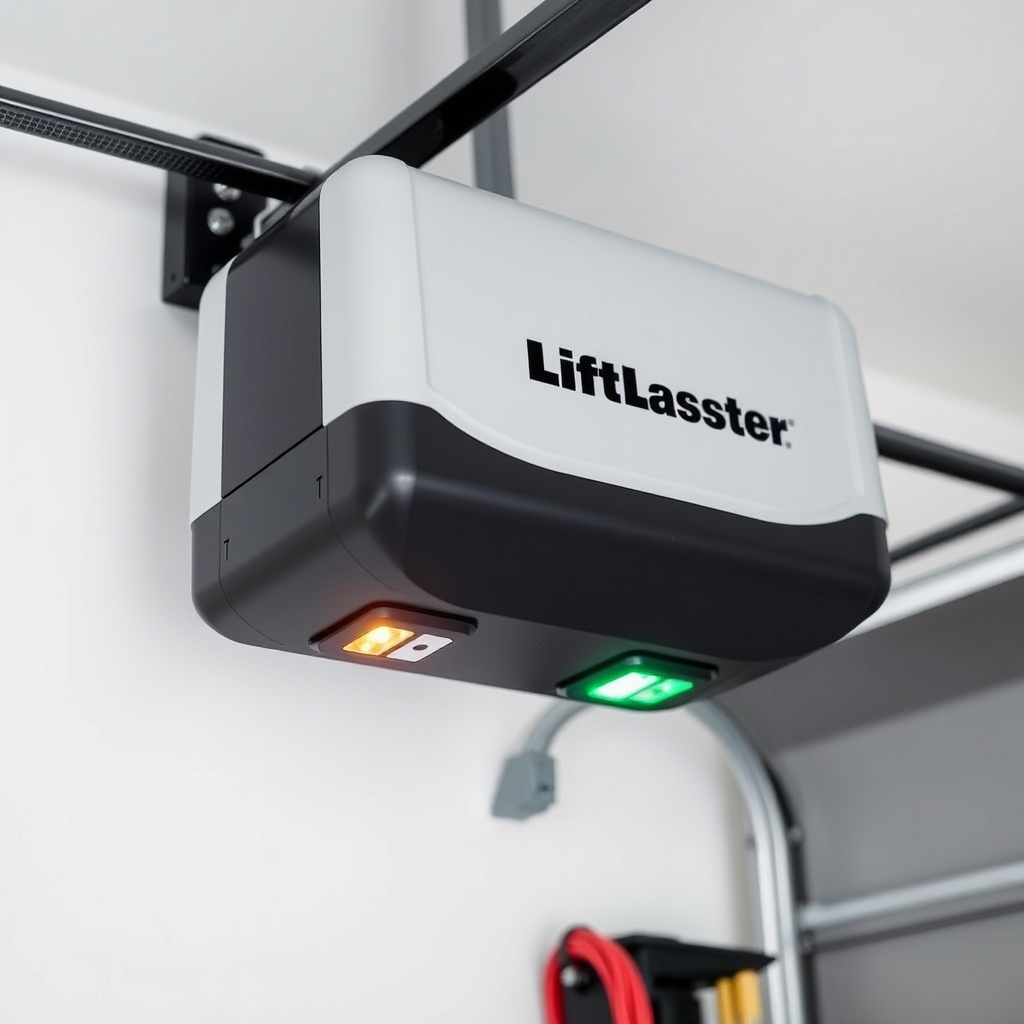
Each sensor has a small LED indicator. On a correctly aligned pair, the sending sensor (the one with two wires, usually plain and white) shows a steady amber or red light, while the receiving sensor (with a third, black wire) shows a solid green light. A blinking green or completely off green LED indicates misalignment, obstruction, or a wiring fault. A blinking amber LED often signals power issues or a short in the sensor circuit.
- Solid green LED: Proper alignment and signal reception.
- Blinking green LED: Beam partially misaligned or dirty lenses.
- Green LED off: No beam received – severe misalignment, wiring break, or sensor failure.
- Blinking amber/red LED: Transmitter issue, power fluctuation, or faulty sensor.
If you have recently adjusted your door’s spring tension using the LiftMaster 8500 Wall-Mount Spring Tension Adjustment: DIY Tutorial, check that the sensors were not knocked out of place during the procedure.
How Do I Align the LiftMaster 8500 Safety Sensors Properly?
Before adjusting anything, ensure the sensors are securely mounted. Use a spirit level to check that both brackets are vertically upright and at the same height from the floor, typically 6 inches (150 mm) above the ground. LiftMaster 8500 sensors are designed to be aligned by loosening the bracket wing nut just enough to rotate the sensor housing, not by bending the bracket itself.
Step-by-Step Alignment Procedure
Start with the opener unplugged to avoid accidental activation. Loosen the wing nut on the receiving sensor (green LED side) slightly. Have a helper stand at the opener wall control while you stand at the sensors. Reconnect the opener power. Ask your helper to press the wall button to attempt a close – the door will not move, but the logic board will energise the sensors. Rotate the receiving sensor slowly left and right, and tilt it up and down, watching for the green LED to turn from flashing to solid. Once solid, tighten the wing nut gently. Repeat the process for the transmitting sensor if its amber LED is flashing. Clean the lenses with a soft, dry cloth – dust and cobwebs are common culprits in garages.
After tightening, test the auto-reverse by placing a 50 mm high block of wood (or a rolled-up towel) in the door’s path. Press the close button. The door should contact the object and immediately reverse. If it does not, repeat the alignment or check the wiring connections at the opener’s terminal block. For a detailed wiring walkthrough, consult the LiftMaster 8500 Safety Sensor Wiring: Step-by-Step DIY Tutorial.
What If the Sensors Are Aligned But the Auto-Reverse Still Fails?
Occasionally, perfect alignment may not restore auto-reverse function due to faulty sensor electronics, damaged wiring, or an internal logic board failure. If both LEDs are solid (amber and green) but the door does not reverse when an obstruction is detected, the issue may lie elsewhere in the safety circuit or the opener’s travel module.
Common Non-Alignment Culprits
First, inspect the sensor wires for cuts, especially where they exit the sensor housing and where they pass through the wall bracket or raceway. Rodents sometimes chew through the low-voltage 24V wires. Use a multimeter to test continuity between the sensor terminal at the opener and the sensor itself. The wires are typically colour-coded: white (common), white/black (transmitter), and black (receiver). A break in the black wire will kill the green LED even if alignment is perfect.
Second, verify the opener’s travel limit settings. If the close limit is set too low, the door may stop short of the floor, and the logic board may ignore the sensor input. Refer to the LiftMaster 8500 Limit Switch Adjustment: Precise Calibration Guide to ensure the down limit is set to full closure without excessive force.
Third, a failing motor capacitor can cause erratic behaviour, including intermittent auto-reverse functioning. The capacitor stores electrical energy to help the motor start and reverse smoothly. If you notice the door hesitating or stalling during reversal, read the LiftMaster 8500 Opener Motor Capacitor Replacement: Step-by-Step Guide for diagnosis steps.
Finally, test the sensors by swapping them from side to side. If the problem moves to the opposite side, you have a defective sensor unit needing replacement.
How Do I Test the LiftMaster 8500 Auto-Reverse Function?
The auto-reverse test is a mandatory safety check that should be performed monthly. According to UK garage door safety standards, an opener that fails this test must be taken out of service until repaired. The procedure is straightforward but requires care to avoid damaging the door.
Obstruction Test Method
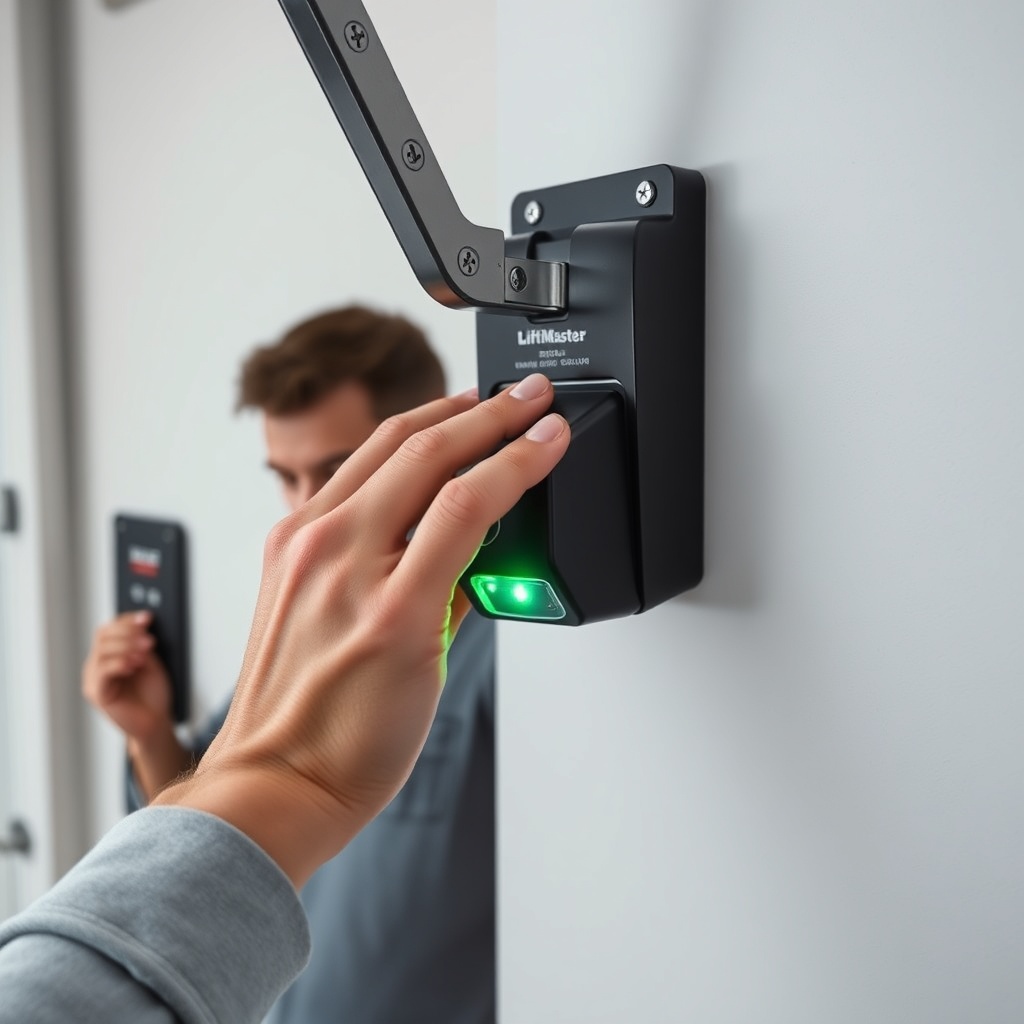
Place a solid object, such as a 50 mm tall piece of timber or a cardboard box, directly under the centre of the door’s path. Press the remote or wall-mounted close button. The door should descend until it contacts the object, then stop and reverse within 2 seconds. The reversal distance should be sufficient to lift the door at least 150 mm above the obstruction. If the door crushes the object or stops without reversing, immediate service is required.
Force Sensitivity Adjustment
The LiftMaster 8500 has adjustable force settings on the logic board. If the close force is set too high, the door may push through an obstruction without reversing. This is dangerous. Access the purple or yellow adjust buttons on the opener (after removing the light cover). Turn the close force screw counterclockwise to reduce the force, then retest. The force should be just enough to close the door smoothly on a well-balanced track. If the door requires excessive force due to binding or heavy springs, address the mechanical issues first. A poorly balanced door that strains the motor can also cause excessive wear on the LiftMaster 8500 Cable Replacement: DIY Step-by-Step Guide cables.
What Do Owners Say About LiftMaster 8500 Sensor Sensitivity?
Long-term users of the LiftMaster 8500 in the UK consistently praise the system’s reliability once correctly installed, but many note that the sensors are exceptionally sensitive to airborne debris like sawdust or spider webs. Several owners on garage door forums report that a single cobweb across the lens can cause intermittent failures, especially during autumn months. One user from Manchester wrote: “After a year of perfect operation, my door started reversing for no reason. I cleaned the sensor lenses with a microfiber cloth and it’s been flawless again.”
Another common sentiment is gratitude for the wall-mounted design that keeps the opener away from the door’s path, reducing the chance of sensor cable snags. However, some DIY installers caution that the sensors must be securely mounted on a solid track or wall bracket – using the included self-tapping screws on thin gauge steel can strip, leading to repeated misalignment. A Birmingham-based technician commented: “I see at least one 8500 a month where the sensor bracket is bent because someone tried to force alignment by twisting the metal. The sensor itself should rotate, not the bracket.”
Owners who have performed their own LiftMaster 8500 Opener Drive Noise Diagnosis: Causes and Solutions report that a noisy door is often accompanied by sensor issues, as vibration loosens the brackets over time. The consensus is clear: proactive maintenance of the sensor lenses and brackets every three months extends the life of the safety system dramatically.
Frequently Asked Questions
1. Why is my LiftMaster 8500 green sensor light blinking?
A blinking green LED on the receiving sensor means the infrared beam is partially blocked, misaligned, or the lens is dirty. Check for obstructions like cobwebs, dust, or small objects on the tracks. Clean the lens with a dry cloth and adjust the sensor angle until the light becomes solid green. If it remains blinking, inspect the wiring for damage or corrosion.
2. Can I bypass the safety sensors on my LiftMaster 8500?
No. Bypassing the safety sensors is illegal in the UK under BS EN 13241-1 and voids the opener’s warranty. The sensors are a mandatory safety feature to prevent crushing injuries. The only acceptable method to close the door with a misalignment is to hold the wall button continuously—this is a temporary measure for diagnostic purposes only.
3. How much does it cost to replace a LiftMaster 8500 sensor in the UK?
A genuine LiftMaster 8500 safety sensor pair typically costs between £25 and £50 from UK stockists or online retailers. A professional installation fee ranges from £50 to £100 if you choose not to perform the LiftMaster 8500 Safety Sensor Wiring: Step-by-Step DIY Tutorial yourself.
4. Why does my LiftMaster 8500 door reverse for no reason?
Random reversing is often caused by dirty or misaligned sensors, but can also stem from excessive close force sensitivity, a faulty logic board, or a failing capacitor. Start by cleaning the lenses and checking alignment. If the problem persists, test the force settings and inspect the wiring for intermittent shorts.
5. How often should I test the auto-reverse on my LiftMaster 8500?
Test the auto-reverse function monthly using a 50 mm high solid object placed under the door. Perform a second test with a 150 mm high object to ensure the door reverses before reaching an obstruction at head height. Document the test date for your home insurance or compliance records.
6. Can extreme cold weather affect my LiftMaster 8500 sensors?
Yes, extreme cold (below -10°C) can cause sensor condensation on the lenses or stiffen internal components, leading to intermittent beam interruptions. Wipe the lenses dry before operation. If the problem persists, consider insulating the garage space or using a dehumidifier. The LiftMaster 8500 is rated for -30°C operation, but condensation is a common issue.