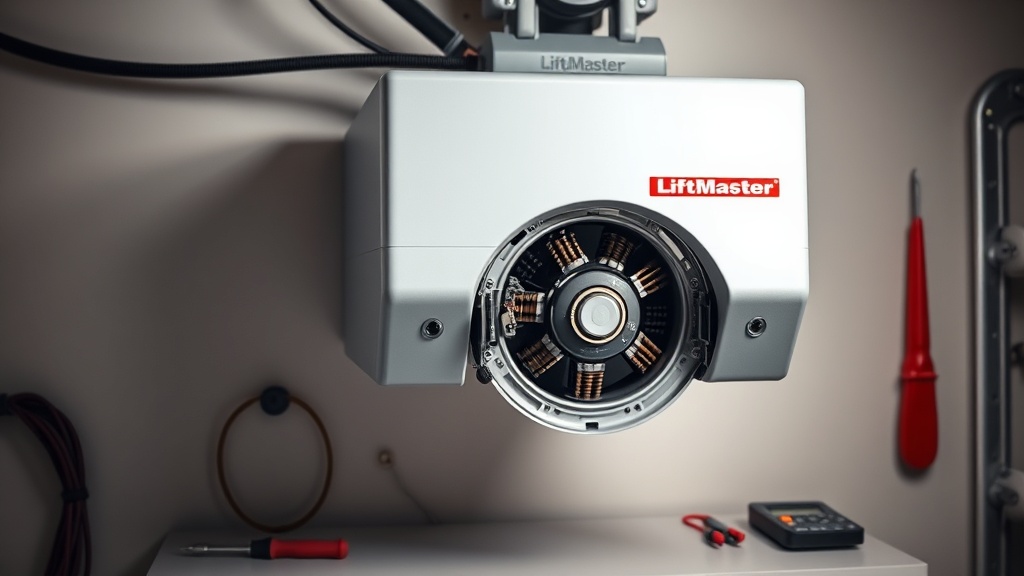
LiftMaster 8500 Opener Motor Brush Replacement Guide
Over time, the carbon brushes inside the motor of a LiftMaster 8500 wall‑mount opener wear down, leading to reduced performance, intermittent operation, or a complete motor failure. Replacing these brushes is a precise but achievable maintenance task that can extend the opener’s lifespan significantly. This guide provides a step‑by‑step approach to diagnosing worn brushes, sourcing replacements, and completing the swap safely, while also covering common pitfalls and cost considerations in UK pounds.
How Do I Know When the Motor Brushes Need Replacing?
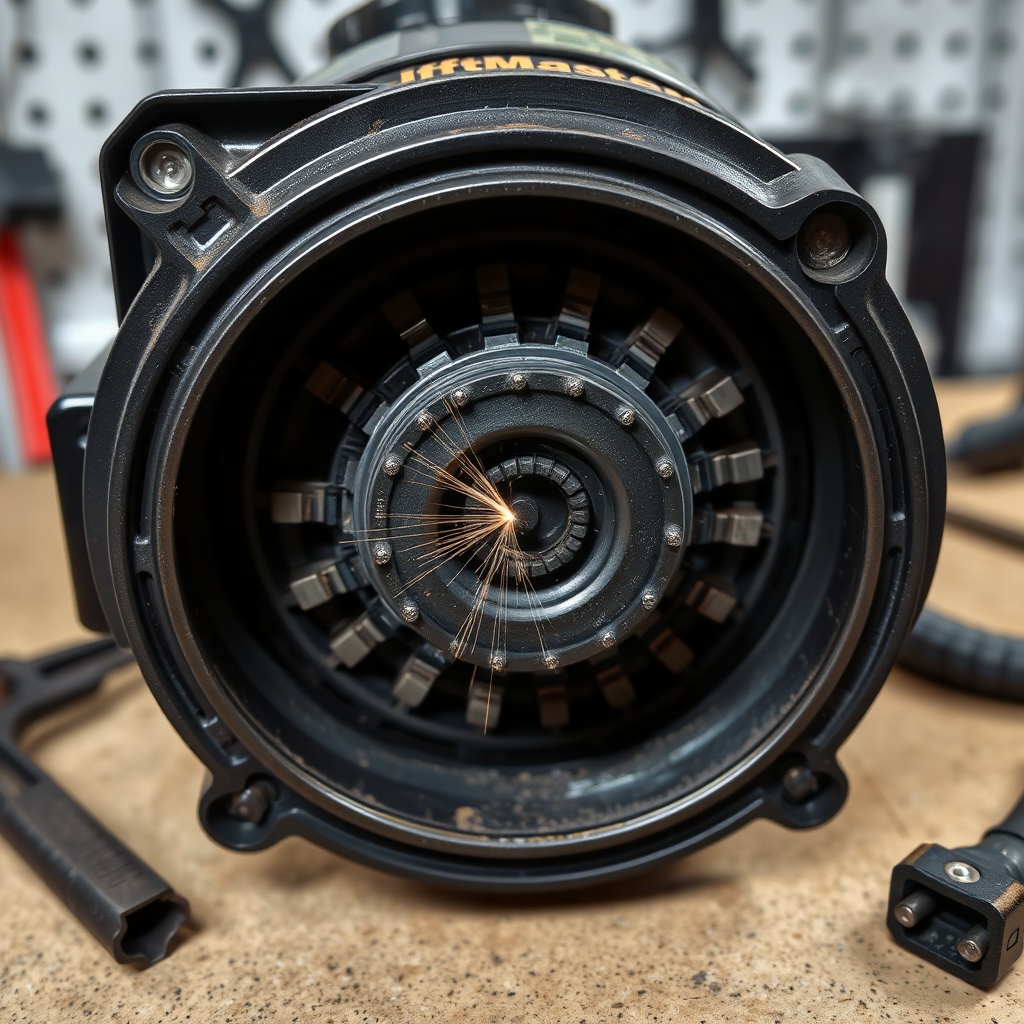
The most telling symptom is a gradual loss of power or erratic operation. You might notice the motor runs but the door moves slowly or stops mid‑cycle. Another classic sign is a faint clicking or buzzing sound from the motor housing, accompanied by intermittent sparking visible through the ventilation slots. If your LiftMaster 8500 fails to start even after checking the power supply and control board, the brushes are likely worn beyond their useful life. Typically, brushes need replacement after about 10,000 to 15,000 cycles, but this varies with usage and maintenance. A visual inspection after removing the motor cover will confirm: healthy brushes are at least 6‑8 mm long; if they’re shorter than 4 mm, it’s time to swap them.
What Tools and Parts Do I Need for the Replacement?
Replacing motor brushes on the LiftMaster 8500 requires standard workshop tools and a specific replacement kit. The motor uses two carbon brushes, each measuring roughly 10 mm x 8 mm x 28 mm, with a pre‑attached spring and solderless connector. Genuine LiftMaster brush kit part number 041A4841 is the recommended choice, priced around £28–£35. Aftermarket alternatives exist from brands like Prime Line or Genie, costing £12–£18, but they may require slight trimming or modification. You’ll also need a Phillips #2 screwdriver, a flat‑blade screwdriver, needle‑nose pliers, a multimeter for continuity checks, and a small file or fine sandpaper to clean the commutator surface. Ensure the opener is unplugged and the door is disconnected from the trolley before starting. For a complete list of compatible parts, see our LiftMaster 8500 Opener Motor Capacitor Testing: DIY Tutorial.
How Do I Safely Access and Remove the Worn Brushes?
Step 1: Disconnect Power and Release Tension
Unplug the opener from the mains outlet. For wall‑mount units, also disconnect the battery backup if fitted. Release the door from the trolley using the emergency release cord to prevent accidental movement. You’ll need to remove the motor cover—usually four Phillips screws on the rear or side of the housing. Gently lift the cover off, taking care not to damage any wiring.
Step 2: Identify the Brush Holders
Inside the motor housing, you’ll find two brush holders positioned 180° apart on the commutator end of the armature. Each holder has a small retaining clip or screw. Use a flat‑blade screwdriver to gently pry open the clip, then pull the brush assembly out using needle‑nose pliers. Note the orientation and the spring position—take a photo if helpful.
Step 3: Remove the Old Brushes
Once the clip is released, slide the brush and spring out. The brush may be stuck due to carbon dust accumulation; a light tap with the screwdriver handle can free it. Clean the commutator surface carefully with fine sandpaper (600‑grit) to remove any glazing or deposits. Wipe away debris with a lint‑free cloth.
How Do I Install the New Brushes Correctly?
Insert each new brush into its respective holder, ensuring the spring is oriented toward the commutator. The brush should slide freely; if it binds, file the edges slightly. Secure the retaining clip or tighten the screw to hold the brush in place. Important: do not push the brush fully into the holder—leave about 2‑3 mm exposed to allow the spring to seat properly. After both brushes are installed, rotate the armature by hand to ensure they contact the commutator smoothly without excessive drag. Connect the brush wires to the terminal block or solder points, matching polarity if marked (most LiftMaster 8500 motors use a neutral design, but check your service manual). Reassemble the motor cover and reconnect the door to the trolley. For precise alignment after brush replacement, refer to the LiftMaster 8500 Opener Drive Adjustment: Chain Tension and Belt Alignment Guide.
What Common Problems Occur During Brush Replacement?
Several issues can arise even with careful work. First, mismatched brush dimensions: aftermarket brushes may be slightly too long or short, causing poor contact or premature wear. Always measure against the old brushes. Second, broken springs: the springs in cheap kits can snap during installation; opt for genuine parts to avoid this. Third, commutator damage: deep grooves or burn marks require commutator resurfacing, which is beyond the scope of a simple brush swap. Fourth, wiring errors: reversing the brush leads can cause motor sparking or failure to run. Use a multimeter to verify continuity between each brush and the motor terminal before reassembly. If the motor still runs noisily, see our LiftMaster 8500 Opener Motor Noise Diagnosis: Causes and Solutions guide for further troubleshooting.
| Symptom | Likely Cause | Cost (Parts Only) | Difficulty | DIY Feasibility |
|---|---|---|---|---|
| Motor runs slow, intermittent starts | Worn brushes | £28–£35 | Moderate | Yes, with basic tools |
| Motor hums but doesn’t spin | Worn brushes or failed capacitor | £12–£18 (capacitor) | Moderate | Yes, see capacitor guide |
| Burning smell, excessive sparking | Commutator damage or short | £80–£150 (motor replacement) | High | Only if experienced |
| Door reverses instantly | Travel limit or sensor issue | £0 (adjustment) | Low | DIY, see limit guide |
| No power to motor | Control board or wiring | £60–£120 | High | Call professional |
What Owners Say About the LiftMaster 8500 Brush Replacement
UK owners on garage door forums and review sites consistently praise the 8500’s overall reliability but note that brush wear is the most common maintenance issue after five to seven years. “My LiftMaster 8500 started hesitating halfway up—replaced the brushes with the genuine kit and it’s like new,” wrote one user on a DIY community. Another owner reported: “I bought a cheap aftermarket brush set off eBay—the springs broke within a week. Spent the extra on OEM and no problems since.” Many emphasise the importance of cleaning the commutator: “I skipped that step and had arcing straight away. Had to reopen and do it properly.” Overall, owners say the job takes about 45 minutes for someone handy, and saves £80–£120 compared to professional motor replacement. For those considering the full motor swap, see our LiftMaster 8500 Opener Motor Replacement Cost: DIY vs Pro Guide to compare costs.
Frequently Asked Questions
How often should I replace the motor brushes on my LiftMaster 8500?
Under normal residential use, brushes should be inspected every two to three years and replaced when they wear to less than 4 mm in length. Heavy usage—commercial or multi‑door operation—may require annual replacement.
Can I replace the brushes without removing the entire motor?
Yes, the brushes are accessible through the motor housing without taking out the motor itself. You only need to remove the motor cover and side access panels. The full motor removal is required only if the commutator or armature is damaged.
Will using a non‑OEM brush kit void my warranty?
If the opener is still under warranty, fitting non‑LiftMaster parts can void coverage. Once the warranty expires, aftermarket brushes are acceptable provided they meet the correct dimensions and spring tension. Check your warranty terms before proceeding.
What should I do if the new brushes spark immediately after installation?
Excessive sparking usually indicates the commutator is dirty or the brushes are not seated properly. Unplug the unit, remove the brushes, and clean the commutator with fine sandpaper. Also verify the brush springs are not compressed or broken. If sparking continues, test the LiftMaster 8500 Wall-Mount Opener Motor Capacitor Testing Tutorial to rule out a capacitor issue.
My LiftMaster 8500 makes a grinding noise after brush replacement—what’s wrong?
Grinding typically means the brushes are too long and dragging on the commutator, or the brush holder is misaligned. Double‑check that the brush protrudes only 2–3 mm and that the spring is correctly seated. Also ensure the armature rotates freely without binding.
Can I test the brushes with a multimeter before reassembly?
Absolutely. Set your multimeter to ohms (Ω) and measure between the brush wire and the motor terminal. A good brush should show near zero ohms. High resistance or an open circuit indicates a defective brush or broken spring connection. After installation, check for continuity between the brush wire and the commutator surface—if there’s no reading, the brush isn’t contacting properly.