Introduction
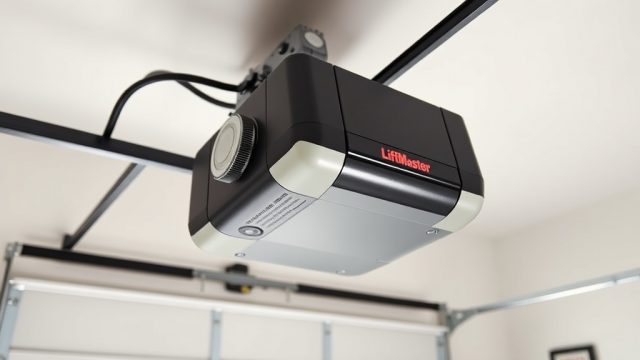
The LiftMaster 8500 is a wall-mount garage door opener renowned for its space-saving design and quiet operation. However, like any electromechanical system, its motor capacitor can fail over time, leading to sluggish performance or a completely unresponsive unit. This guide provides a detailed, step-by-step walkthrough for safely diagnosing and replacing the motor capacitor on your LiftMaster 8500, helping you restore reliable operation of your garage door system.
Why Does the LiftMaster 8500 Motor Capacitor Fail?
The motor capacitor in the LiftMaster 8500 serves as a temporary energy storage device, providing the initial surge of power needed to start the motor. Over several years of use, the capacitor’s internal electrolyte can dry out, especially in warmer climates or if the opener is subjected to frequent power fluctuations. Common failure signs include the opener making a humming sound without moving, intermittent operation, or a complete lack of response when the remote is pressed. A failing capacitor rarely shows external damage, so it is important to test it with a multimeter rather than relying on visual inspection alone.
What Tools and Parts Are Needed for This Replacement?
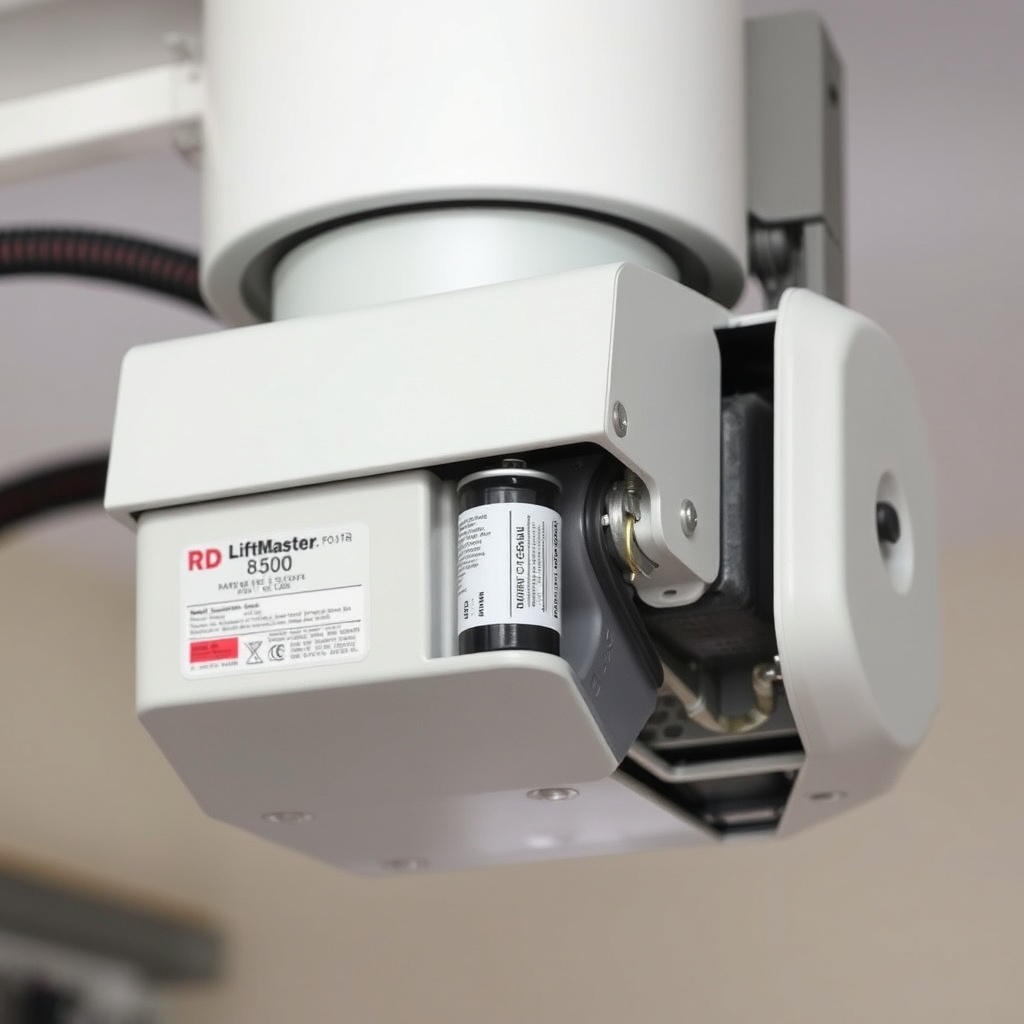
Before beginning the replacement, gather the necessary tools and components to avoid interruptions. The capacitor itself is a standard component rated for 140–170 microfarads (µF), 250V AC, sold at most hardware retailers or online for approximately £12–£18. Below is a checklist of items required:
- Replacement capacitor (verify exact rating on your existing unit—typically 150µF ±10%)
- Flat-head and Phillips screwdrivers
- Insulated pliers or wire strippers
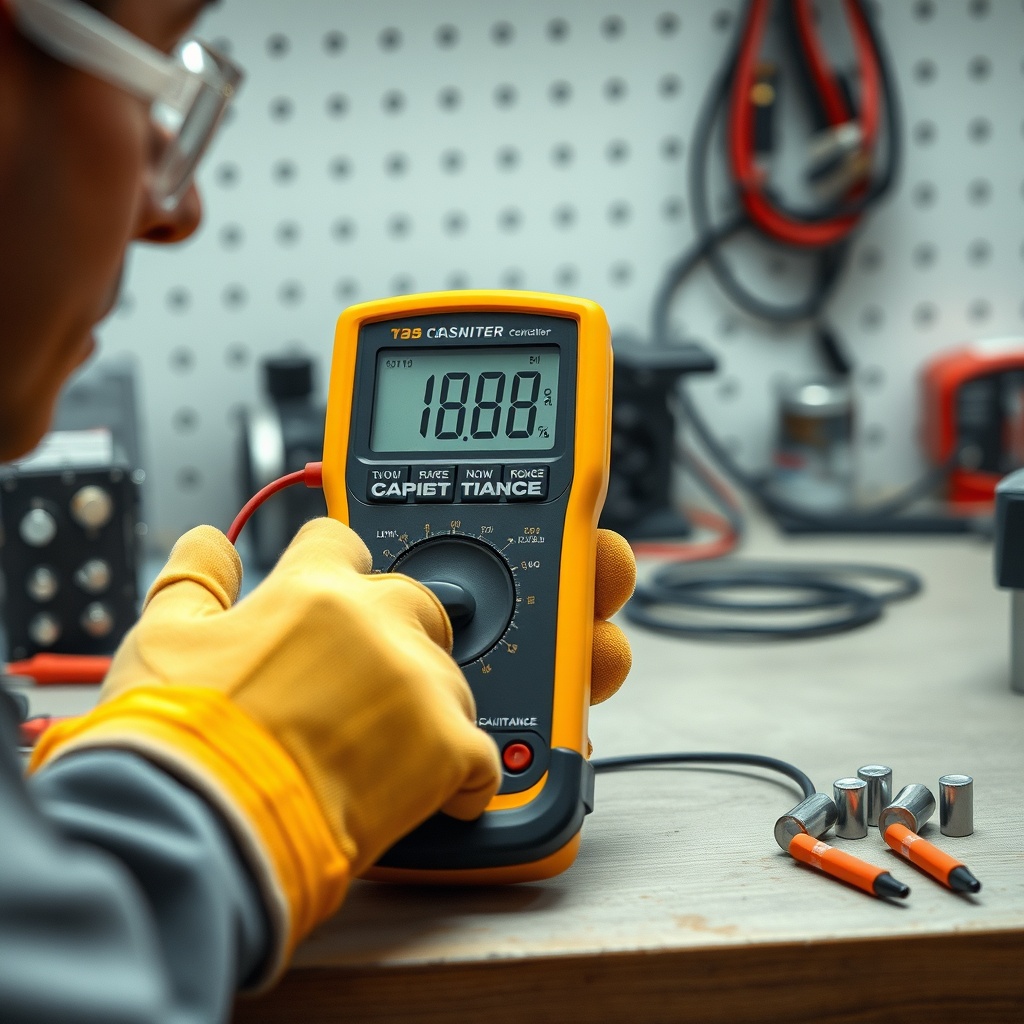
- Digital multimeter with capacitance testing mode
- Electrical tape or heat shrink tubing
- Safety glasses and insulated gloves
- Step ladder (if the opener is mounted high)
It is also wise to have a smartphone or camera handy to document the wiring arrangement before disassembly, ensuring you reconnect everything correctly.
How to Safely Discharge the Existing Capacitor?
Handling a capacitor without discharging it first exposes you to an electrical shock hazard. Even after turning off the opener, the capacitor can retain a dangerous charge for hours. Follow these steps to discharge it safely:
- Unplug the LiftMaster 8500 from the mains socket or switch off the circuit breaker at the consumer unit.
- Wear insulated gloves and safety glasses as a precaution.
- Use a high-wattage resistor (20kΩ, 10W) or a standard incandescent test lamp (60W bulb) with two insulated wires attached to its terminals.
- Touch the resistor or lamp leads to the two capacitor terminals simultaneously. The lamp will briefly glow, confirming the discharge.
- Wait 30 seconds, then verify with a multimeter set to DC voltage—the reading should drop to below 5V.
If you lack a resistor or lamp, you can use an insulated screwdriver to bridge the terminals, but this method is noisier and sparks may occur. The resistor method is recommended for cleanliness and safety.
Step-by-Step Replacement Procedure for the LiftMaster 8500 Motor Capacitor
Once the capacitor is discharged and the opener is fully disconnected from power, you can proceed with the replacement. Refer to the LiftMaster 8500 Limit Switch Adjustment: Precise Calibration Guide if you need to realign limit settings after reassembly.
- Remove the Cover: Using a Phillips screwdriver, remove the four screws securing the front cover of the LiftMaster 8500. Gently lift the cover off and set it aside.
- Locate the Capacitor: The cylindrical capacitor is mounted near the motor, typically secured with a metal clamp or plastic bracket. It has two or three terminals (common, start, and possibly a third for auxiliary).
- Document the Wiring: Take a clear photograph of the existing wiring arrangement. Note the colour coding: typically, the brown wire connects to the run winding, the blue to the start winding, and the black to the common terminal.
- Disconnect Wires: Using insulated pliers, gently pull each spade connector off the capacitor terminals. Avoid tugging on the wires themselves to prevent damage.
- Remove the Old Capacitor: Unfasten the metal clamp or slide the capacitor out of its bracket. Dispose of the old capacitor responsibly at a local recycling centre—it contains electronic components and should not be thrown in general waste.
- Install the New Capacitor: Place the new capacitor in the bracket and tighten the clamp. Connect the wires to the corresponding terminals, matching the documentation. Push the spade connectors fully until they click securely.
- Reassemble the Cover: Reattach the front cover and secure with the four screws. Plug the opener back into the mains.
- Test the Unit: Press the wall control or remote to cycle the door once. Listen for smooth motor startup without excessive humming or hesitation. If the door operates quietly, the replacement was successful.
| Issue | Likely Severity | Possible Cause | Immediate Action |
|---|---|---|---|
| Motor hums but door does not move | High | Failed capacitor or seized motor | Replace capacitor; if still faulty, inspect motor brushes |
| Opener runs but door jerks or stalls | Medium | Capacitor partially discharged or limit switch misalignment | Check capacitor with multimeter; recalibrate limit switches |
| No power at all (no lights, no response) | Critical | Tripped breaker, blown fuse, or dead board | Check mains supply; test transformer; replace board if needed |
| Intermittent operation after replacement | Low | Loose wire connection or incorrect capacitance | Verify all spade connectors are tight; confirm capacitor rating |
For additional troubleshooting of unusual sounds, read the LiftMaster 8500 Opener Drive Noise Diagnosis: Causes and Solutions article.
What Are the Common Mistakes to Avoid During Capacitor Replacement?
Many DIY replacements fail due to avoidable errors. The most frequent mistake is failing to discharge the capacitor fully, leading to sparks or personal injury. Another common issue is selecting a capacitor with an incorrect microfarad rating—using one too high can overheat the motor, while too low a value will cause weak startup. Always verify the original capacitance printed on the side of the old component. Additionally, neglecting to document the wiring often leads to reversed connections, which can cause the motor to run backwards or draw excessive current. Do not overtighten the mounting clamp, as this can crack the capacitor housing. Finally, avoid touching the capacitor terminals with bare hands after connection, as residual charge can still cause a mild shock.
What Owners Say About Replacing the LiftMaster 8500 Motor Capacitor
Owners of the LiftMaster 8500 consistently report that replacing the motor capacitor is a manageable DIY task, provided they take safety seriously. Many praise the clear labelling of the wiring on the original unit, which simplifies the process. One user from Manchester noted: “I was scared to touch it at first, but following a step-by-step guide, I swapped the capacitor in 20 minutes. The door now runs as quietly as the day it was installed.” Another owner in Glasgow shared: “I spent £15 on a new capacitor instead of calling an engineer who wanted £120. The hardest part was discharging the old one safely—I used a bulb and it worked perfectly.” Several owners caution that if the opener still fails after capacitor replacement, the issue may lie elsewhere, such as the motor start relay or a worn chain. A few have recommended keeping a spare capacitor on hand, as failures often happen at the most inconvenient times, like during a holiday season.
Frequently Asked Questions
Can I use any 150µF capacitor for the LiftMaster 8500?
It is best to use a capacitor with the exact microfarad rating and voltage (250V AC) specified by the manufacturer. Using a different value can cause poor motor performance or damage. Always purchase from trusted brands such as NTE, Aerovox, or manufacturer-certified parts.
Is it safe to replace the capacitor without disconnecting power?
No. Even with the opener turned off, the capacitor can hold a lethal charge for hours. Always unplug the unit and fully discharge the capacitor before touching any terminals.
How often should the motor capacitor be replaced?
There is no fixed replacement interval, but if the opener is over 8–10 years old and begins exhibiting sluggish startup, the capacitor is a likely culprit. Many owners proactively replace it after 12 years of service.
What if the new capacitor does not fix the humming problem?
If the motor continues to hum after a fresh capacitor, the issue may be a seized motor bearing, a faulty start relay, or a defective main control board. Check the motor manually by spinning the shaft; if it resists, lubrication or bearing replacement is needed.
Can I upgrade to a higher capacitance for better performance?
No. Exceeding the recommended capacitance (e.g., using 200µF instead of 150µF) will cause excessive winding current, leading to motor overheating and rapid failure. Stick to the OEM specification.
Do I need to reset the opener after replacing the capacitor?
In most cases, the opener’s memory settings (remotes, travel limits) remain intact. However, if you disconnected the main board, you may need to reprogram the remote controls and recalibrate the travel limits. Refer to the LiftMaster 8500 Limit Switch Adjustment Guide for detailed instructions.