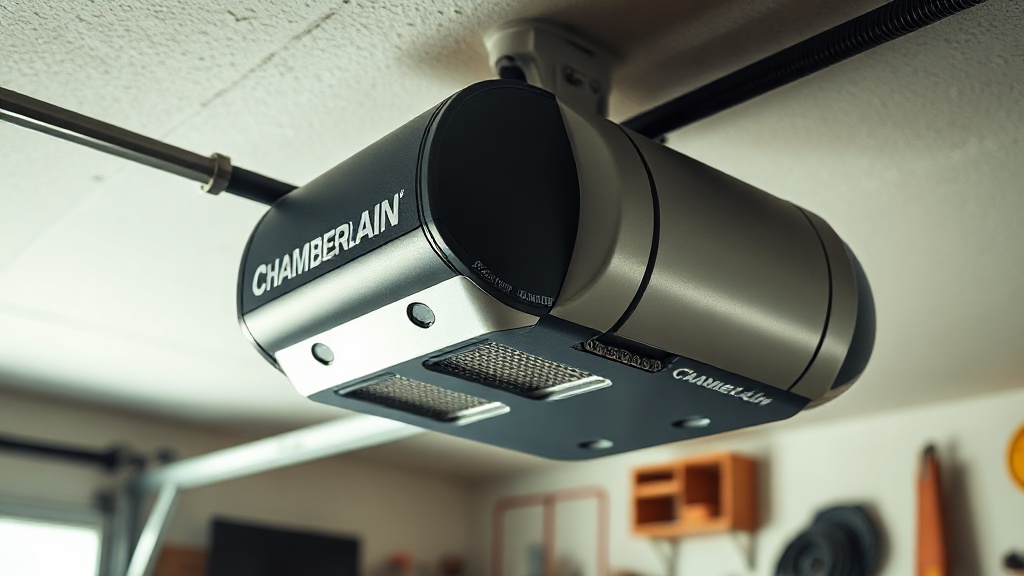
Why Proper Chain Tension Matters on the Chamberlain B1381
Over time, the roller chain on your Chamberlain B1381 garage door opener can stretch, leading to sloppy operation, excessive noise, and even premature wear on the drive sprocket. A chain that is too loose may slap against the rail, while one that is too tight places unnecessary strain on the motor and gear assembly. Regular adjustment—typically every 12 to 18 months—ensures smooth, quiet operation and extends the life of the opener.
This guide covers the correct method for checking and adjusting the chain tension on the B1381, along with common pitfalls and tools you will need. For related mechanical concerns, see our companion articles on drive coupling replacement and limit switch testing.
What Tools Do I Need for a B1381 Chain Tension Adjustment?
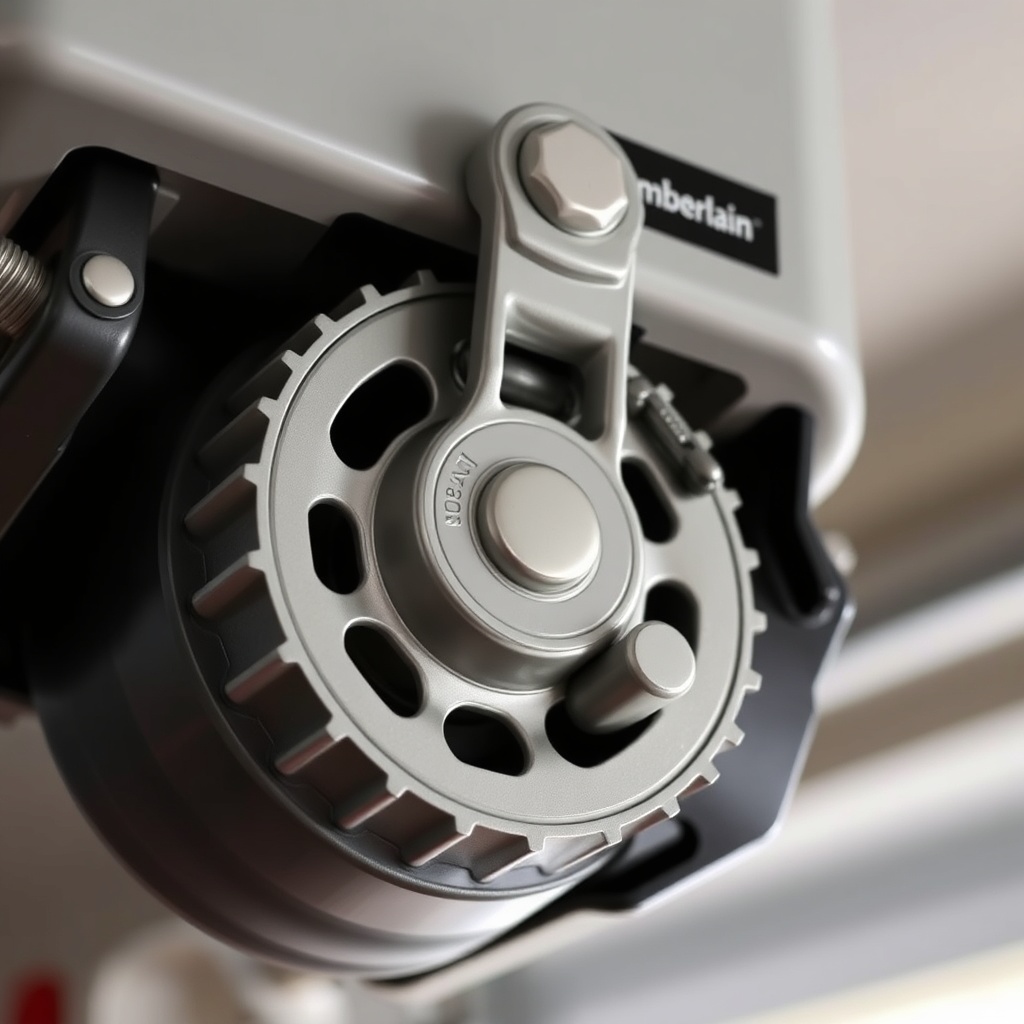
The Chamberlain B1381 uses a 5/16-inch hex socket or nut driver for the chain tension bolt, and a 1/2-inch open-end wrench for the lock nut. Additionally, you will need a flathead screwdriver to pop off the chain cover, and a cloth or rag to clean any old grease from the rail. A tape measure or ruler is helpful for setting the initial deflection measurement.
- 5/16″ hex socket or nut driver
- 1/2″ open-end wrench
- Flathead screwdriver
- Clean rag
- Tape measure (optional but recommended)
How Do I Check the Current Chain Tension on My Chamberlain B1381?
Before making any adjustments, it is important to assess the existing tension. With the garage door closed and the opener disconnected (pull the emergency release cord), manually move the trolley to the midpoint of the rail. Apply moderate downward pressure on the chain at its centre point. The chain should deflect approximately ½ inch (12.7 mm) from its resting position. If it deflects more than ¾ inch, the chain is too loose. If it deflects less than ¼ inch, it is too tight.
For openers that have never been adjusted, the chain is often too loose from the factory due to settling over the first few months of use. In colder climates, metal contraction can also cause slack. Check tension seasonally if your garage is uninsulated.
Step-by-Step Chain Tension Adjustment Procedure
Follow these steps carefully. An overtightened chain can damage the motor brushes or cause premature gear wear. A chain that is too loose will cause jerky movement and may even derail.
- Disconnect power. Unplug the opener or turn off the circuit breaker to prevent accidental start-up.
- Remove the chain cover. Use a flathead screwdriver to gently pry off the plastic cover at the rear of the opener head near the chain sprocket.
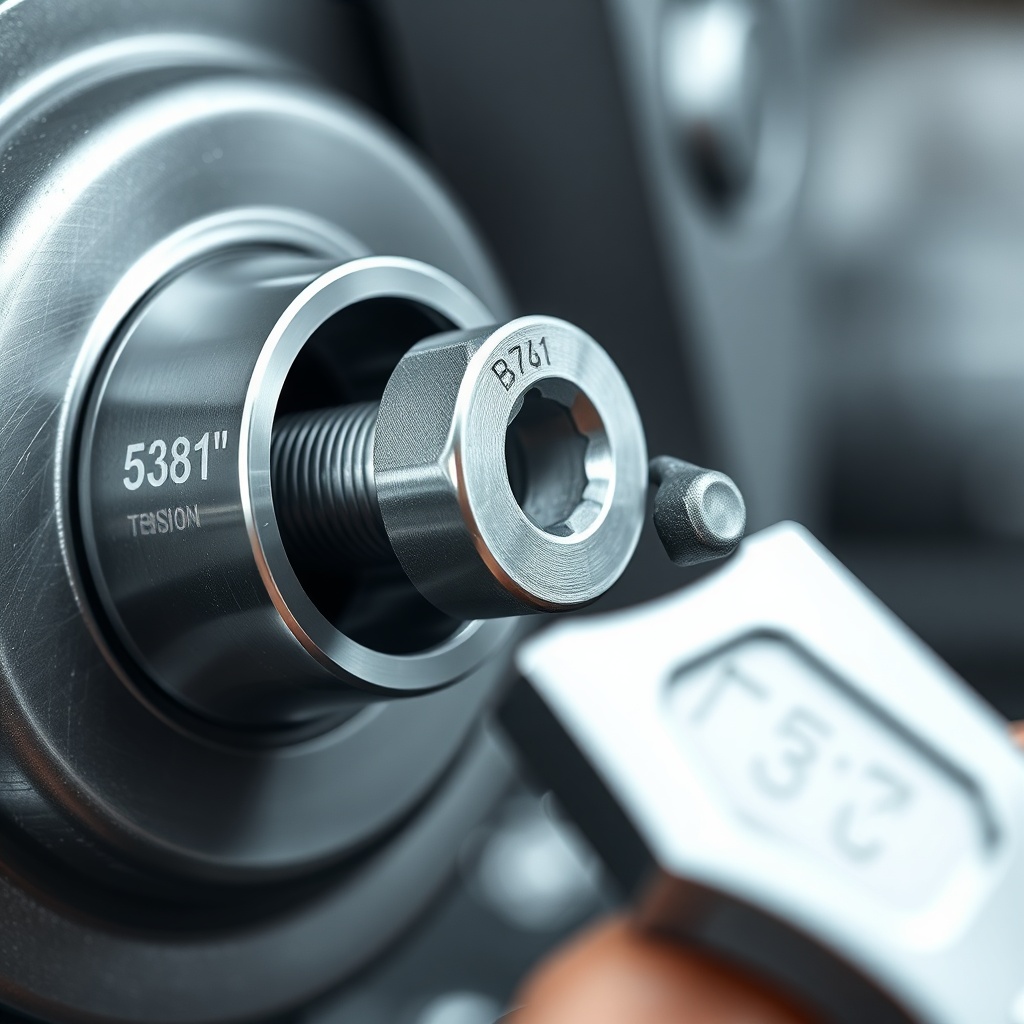
- Locate the tension bolt. On the B1381, the tension adjustment is a hex bolt (5/16″ head) threaded into a bracket at the rear of the rail, with a lock nut (1/2″) directly behind the bolt head.
- Loosen the lock nut. Hold the tension bolt stationary with your 5/16″ socket and turn the 1/2″ wrench counterclockwise to loosen the lock nut.
- Adjust tension. Turn the tension bolt clockwise to tighten the chain, counterclockwise to loosen. A full turn changes deflection by roughly 1/8 inch. Recheck deflection after each adjustment.
- Retighten the lock nut. Hold the bolt with the socket and tighten the lock nut to 8–10 Nm (6–7 ft-lb). Do not overtighten the lock nut as it can strip the threads.
- Reinstall the chain cover. Push the cover back into place until it clicks.
- Reconnect power and test. Run the opener through one full open/close cycle. Listen for chain slap or grinding. If noise persists, recheck deflection.
Note: If your chain shows signs of rust, kinking, or missing links, replace it rather than adjusting. Refer to the cover removal guide for full access to the chain attachment points.
What Are the Symptoms of Incorrect Chain Tension?
Below is a table of common symptoms, their possible causes, and recommended actions. Ignoring these signs can lead to more expensive repairs, including motor failure or sprocket damage.
| Symptom | Probable Cause | Corrective Action |
|---|---|---|
| Loud slapping noise during operation | Chain too loose | Adjust tension per section above |
| Grinding or squeaking sound | Chain too tight or dry | Loosen tension and lubricate with lithium grease |
| Door moves jerkily or stops mid-cycle | Chain slack varies with door position | Check for worn sprockets or limit switch issues |
| Excessive vibration transmitted to opener | Chain unbalanced or misaligned | Re-align chain on sprocket and retension |
| Chain derails from sprocket | Extremely loose chain or worn sprocket | Replace chain and sprocket assembly |
What Owners Say About the B1381 Chain Adjustment
GarageGuru readers and DIY home owners frequently report that the Chamberlain B1381 chain adjustment is a straightforward task that resolves most noise issues. One owner from Yorkshire noted: “After two years, the chain on my B1381 had probably an inch of slack. I followed the deflection method, tightened it half a turn, and it’s quieter than new. Very simple job.”
Another common observation is that the lock nut can be stubborn. A reader from Manchester wrote: “The lock nut on my unit was rusted from the cold. I used penetrating oil and let it sit 15 minutes before loosening. The adjustment itself took two minutes.”
A minority of owners have reported that after adjustment, their opener developed a new rattle. This is often caused by the chain cover not being fully seated. Check that all four clips engage properly. If you suspect motor-related noise, see the remote range diagnosis article, as weak signals can sometimes cause the opener to operate erratically.
Overall, owners rate the B1381 highly for serviceability, with many performing this adjustment annually as part of routine garage door maintenance.
Frequently Asked Questions
1. How often should I adjust the chain tension on my Chamberlain B1381?
Check tension every 12 months. If you notice increased noise or vibration, check sooner. In areas with extreme temperature swings, seasonal checks are wise.
2. Can I overtighten the chain?
Yes. Overtightening puts excessive load on the motor bearings and can cause the chain to bind. Always use the ½-inch deflection guideline.
3. Does the B1381 require chain lubrication after adjustment?
Yes. After setting tension, lubricate the chain lightly with a spray lithium grease. Avoid WD-40 or similar solvents as they attract grit.
4. What if the adjustment bolt won’t turn?
Apply penetrating oil (e.g., WD-40 Specialist) and wait 10 minutes. If still seized, the bracket may be rusted; consider replacing the entire rail assembly. For motor access, see cover removal.
5. My chain is still noisy after adjustment. What else could be wrong?
Check the idler pulley and sprocket for wear. Also inspect the door springs—if the door is not balanced, the opener compensates, causing chain strain. A worn drive coupling can also mimic chain noise.
6. Can I adjust the chain without removing the cover?
No. The tension bolt and lock nut are underneath the plastic chain cover. It snaps off easily. Removing the cover also lets you inspect for debris or damage.