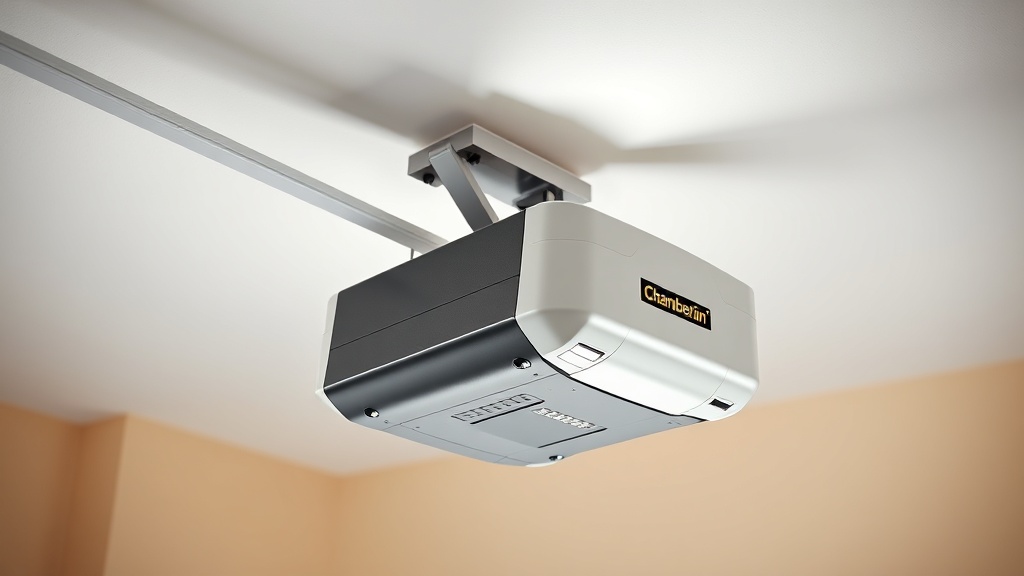
Understanding the Chamberlain B1381 Limit Switch System
The Chamberlain B1381 heavy-duty garage door opener is built for reliability, but even the most robust systems can encounter limit switch issues. These switches tell the motor when to stop during opening and closing cycles. When they fail, the door may reverse unexpectedly, stop mid-travel, or refuse to move at all. This guide provides a comprehensive DIY troubleshooting approach for testing the motor limit switches on the Chamberlain B1381, complete with error code interpretation and safe testing procedures.
What Error Codes Indicate a Limit Switch Problem on the Chamberlain B1381?
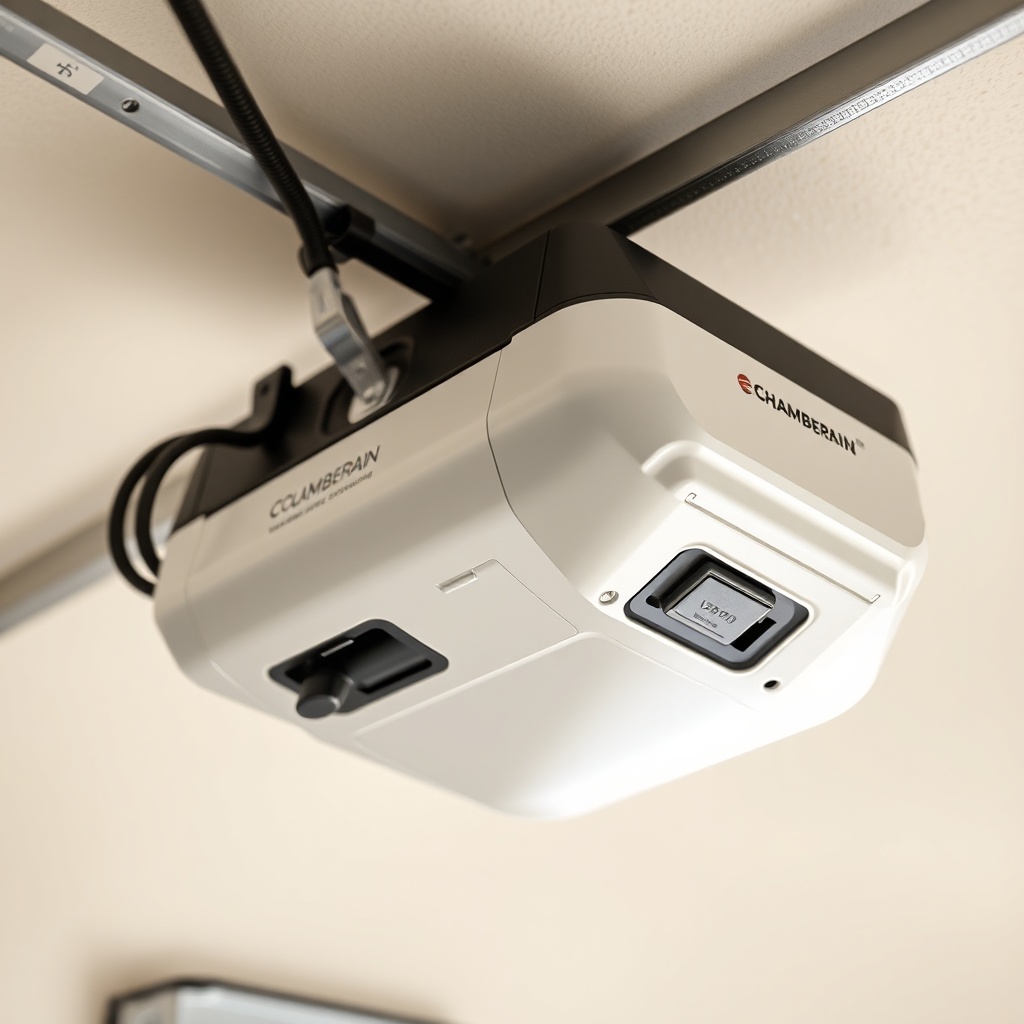
The Chamberlain B1381 uses a flashing LED system on the wall control or motor unit to communicate issues. The following table outlines the most common error codes related to limit switch malfunctions:
| Error Code (Flashing LED) | Symptom | Likely Limit Switch Issue | Severity |
|---|---|---|---|
| 1 flash, pause | Door stops mid-travel, then reverses | Open limit switch sensing distance too short | Moderate – can be adjusted |
| 2 flashes, pause | Door closes, but immediately reverses | Close limit switch misaligned or faulty | High – prevents full closure |
| 3 flashes, pause | Motor runs but door does not move | Travel module disconnected or switch shorted | Critical – requires inspection |
| 4 flashes, pause | Door opens, then stops and reverses | Open limit switch contact failure | High – door may not open fully |
| 5 flashes, pause | Motor runs briefly, then stops | Limit switch circuit board issue | Critical – may need replacement |
Always refer to the Chamberlain B1381 owner’s manual for specific LED patterns, as variations may occur between production batches. These error codes are your first diagnostic clue.
How to Safely Prepare the Chamberlain B1381 for Limit Switch Testing?
Before any electrical testing, safety must come first. The Chamberlain B1381 operates on 120V AC (UK: 230V) and contains high-voltage capacitors that can hold a charge. Follow these steps precisely:
- Disconnect the opener from mains power by unplugging the unit or switching off the dedicated circuit breaker.
- Engage the manual release cord to disconnect the door from the trolley. This prevents the door from moving accidentally during testing.
- Wait at least 5 minutes for the internal capacitors to discharge fully.
- Refer to the Chamberlain B1381 Opener Cover Removal: DIY Step-by-Step Guide to access the motor and limit switch assembly safely.
- Use a voltage tester to confirm zero residual voltage before touching any internal components.
Working on a stable, dry surface with proper lighting reduces the risk of accidental shorts or falls. The limit switch assembly is located on the motor’s right side, near the travel module.
What Tools Are Required for Chamberlain B1381 Limit Switch Testing?
DIY testing requires minimal but specific tools. Gather the following items:
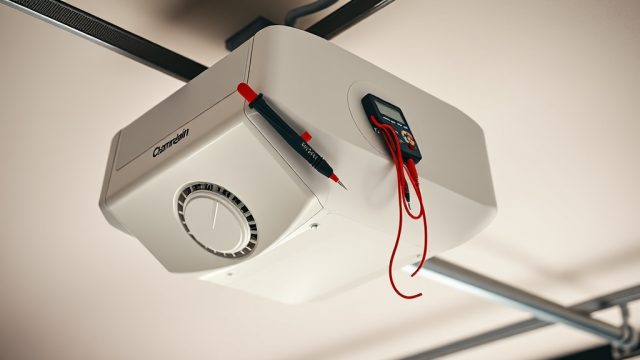
- Digital multimeter (DMM) with resistance (ohms) and continuity settings
- Small flat-head screwdriver (for terminal adjustments)
- Phillips #2 screwdriver (for removing limit switch cover)
- Insulated gloves (recommended for high-voltage safety)
- Torque wrench (if adjustments are needed later)
- Contact cleaner (electrical grade, not WD-40)
If you suspect the motor brushes are worn, also read the Chamberlain B1381 Opener Motor Brush Replacement Guide to rule out that issue before blaming switches.
How to Test the Chamberlain B1381 Limit Switch Continuity?
Continuity testing confirms whether the switch contacts are making or breaking correctly. Follow this procedure:
- Locate the limit switch assembly: it’s a small rectangular component with two or three wires leading to the motor control board.
- Disconnect the wire harness from the limit switch. Note the wire colors (typically black/common, white/NC, red/NO).
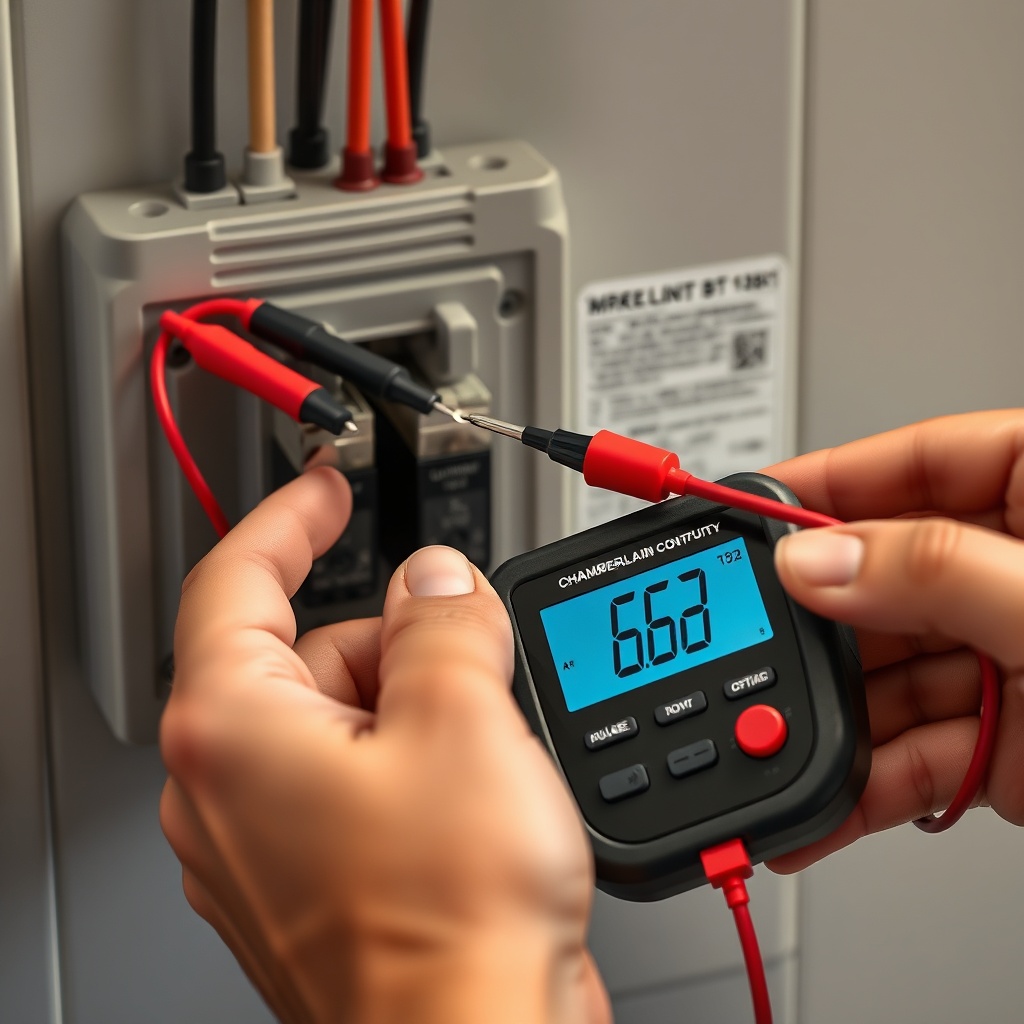
- Set your multimeter to continuity (or 200 ohms resistance range).
- Place one probe on the common terminal and the other on the normally closed (NC) terminal. The meter should show near-zero resistance (beep).
- Manually rotate the travel module screw (usually with a flat-head screwdriver) to simulate the door moving. As the cam pushes the switch, the NC contacts should open, and the normally open (NO) contacts should close.
- If no continuity change occurs at any point, the limit switch is defective. If continuity is intermittent, the switch may have internal corrosion or mechanical wear.
- Replace the limit switch if it fails this test. A new switch costs approximately £15-£25 (€18-€30).
For a more detailed visual walkthrough, consult the Chamberlain B1381 Opener Motor Limit Switch Testing: DIY Troubleshooting guide, which includes step-by-step photos.
What to Do If Limit Switch Adjustments Do Not Resolve the Issue?
Sometimes the limit switches are functional but misadjusted. Try these adjustments before replacement:
- Locate the travel limit adjustment screws (usually two: open and close) on the side of the motor unit.
- With the door in the fully closed position, mark the current position of the close limit slider with a pencil.
- Turn the close limit screw clockwise ¼ turn to shorten the travel; counterclockwise to extend. Small adjustments make big differences.
- Test the door manually (using the wall control) after each adjustment. If the door stops correctly, proceed to test the open limit the same way.
- If adjustments cause erratic behavior, the limit switch assembly may need replacement. Chamberlain B1381 Roller Chain Lubrication and Maintenance Guide covers chain tension checks that can mimic limit switch symptoms.
After adjustment, run at least five complete cycles to verify consistent performance. If the door still exhibits error codes, the problem likely lies in the logic board or wiring harness.
What Owners Say About the Chamberlain B1381 Limit Switch System?
User experiences with the Chamberlain B1381 limit switches are mixed. Many owners praise the system’s adjustability once understood, while others find the small adjustment screws finicky. Common feedback includes:
- “The limit switch error code 2 was a simple adjustment – saved me £80 on a service call.”
- “My Chamberlain B1381 needed a new limit switch every two years. The replacement was straightforward after reading testing guides.”
- “The travel module can bind if the chain is too tight – I had to loosen it first. Chamberlain B1381 Roller Chain Lubrication and Maintenance Guide helped.”
- “I found that the WiFi module interference caused phantom limit switch errors. Disconnecting WiFi resolved it temporarily.”
- “The limit switch testing guide saved me from buying a new opener – my switch just needed cleaning.”
Note that some users report that the limit switch wires can chafe against the motor housing over time. Inspect the wire insulation for wear when testing.
Frequently Asked Questions About Chamberlain B1381 Limit Switch Testing
Q1: Can I test the Chamberlain B1381 limit switch without removing the cover?
No. The limit switch assembly is inside the housing and requires access. Follow the Chamberlain B1381 Opener Cover Removal: DIY Step-by-Step Guide to safely remove the cover.
Q2: What resistance reading indicates a bad limit switch on the Chamberlain B1381?
A good switch should show less than 1 ohm when closed and infinite resistance (OL) when open. Values above 5 ohms in the closed position indicate corrosion or worn contacts.
Q3: How much does it cost to replace a Chamberlain B1381 limit switch?
The limit switch assembly typically costs between £12 and £25 (€14-€30). Replacement by a professional adds labour, usually £40-£60 (€48-€72).
Q4: Will a faulty limit switch drain the Chamberlain B1381 battery backup?
Yes, if the switch is stuck in a closed position, it can cause the motor to run continuously or draw power even when idle, draining the backup battery faster than normal.
Q5: My Chamberlain B1381 shows error code 3 but the limit switches test fine. What else could it be?
This could indicate a logic board failure, motor brush wear, or a disconnected travel encoder. Check the Chamberlain B1381 Opener Motor Brush Replacement Guide and test the encoder wheel for debris or damage.
Q6: Can weather affect the Chamberlain B1381 limit switches?
Extreme temperature changes can expand or contract the limit switch housing slightly, causing false readings. Ensure the unit is installed in a dry, temperature-stable location when possible.