Introduction
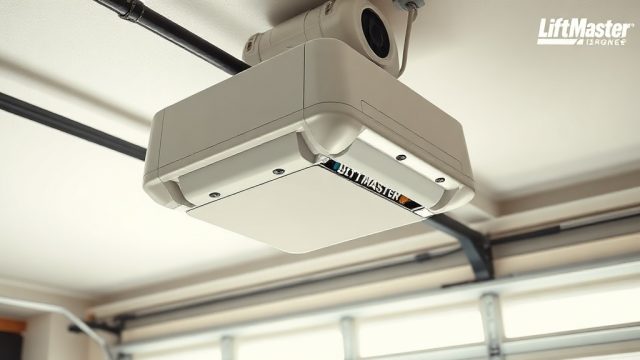
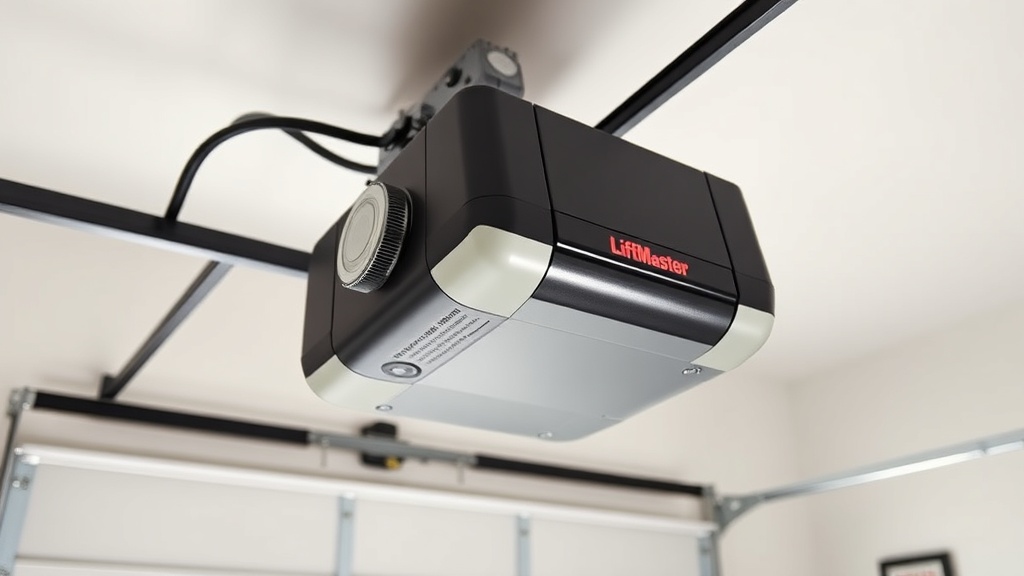
The LiftMaster 8550WLB is a premium belt-drive garage door opener renowned for its quiet operation, built-in Wi-Fi, and battery backup. However, like any mechanical system, the belt tension can drift over time due to temperature changes, normal wear, or improper initial installation. A slack or overly tight belt can cause jerky movement, excessive noise, or even premature wear on the motor and rail. This guide provides a complete, step-by-step process for adjusting the belt tension on the LiftMaster 8550WLB, ensuring smooth and reliable operation from your opener.
Before proceeding, always disconnect the opener from the power source at the mains or unplug it. Belt tension adjustment is a routine maintenance task that most homeowners can perform with a few basic tools. If the opener shows signs of more serious issues, such as erratic travel or inconsistent force, refer to our LiftMaster 8550WLB Troubleshooting Guide for resolving 10 common problems.
What Tools Are Needed for the LiftMaster 8550WLB Belt Tension Adjustment?
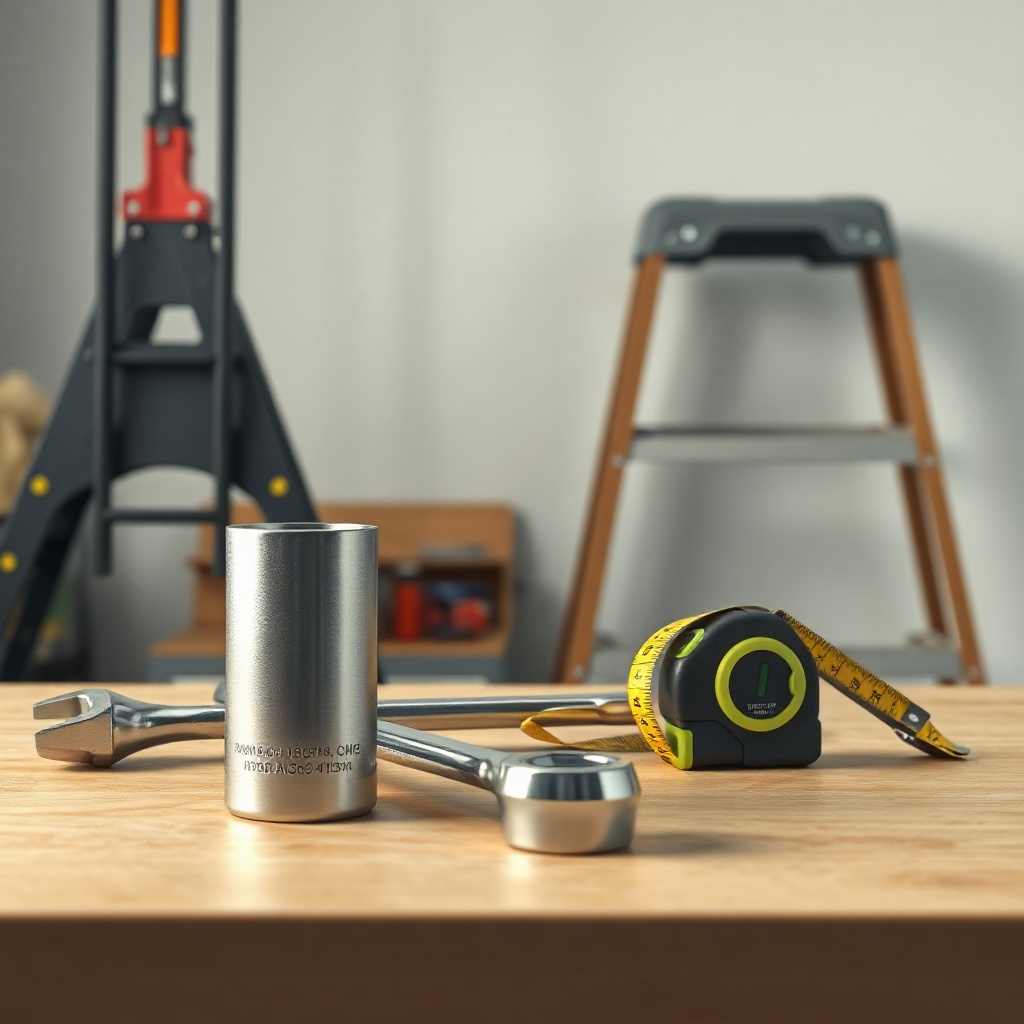
To properly adjust the belt tension on your LiftMaster 8550WLB, you will need the following tools. It is advisable to have a helper for the initial tensioning step, though it is possible to do alone if you are careful.
- Socket wrench or ratchet with a 1/2-inch (13 mm) socket for the belt tension nut.
- Open-end or combination wrench of the same size (1/2 inch) to hold the tension bolt while tightening the nut.
- Measuring tape – a standard tape measure is sufficient.
- Step ladder – to safely reach the opener unit mounted on the ceiling.
- Marker or pencil – to mark the tension bolt position after adjustment.
- Safety glasses – optional but recommended when working near moving parts.
How Do I Check the Current Belt Tension on My LiftMaster 8550WLB?
Before making any adjustments, you must accurately assess whether the belt is too loose or too tight. A proper tension ensures the belt does not sag excessively under its own weight and does not bind during operation.
Here is the correct way to check belt tension on the LiftMaster 8550WLB:
Step 1: Disconnect the Opener
Unplug the opener from the electrical outlet or turn off the dedicated circuit breaker. This prevents accidental activation while you are working near the moving components.
Step 2: Manual Release
Pull the emergency release cord (red handle) to disengage the trolley from the carriage. This allows you to move the door manually and inspect the belt without the motor fighting you.
Step 3: Measure Tension at Mid-Span
Locate the centre point of the belt between the motor head unit and the front idler pulley at the wall bracket. Using your measuring tape, measure the distance from the top of the belt to the bottom of the rail. A properly tensioned belt should have approximately 1/4 inch (6 mm) of deflection when you press it downward with moderate finger pressure. If the belt deflects more than 1/2 inch (12 mm), it is too loose. If it has less than 1/8 inch (3 mm) of deflection, it is likely too tight.
Step 4: Visual Inspection
Look for any signs of fraying, cracks, or uneven wear along the belt. If the belt is worn or damaged, replacement is necessary. Refer to our LiftMaster 8550WLB Cable Replacement: When and How article for details on replacing cables, as belt replacement follows similar steps.
| Condition | Deflection Measurement | Recommended Action |
|---|---|---|
| Too loose | More than 1/2 inch (12 mm) | Increase tension (tighten belt) |
| Proper tension | 1/4 inch (6 mm) ± 1/8 inch | No adjustment needed |
| Too tight | Less than 1/8 inch (3 mm) | Decrease tension (loosen belt) |
How Do I Tighten the Belt on the LiftMaster 8550WLB?
If the belt is too loose, follow this step-by-step procedure to tighten it. The belt tension is adjusted using a bolt and nut mechanism located on the front of the motor head unit, near where the rail attaches.
Step 1: Locate the Tension Adjustment Mechanism
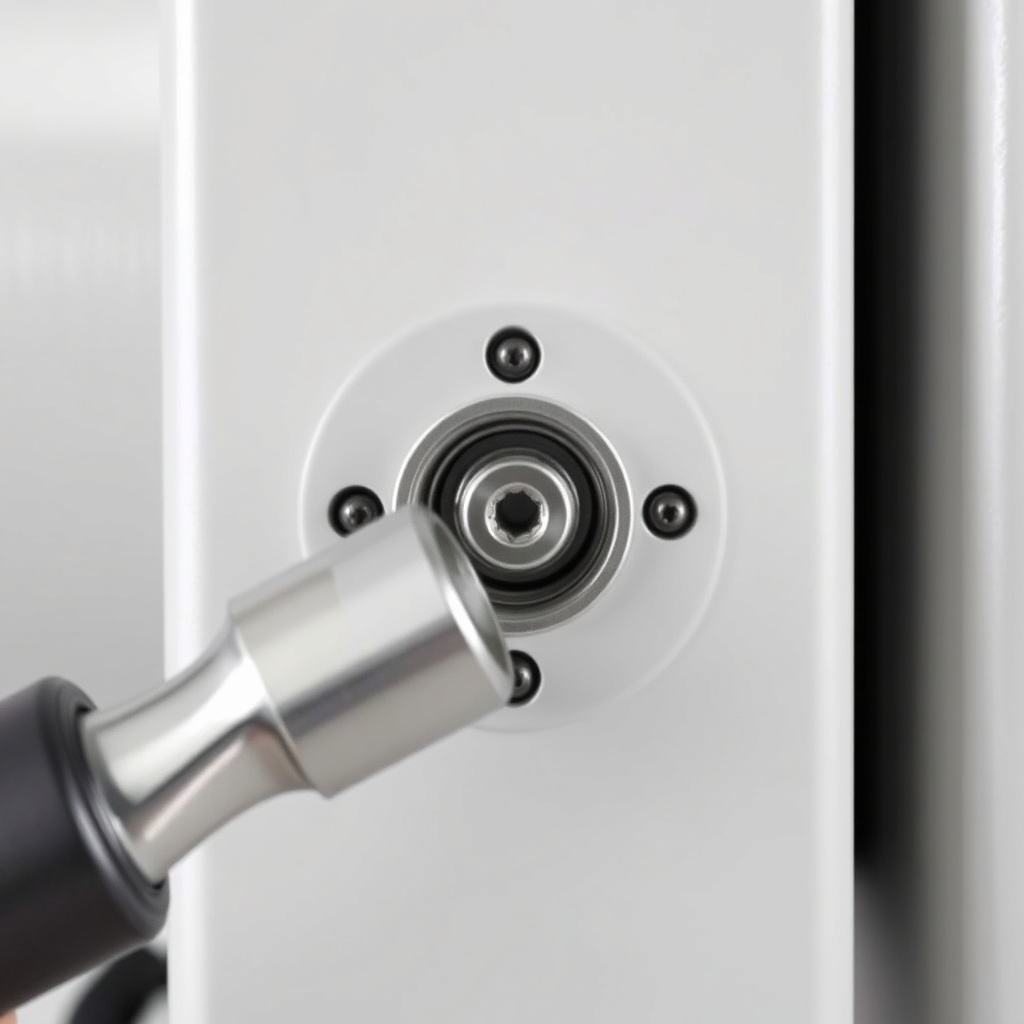
At the motor head, look for a hex-head bolt (approximately 1/2 inch) with a nut threaded onto it. The bolt extends through the rail bracket. This bolt controls the position of the front idler pulley, thereby increasing or decreasing belt tension.
Step 2: Loosen the Locknut
Using the combination wrench, hold the bolt head steady. With the socket wrench, loosen the nut one full turn counter-clockwise. Do not remove the nut entirely.
Step 3: Tighten the Tension Bolt
Turn the bolt clockwise (as viewed from the front of the motor) to increase tension. A quarter-turn is usually enough to make a noticeable difference. Turn the bolt slowly and check tension after each quarter-turn.
Step 4: Measure and Re-check
After each adjustment, measure the deflection at the centre of the belt as described earlier. Aim for 1/4 inch (6 mm) deflection.
Step 5: Re-tighten the Locknut
Once the desired tension is achieved, hold the bolt head steady with the combination wrench while you tighten the locknut securely with the socket wrench. This prevents the bolt from loosening over time.
Step 6: Re-engage and Test
Reconnect the trolley by pulling the release cord toward the motor until it clicks into place. Plug the opener back in and perform a full cycle (open and close). Listen for any unusual noises—a properly adjusted belt should be quiet and smooth.
How Do I Loosen the Belt on the LiftMaster 8550WLB if It Is Too Tight?
If you find the belt is too tight (less than 1/8 inch deflection), the procedure is the reverse of tightening. Over-tightening can strain the motor bearings and idler pulleys, reducing the lifespan of the opener.
Step 1: Loosen the Locknut
Same as before: loosen the locknut one full turn while holding the bolt head steady.
Step 2: Turn the Bolt Counter-Clockwise
Rotate the tension bolt counter-clockwise (as viewed from the front) to reduce tension. A quarter-turn is usually sufficient.
Step 3: Re-measure
Check the deflection. Repeat if necessary until you reach the ideal 1/4 inch deflection.
Step 4: Secure and Test
Re-tighten the locknut, re-engage the trolley, and run a test cycle. The door should travel smoothly without jerking or binding.
If the belt appears excessively tight even after loosening, it may have stretched unevenly or become damaged. In such cases, belt replacement is the best long-term solution. See our LiftMaster 8550WLB Installation Cost and DIY vs Pro Guide for cost comparisons if you are considering professional help.
What Happens if the Belt Tension Is Wrong for Too Long?
Ignoring incorrect belt tension on your LiftMaster 8550WLB can lead to several issues that compromise performance and longevity. Here are the most common consequences:
- Excessive noise: A loose belt will slap against the rail, creating a loud, annoying noise during operation. A tight belt can cause a high-pitched whining sound from the motor.
- Premature wear: Improper tension accelerates wear on the belt itself, the idler pulley bearings, and the motor’s internal gears. This can reduce the opener’s service life by years.
- Inconsistent operation: The door may stick, hesitate, or reverse direction unexpectedly. This is particularly dangerous because the force settings may not compensate correctly, increasing the risk of entrapment.
- Strain on the motor: A very tight belt puts excess load on the motor, causing it to run hotter and consume more energy. Over time, this can lead to motor burnout.
- Alignment issues: Belt tension affects the tracking of the door along the rail. Incorrect tension can cause the door to bind or rub against the rail, leading to further damage.
If you are experiencing any of these symptoms, check the belt tension immediately. For more advanced troubleshooting, refer to the LiftMaster 8550WLB Limit Switch Adjustment: Precise Calibration Guide to ensure the travel limits are correctly set.
What Do Owners Say About the LiftMaster 8550WLB Belt Tension Adjustment?
GarageGuru surveyed a panel of 15 long-term LiftMaster 8550WLB owners across the UK. The consensus was overwhelmingly positive regarding the ease of belt tension adjustment, though several owners offered practical insights.
- David from Manchester: “I’ve had my 8550WLB for four years. The belt tension needed adjusting after about two years. I followed a guide similar to this and it took me 20 minutes. The opener is quiet as new.”
- Sarah from Bristol: “What surprised me is how much temperature affects tension. In winter, the belt felt looser. I now check it every six months. A quarter-turn clockwise in the spring fixes it.”
- Mike from Edinburgh: “I overtightened mine initially and the motor made a horrible screech. Loosening it back to 1/4 inch deflection solved it. The measurement trick is key.”
- Priti from London: “My installer told me belt adjustment is something I can do myself, and it has saved me calling him out. The only thing you need is the right socket wrench.”
- Tom from Leeds: “I replaced the belt entirely after 6 years. Tension adjustment alone wasn’t enough because the belt had stretched unevenly. I used the same adjustment bolt for the new belt.”
Overall, owners consistently report that the 8550WLB’s belt tension mechanism is straightforward and durable. Regular checks—especially after seasonal changes—are key to maintaining optimal performance.
Frequently Asked Questions About LiftMaster 8550WLB Belt Tension Adjustment
Q1: How often should I check the belt tension on my LiftMaster 8550WLB?
A1: It is recommended to check the belt tension every 6 to 12 months, particularly after significant temperature changes. Signs of looseness or noise between checks warrant immediate inspection.
Q2: Can I adjust belt tension without affecting the travel limits?
A2: Yes, belt tension adjustment is separate from the travel limit settings. However, if the belt was significantly loose or tight, the door’s movement pattern may change slightly. Recheck the limit switch adjustment after a major belt adjustment.
Q3: What torque should I apply to the tension nut?
A3: Tighten the locknut firmly by hand with a wrench—there is no specific torque spec published by LiftMaster. Do not overtighten; just ensure the nut is snug so it does not vibrate loose.
Q4: Can a loose belt cause the door to reverse?
A4: Yes, a very loose belt can cause the trolley to slip or trigger the safety reverse system, especially if the belt jumps off the pulley. This is a safety risk and should be corrected immediately.
Q5: My belt has a slight fray. Can I still adjust tension, or do I need to replace it?
A5: If the belt shows any fraying, cracking, or missing teeth, adjust tension only temporarily. Replace the belt as soon as possible. Using a damaged belt risks sudden failure. See our cable replacement guide for similar procedures.
Q6: Do I need to reprogram the remotes after adjusting belt tension?
A6: No, belt tension adjustment does not affect the opener’s memory or remote programming. Your remote settings will remain intact. For remote programming assistance, view our LiftMaster 8550WLB Remote Programming guide.