Introduction to Limit Switch Adjustment on the LiftMaster 8550WLB
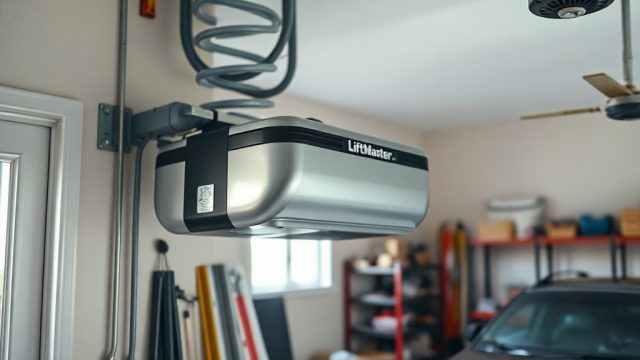
The LiftMaster 8550WLB is a premium belt-driven garage door opener known for its quiet operation, integrated battery backup, and MyQ connectivity. One crucial maintenance aspect that directly affects safety and performance is the limit switch adjustment. When the opener’s travel limits are misaligned, it can lead to error codes, door reversal issues, or incomplete closure. This guide provides a precise calibration approach to keep the 8550WLB operating reliably, focusing on troubleshooting error codes that often appear when limits are out of spec.
What Does Error Code 1-2 or 1-3 Mean on the LiftMaster 8550WLB?
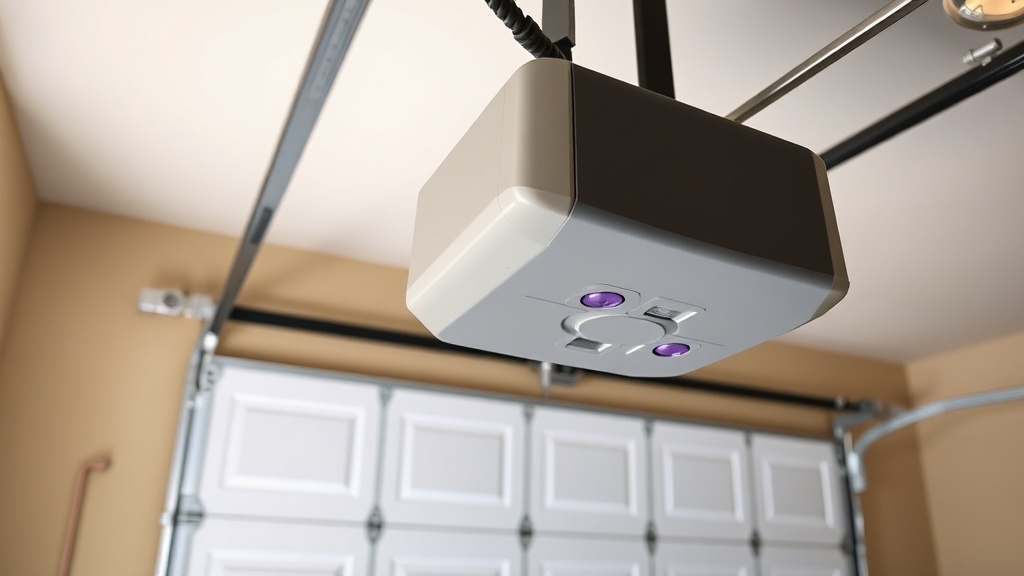
Error codes 1-2 and 1-3 are among the most common indications that the limit switches require adjustment on the LiftMaster 8550WLB. Code 1-2 (the door opener light blinks twice, then pauses) signals that the travel limits for the open or close position have not been set correctly. Code 1-3 (three blinks) often appears when the door reverses during travel without hitting an obstruction. In both scenarios, the opener cannot detect the proper stopping points, leading to erratic behaviour. To resolve these, the user must reprogram the open and close travel limits using the purple adjustment buttons located on the back of the motor unit. Always verify that the door moves smoothly along the tracks before proceeding with limit settings. For a broader overview of troubleshooting, refer to the LiftMaster 8550WLB Troubleshooting Guide: Fix 10 Common Issues.
How to Adjust Open and Close Limits on the LiftMaster 8550WLB
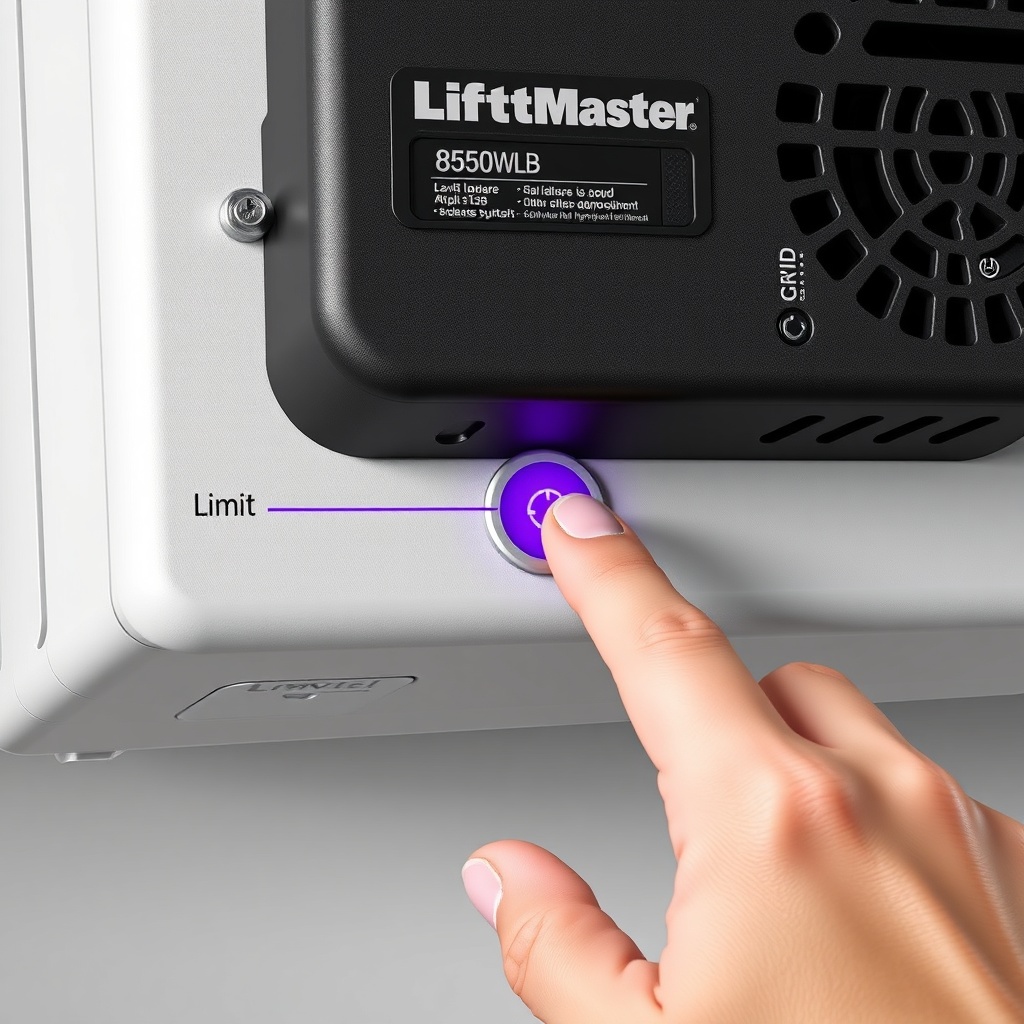
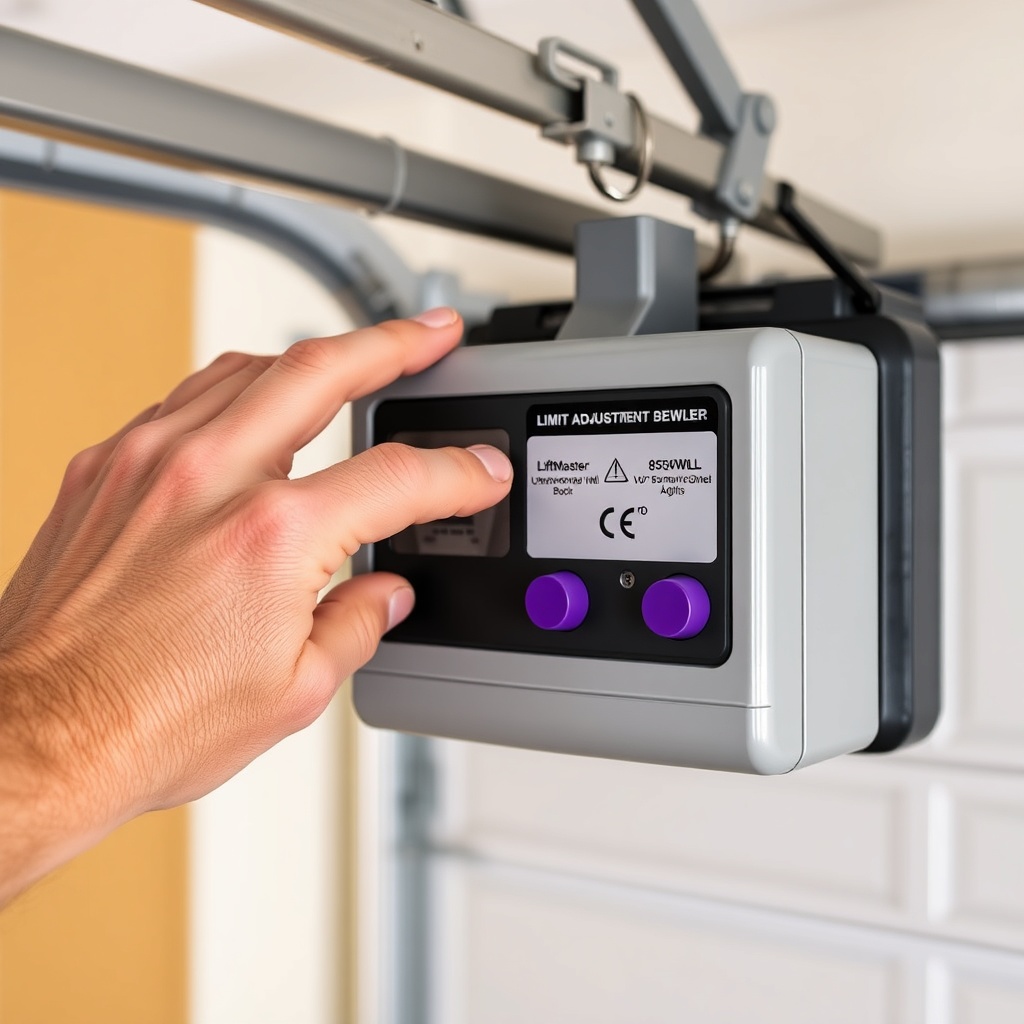
Adjusting the travel limits on the LiftMaster 8550WLB is a straightforward procedure but requires careful attention. First, locate the purple “OPEN” and “CLOSE” adjustment buttons on the rear panel of the opener. Ensure the garage door is fully closed manually to start. Press and hold the “OPEN” button until the door reaches the desired fully open position—then release and press the “OPEN” button again to save. Repeat the process for the “CLOSE” button to set the closed position. After both limits are saved, perform a full cycle test. If the door reverses unexpectedly, you may need to fine-tune the close force. The 8550WLB’s internal computer monitors resistance; if the limit is too tight, it will interpret the increased force as an obstacle. It is recommended to check the door’s balance with a spring tension measurement tool before adjusting limits. See the LiftMaster 8550WLB Spring Tension Measurement: Essential Tool Guide for detailed instructions.
How to Interpret Error Code 4-1, 4-2, or 4-3 Related to Limit Switches
Higher error codes on the LiftMaster 8550WLB often point to more serious travel limit or sensor issues. Code 4-1 indicates a problem with the RPM sensor, which monitors motor rotation speed; this can be caused by worn gears or a misaligned limit switch assembly. Code 4-2 suggests the door has encountered excessive resistance during travel, possibly because the close limit is set too low, forcing the door against the floor. Code 4-3 typically triggers when the door opens but stops prematurely, meaning the open limit is too tight. In all these cases, resetting the travel limits is the first step. If the error persists, inspect the door’s physical condition—misaligned tracks, broken cables, or weak springs can mimic limit switch faults. Before focusing on limit switches, ensure the door is safe to operate. Run the LiftMaster 8550WLB Auto-Reverse Test: Ensuring Safety to rule out sensor or pressure issues.
Table: LiftMaster 8550WLB Limit Switch Error Codes and Actions
| Error Code | Description | Severity | Recommended Action |
|---|---|---|---|
| 1-2 | Open/close limit not set | Medium | Re-program travel limits using purple buttons |
| 1-3 | Door reverses during travel | Medium | Adjust close force; check door balance |
| 4-1 | RPM sensor fault | High | Inspect motor gears; reset limits; call technician |
| 4-2 | Excessive closing resistance | High | Check door balance; lubricate tracks; readjust close limit |
| 4-3 | Excessive opening resistance | High | Inspect springs and cables; adjust open limit |
Does the LiftMaster 8550WLB Require Special Tools for Limit Calibration?
Yes, while basic limit adjustment with the purple buttons does not require tools, comprehensive calibration may need a few items. A tape measure is essential to ensure the open limit stops the door at the correct height—typically within 1–2 inches of the header. A level can verify the door is not binding, which would affect limit settings. If the door is heavy or unbalanced, a spring tension measurement tool is invaluable to adjust torsion spring force before setting limits. Without proper spring tension, the opener’s limit sensors can misread positions. For a detailed guide on the required instruments, consult the LiftMaster 8550WLB Spring Tension Measurement: Essential Tool Guide. If cables are frayed or loose, they must be replaced before limit calibration—read the LiftMaster 8550WLB Cable Replacement: When and How guide.
How to Perform a Factory Limit Reset on the LiftMaster 8550WLB
Performing a factory reset of the travel limits on the LiftMaster 8550WLB can resolve persistent error codes that standard adjustment does not fix. To do this, press and hold both the “OPEN” and “CLOSE” purple buttons simultaneously for about 10 seconds until the LED blinks once. Release the buttons—this clears previously stored travel limits. Immediately re-program the open and close limits as described earlier. After resetting, the opener will default to a conservative force setting, so you may need to adjust the force again using the white force adjustment buttons. It is wise to run a complete cycle test: if the door stops too high or too low, repeat the limit setting process. Note that a factory reset does not erase remote programming or MyQ network settings. However, if limit adjustments continue to fail, inspect the RPM sensor or wiring for damage. Remember to check the auto-reverse function after any limit change; see the LiftMaster 8550WLB Auto-Reverse Test: Ensuring Safety for a simple verification method.
What Owners Say About LiftMaster 8550WLB Limit Adjustment
Garage door professionals and homeowners alike report that the LiftMaster 8550WLB’s limit adjustment system is generally reliable but can be sensitive to environmental changes. Many owners note that after a power outage or battery backup activation, the opener may lose its travel limits, requiring a re-set. DIY users frequently praise the straightforward purple button design, though some complain that the buttons are small and difficult to reach on installed units. Experienced users emphasise that improper limit settings are a leading cause of error codes, particularly 1-2 and 1-3. A common suggestion from owners is to always check door balance and spring tension before attempting limit calibration—failing to do so can waste time and lead to repeated adjustments. If you are considering professional installation, many owners recommend budgeting for a technician to verify settings. Check the LiftMaster 8550WLB Installation Cost and DIY vs Pro Guide to compare costs in your area.
Frequently Asked Questions About LiftMaster 8550WLB Limit Switches
1. How do I know if my LiftMaster 8550WLB limit switch is faulty?
Common signs include the door not opening fully, reversing on its own, or displaying error codes 1-2, 1-3, or higher. A faulty limit switch may also cause the door to hit the floor or header heavily. Testing the travel limits by re-programming them often confirms if the switch is defective.
2. Can I adjust the limits on my LiftMaster 8550WLB without any tools?
Yes, the basic open and close travel limits can be set using only the purple adjustment buttons on the motor unit. However, a tape measure is helpful to verify the door reaches the correct height. For precise force adjustments, a balance test with a spring tool is recommended.
3. What should I do if my LiftMaster 8550WLB continues to show error code 4-1 after limit adjustment?
Code 4-1 often indicates an RPM sensor or gear problem, not purely a limit issue. First reset the limits, then inspect the motor drive board and RPM sensor wiring. If the error persists, contact a professional technician, as internal components may need replacement.
4. How much does it cost to have a technician adjust the limit switches on a LiftMaster 8550WLB?
In the UK, a professional limit adjustment service typically costs between £50 and £90, covering a full inspection and recalibration. Prices may vary if additional repairs or parts are needed, such as replacement of the limit switch assembly, which can add £20–£40 in parts.
5. Does the LiftMaster 8550WLB’s battery backup affect the limit settings?
While the battery backup maintains motor function during a power outage, it does not directly adjust limit switches. However, after a deep battery discharge or power restoration, the opener may lose previously saved travel limits. It is wise to re-program limits after a prolonged outage.
6. Can limit switch misalignment cause the remote to stop working?
No, limit switch misalignment does not interfere with remote control signals or MyQ connectivity. However, if the door stops in an incorrect position due to bad limits, the opener may not respond to remote commands as expected. Always re-program remotes after limit adjustment? Actually, remote programming is separate; for setup, see the LiftMaster 8550WLB Remote Programming: Step-by-Step Guide.