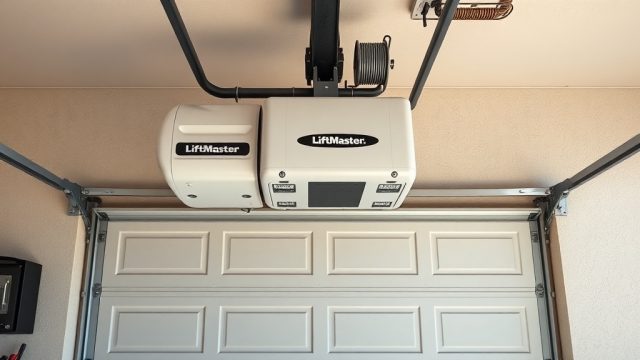
LiftMaster 8550WLB Cable Replacement: When and How
Garage door cables on the LiftMaster 8550WLB are prone to fraying, snapping, or slipping off the drum over years of heavy use. When a cable fails, the door becomes dangerous to operate—it may hang crooked, fail to lift evenly, or even crash down. This guide covers exactly when to replace cables on the 8550WLB, how to spot trouble early, and the proper steps for a safe swap, whether you go DIY or call a pro.
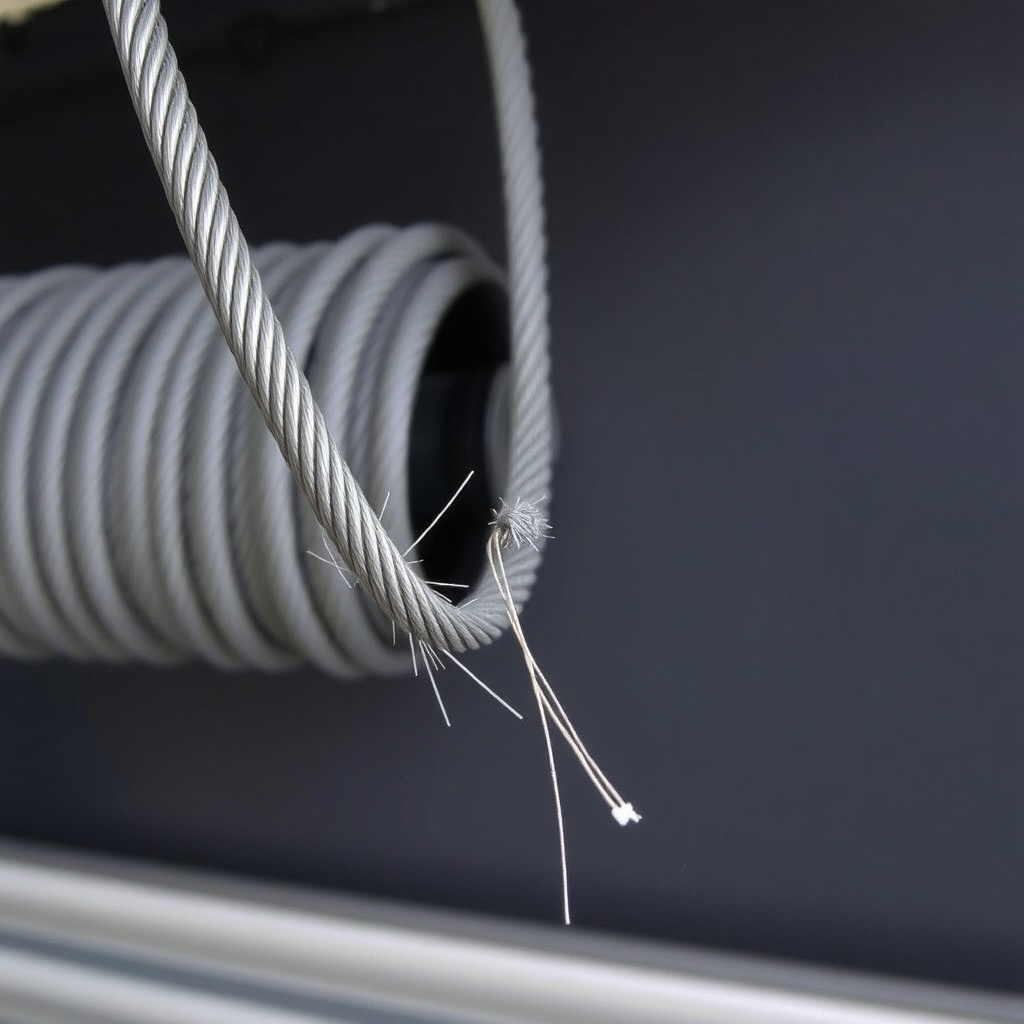
How Do I Know If the Cables on My 8550WLB Need Replacing?
Three clear signs tell you it’s time for cable replacement on the LiftMaster 8550WLB. First, visual fraying—look at the cable where it winds around the bottom bracket and where it enters the drum near the spring. Second, the door no longer travels straight: one side lifts higher than the other or the door binds halfway. Third, you hear a metallic screeching or popping sound during operation, especially near the drum. If you notice any of these, stop using the door immediately. A snapped cable can send the door crashing down or throw the opener out of alignment—both create serious safety risks covered in our LiftMaster 8550WLB Troubleshooting Guide: Fix 10 Common Issues.
Most 8550WLB cables last 5 to 7 years with normal use, but a door that gets 10+ cycles per day—like in a shared driveway—might need cable replacement as early as year 4. Humidity and salt air (common in coastal areas) accelerate corrosion, so examine cables every spring and autumn.
What Tools Do I Need for 8550WLB Cable Replacement?
Replacing cables on the LiftMaster 8550WLB requires specific tools. Here’s your checklist:
- Two winding bars (½‑inch diameter, 18‑inch length recommended)
- Adjustable wrench (for tightening set screws on drums)
- Socket set (10 mm and 13 mm sockets for bracket bolts)
- Locking pliers or C‑clamps (to secure the door in place)
- New replacement cables (7×19 stranded steel, 139‑inch length for standard 7‑foot door, 154‑inch for 8‑foot door)
- Safety glasses and heavy gloves
Don’t reuse old cables—they may have hidden internal damage. Always buy OEM‑spec cables for the 8550WLB, which use 3/16‑inch diameter galvanized steel with a rated breaking strength of 2,400 pounds. Generic cables from hardware stores can be thinner or have lower tensile strength, leading to premature failure.
Pro tip: Before starting, disconnect the opener from the door using the emergency release cord. Then lock the door in the up position by clamping C‑clamps on the tracks just below the bottom rollers—this prevents the door from dropping.
Step‑by‑Step: How to Replace LiftMaster 8550WLB Cables
If you’re confident with tools and have working knowledge of torsion spring safety, follow these steps. If you’re unsure, hire a pro—torsion springs store massive energy and can cause life‑threatening injury.
- Release spring tension. Using two winding bars, slowly relieve tension from the torsion spring(s) by loosening the set screws on the cones. Turn the spring a quarter‑turn at a time, alternating bars, until the spring is fully unwound.
- Remove old cables. Once the spring has no tension, lift the cable off the drum. Carefully slide the cable loop off the bottom bracket pin. If the cable is frayed, cut it away cleanly with bolt cutters.
- Install new cables. Loop the new cable over the bottom bracket pin (the one that holds the bottom roller bracket). Thread the cable up to the drum, following the correct spiral groove. For standard right‑winding drums, the cable wraps clockwise when viewed from the end.
- Re‑wind the spring. Use your winding bars to wind the torsion spring while pulling the cable taut. Wind until the spring has the correct number of quarter‑turns (typically 8 for a 7‑foot door, 10 for an 8‑foot door, but refer to your spring’s coil count).
- Secure the drums. Tighten the set screws on both drums to 8–10 ft‑lb of torque using an adjustable wrench. Double‑check that the cable sits evenly in the grooves and doesn’t cross over.
- Re‑engage the opener. Reconnect the opener carriage and run a cycle. Watch for smooth, quiet lifting. If the door binds or seems uneven, the cable may have slipped off the drum or the spring tension may need adjustment.
Always perform the LiftMaster 8550WLB Auto-Reverse Test: Ensuring Safety after any cable work to confirm the safety reverse is functioning correctly.
Severity of 8550WLB Cable Wear: Table of Warning Signs
| Observation | Severity Level |
|---|---|
| Frayed strands on one cable, no sagging door | Usually not urgent – schedule replacement soon |
| Door lifts unevenly (one side higher) | Needs attention soon – do not ignore |
| Metallic screeching during operation | Needs attention soon – inspect immediately |
| Cable visibly kinked or bent | Needs attention soon – replace before door binds |
| Snapped cable (door won’t open or hangs crooked) | Emergency – stop use, replace before next cycle |
If you see any “Needs attention soon” signs, plan your cable replacement within a week. A snapped cable can damage the opener drive, which we address in our LiftMaster 8550WLB Opener Drive Troubleshooting: Chain vs Belt Issues.
What Do Owners Say About 8550WLB Cable Replacement?
LiftMaster 8550WLB owners who tackle cable replacement themselves often mention two things: the importance of having winding bars (most have a friend help) and the frustration of sourcing the correct cable length. One long‑time owner wrote, “I bought a 138‑inch cable from a big‑box store—it was too short by an inch and I had to reorder. Measure your door height first.” Another owner noted, “After I replaced both cables, the door ran smoother than new. It’s like a fresh system.”
Some owners prefer hiring a professional because of the spring tension risk. A Colorado homeowner said, “I’m handy but my spring snapped on a previous door. For the 8550WLB, I paid £95 for a pro to do both cables—worth every penny because they also lubed the track and adjusted the opener limit settings.”
One recurring complaint: the OEM cable on the 8550WLB tends to fray earlier than expected in humid climates. Several owners from Florida reported needing a cable replacement at year 3 instead of year 5. If you live in a coastal area, inspect cables every spring and consider upgrading to stainless‑steel cables (available from LiftMaster’s accessory line).
Costs for 8550WLB Cable Replacement: DIY vs Professional
The price difference between DIY and professional cable replacement is significant, but safety should be your first consideration. Here’s a cost breakdown for the 8550WLB:
- New cables (OEM pair): £22–£35 online or at a garage door supply shop. Avoid generic £10 cables—they might break under load.
- Winding bars (if you don’t own them): £15–£25. Buy a pair at a hardware store or garage door supplier.
- Total DIY cost: £37–£60 (assuming you already have basic wrenches and sockets).
- Professional replacement (labour + parts): £85–£150. Most pros charge a flat rate because cable work is quick (30–45 minutes) for someone experienced.
- Emergency after‑hours call: £180–£250.
If you’re handy and have experience with torsion springs, DIY can save you £50–£100. For first‑timers, hiring a pro is strongly recommended—one mistake can cause a door to crash down or a spring to lash out. The LiftMaster 8550WLB Installation Cost and DIY vs Pro Guide offers more detailed pricing comparisons for all types of repair work.
Note: Prices listed in £ are typical for the UK market. In the US, expect similar numbers in USD (£1 ≈ $1.25 at time of writing).
Frequently Asked Questions About LiftMaster 8550WLB Cable Replacement
Can I replace just one cable on my 8550WLB?
Technically yes, but we always recommend replacing both cables as a set. If one cable has frayed, the other is likely weakened by similar wear. Replacing only one may cause uneven tension and premature failure of the other side.
How much does it cost for a pro to replace cables on a LiftMaster 8550WLB?
Expect £85–£150 for a standard 7‑foot door. This includes both cables, labour, and a basic tune‑up (lubrication and checking limit switches). Emergency or after‑hours calls can be £180–£250.
Do I need to remove the spring to replace the cable?
No, you do not need to remove the torsion spring. You only need to release tension from the spring using winding bars, then slide the old cable off the drum and bottom bracket. Do not attempt this without proper tools and knowledge—springs under tension are extremely dangerous.
How long does a cable replacement take on a LiftMaster 8550WLB?
A first‑time DIY owner should allow 1.5 to 2 hours including setup and double‑checking. A professional technician can complete the job in 30–45 minutes. If you hit problems (stuck set screws, incorrect cable length), add 30 minutes.
What happens if I ignore frayed cables on my 8550WLB?
Ignoring frayed cables can lead to sudden cable snapping, causing the door to drop violently. This can damage the opener, break the bottom brackets, and create a serious crush hazard. For safety reasons, address frayed cables immediately.
Will a cable replacement fix a crooked LiftMaster 8550WLB door?
Yes, if the door is crooked because one cable has stretched or slipped, replacing both cables and resetting the spring tension will often correct the issue. However, if the problem lies with a bent track, damaged hinges, or uneven springs, cable replacement alone may not fix it. In those cases, consult a professional.