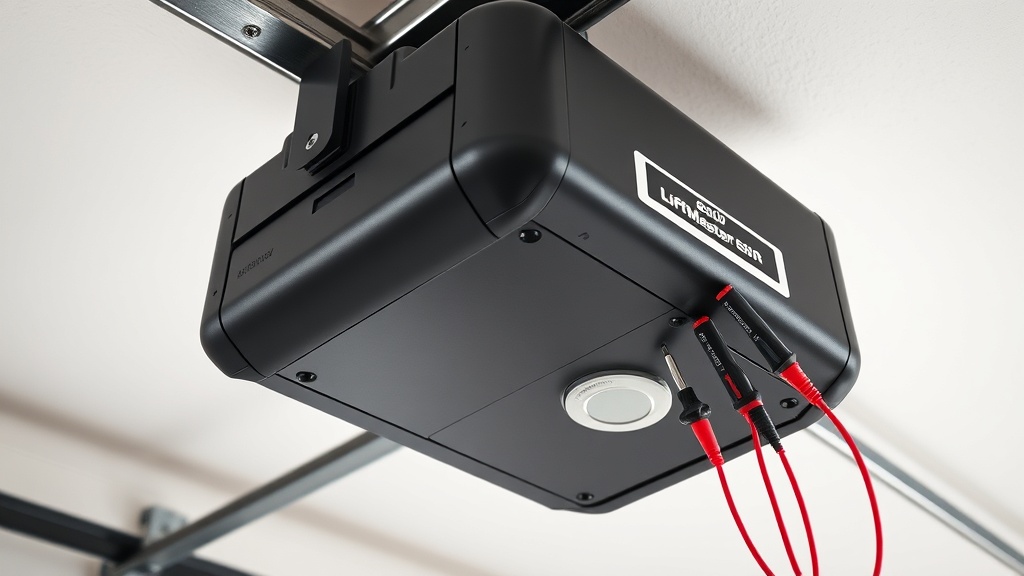
LiftMaster 8500 Wall-Mount Opener Motor Capacitor Testing Tutorial
When a LiftMaster 8500 wall-mount garage door opener struggles to start, hums without moving the door, or exhibits erratic operation, the motor capacitor is often the culprit. This component stores electrical energy to give the motor the initial boost it needs to get the heavy door moving. Without a properly functioning capacitor, the opener may fail to start or run weakly, leading to frustration and potential damage to the motor itself.
Testing the motor capacitor on your LiftMaster 8500 is a straightforward diagnostic procedure that any DIY homeowner can perform with basic tools. This tutorial will walk you through every step, from identifying the correct capacitor to safely discharging it and using a multimeter to confirm its condition. By the end, you will know whether a simple capacitor replacement is needed or if further investigation into the opener’s motor or drive system is required.
1. Why Does My LiftMaster 8500 Need a Motor Capacitor?
The LiftMaster 8500 uses a DC motor for smooth, quiet operation, but like many electric motors, it relies on a capacitor for reliable starting and running operation. The capacitor provides a phase shift in the motor windings, creating a rotating magnetic field that gets the motor spinning. Without it, the motor would simply lock up or draw excessive current, tripping the circuit breaker or damaging the windings.
Capacitors degrade over time due to heat, age, and electrical stress. When a capacitor fails, it typically loses its capacitance value, develops an internal short, or becomes open. This leads to symptoms such as:
- The motor hums but the door does not move
- The opener attempts to start but stops after a second
- The motor runs hot to the touch
- The opener fails to operate even with the door disengaged
If you suspect a capacitor issue, visit our guide on LiftMaster 8500 Opener Motor Capacitor Replacement: Step-by-Step Guide for the full replacement procedure after testing confirms the fault.
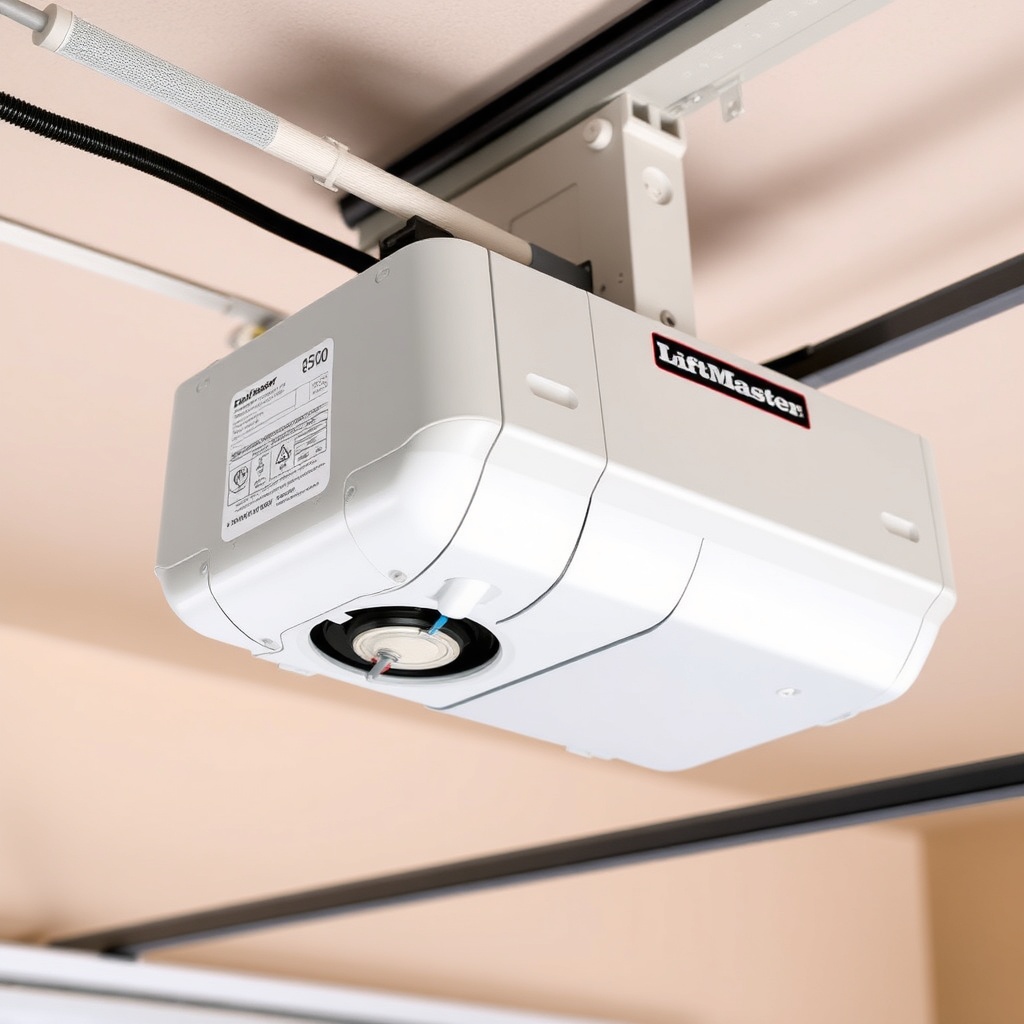
2. What Tools Do I Need to Test the Capacitor on a LiftMaster 8500?
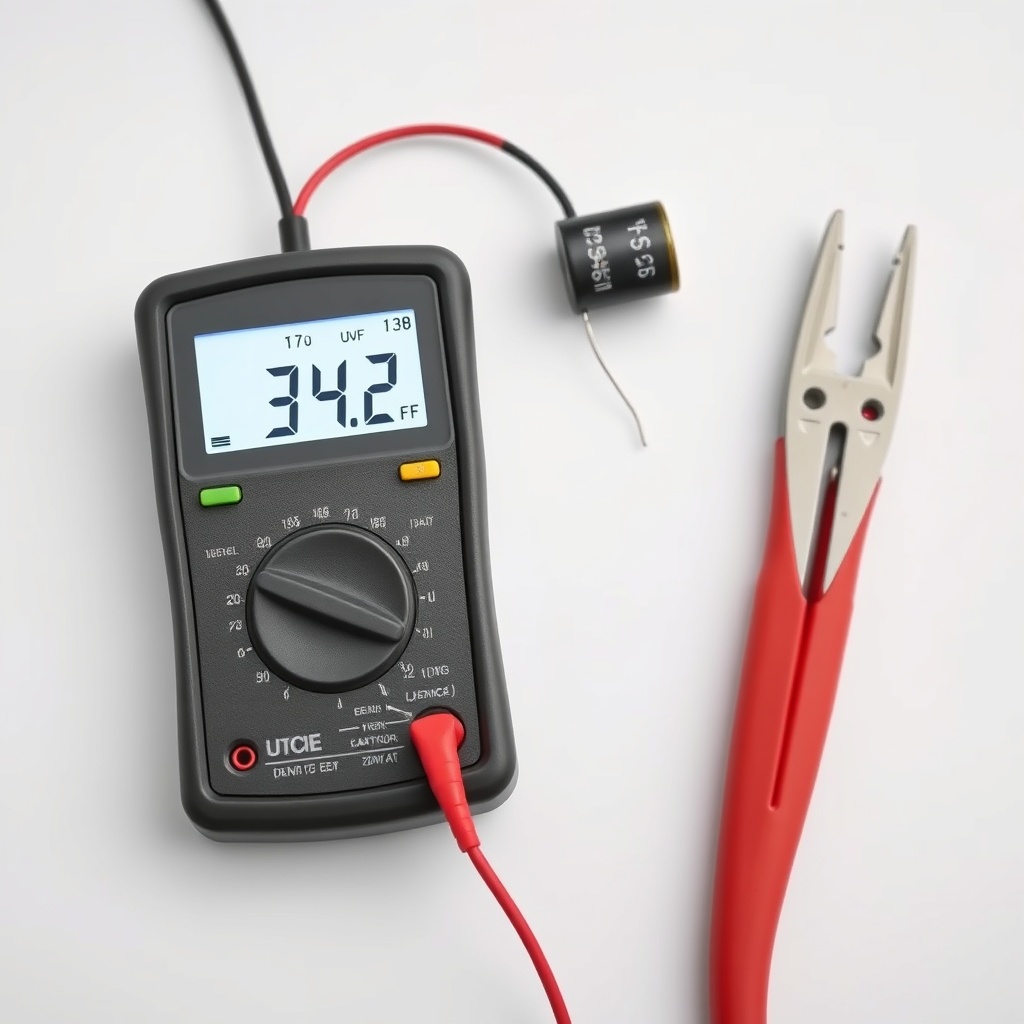
Testing the motor capacitor requires a few essential tools. Most importantly, you need a digital multimeter with capacitance measurement capability. While a standard multimeter can check for continuity and resistance, capacitance mode is far more accurate for capacitor health assessment. Here is what you need:
| Tool | Purpose | Approximate Cost (GBP) |
|---|---|---|
| Digital Multimeter with capacitance mode | Measure capacitance value in microfarads (µF) | £20 – £60 |
| Insulated screwdrivers set | Remove housing screws and disconnect wires | £10 – £30 |
| Safety gloves (rubber) | Protect from accidental shock | £5 – £15 |
| Wire cutters/strippers (optional) | Trim damaged wire terminals | £8 – £20 |
| Marker pen or camera | Document wire connections before removal | Free |
Ensure the multimeter is set to the correct capacitance range, typically 1 µF to 100 µF for most garage door opener capacitors. If your meter lacks capacitance mode, you can perform a rough check using resistance mode, but this is less definitive. A proper capacitance reading is essential for accurate diagnosis.
3. How Do I Safely Discharge the Motor Capacitor on a LiftMaster 8500?
Capacitors can store dangerous electrical charge even after the power is disconnected. Before touching any capacitor terminals, you must discharge the stored energy safely. Follow these steps exactly:
- Disconnect power: Unplug the opener from the mains socket or turn off the circuit breaker feeding the unit. Confirm power is off with a non-contact voltage tester.
- Remove the opener cover: Use your screwdrivers to remove the screws securing the plastic housing. Lift it off carefully.
- Locate the capacitor: It is usually a cylindrical component near the motor, with two or three wire terminals. It may be black or silver and typically has a capacitance rating printed on it (e.g., 35 µF).
- Discharge the capacitor: Use a high-wattage resistor (2–5 kΩ, 5–10 watts) or a screwdriver with an insulated handle. Touch the resistor leads across the capacitor terminals for 5–10 seconds. Alternatively, you can short the terminals with the screwdriver (metal blade across both terminals) – this will cause a spark if the capacitor is charged. Wear safety glasses for this step.
- Verify discharge: Measure voltage across the terminals with your multimeter set to DC volts. It should read below 0.5 volts.
Do not skip this step. A capacitor can hold 300+ volts, and an accidental shock can cause serious injury or damage the multimeter. Once discharged, you can safely proceed to testing.
4. How Do I Measure the Capacitance of My LiftMaster 8500 Capacitor?
With the capacitor safely discharged, you can measure its capacitance. Here is the detailed procedure:
- Disconnect wires: Carefully unplug each wire from the capacitor terminals. Use your marker pen or camera to record which wire goes to which terminal (common, run, or start). For a two-terminal capacitor, orientation does not matter.
- Set multimeter: Turn the dial to the capacitance symbol (often indicated by a “-|(-” symbol). Select a range higher than the capacitor’s rated value. For example, if the capacitor is rated 35 µF, choose 100 µF range if available.
- Connect probes: Attach the multimeter probes to the capacitor terminals. Polarity is not important for non-polarised capacitors (the type typically used in motors).
- Read the value: Wait a few seconds for the meter to stabilise. Record the reading. A healthy capacitor will read within ±5% of its rated value. For example, a 35 µF capacitor should show between 33.25 µF and 36.75 µF.
If the reading is significantly lower (below 30 µF for a 35 µF cap), the capacitor has degraded and should be replaced. If the meter reads zero, the capacitor is shorted. If it reads infinite (OL), the capacitor is open.
Sometimes the capacitor may measure within spec but still fail under load due to internal thermal issues. If the opener behaves erratically on hot days or after running for a few minutes, the capacitor may be borderline even if measurement looks good.
5. What Are the Common Signs That the Capacitor Has Failed on a LiftMaster 8500?
Beyond the capacitance reading, certain physical symptoms can confirm a bad capacitor. Inspect the component visually after removal:
- Bulging top: A domed or swollen top is a classic sign of internal gas buildup from dielectric breakdown.
- Leaking fluid: Any oily residue around the capacitor indicates electrolyte leakage.
- Rust or corrosion: Oxidation on the terminals can increase resistance and reduce effectiveness.
- Cracked casing: Physical damage from impact or heat.
- Burnt smell: Overheating may leave a distinct odour.
If any of these signs are present, replace the capacitor immediately even if the multimeter reading appears normal. A bulging capacitor is a ticking time bomb and can fail catastrophically, potentially damaging the motor control board.
For further troubleshooting, consult our LiftMaster 8500 Opener Motor Noise Diagnosis guide, as a failing capacitor can also cause unusual humming or buzzing sounds.
6. What Should I Do If the Capacitor Tests Good But the Opener Still Won’t Start?
A good capacitor reading does not guarantee the motor will run. If the capacitor passes the capacitance test, consider these other possibilities:
- Motor windings: The motor may have an open or shorted winding. Use the multimeter in resistance mode to check continuity between motor wires. Expect low resistance (a few ohms) but not infinite or zero.
- Start relay or board: The circuit board may not be sending voltage to the capacitor or motor. Check for 230V AC at the motor terminals during startup attempt.
- Mechanical binding: The door or opener mechanism may be physically jammed. Disengage the opener and manually move the door to test freedom of movement.
- Weak battery in remote or sensor issue: Check safety sensor alignment and wiring. Refer to LiftMaster 8500 Safety Sensor Alignment: Troubleshooting and Adjustment Guide for sensor diagnostics.
Sometimes the issue is related to the drive system. A seized chain or sprocket can prevent the motor from turning, mimicking a capacitor failure. For drive adjustment, see LiftMaster 8500 Opener Drive Adjustment: Chain Tension and Belt Alignment Guide.
If the motor runs but the door does not move, inspect the internal gears and drive shaft. The motor itself may be fine but the gear assembly could be stripped. This requires removing the motor assembly, which we cover in LiftMaster 8500 Opener Motor Replacement: Step-by-Step Guide.
What Owners Say
Users of the LiftMaster 8500 often praise its quiet operation and space-saving wall-mount design, but capacitor issues are a common complaint. One owner from London reported: “After 3 years, my opener started humming but not lifting. I tested the capacitor with a cheap multimeter and it read 15 µF against a rated 35 µF. A replacement capacitor cost £8 and fixed the problem completely.” Another user from Manchester noted: “I had intermittent starting problems. Capacitor measured 34 µF, but after replacing it, the opener ran perfectly. I think the capacitor was internally weak under load.” However, some owners encountered wiring issues: “My capacitor tested fine, but the wires were corroded. Cleaning them solved the problem.” Overall, the consensus is that the capacitor is a reliable first check, but not the only possible cause.
Several users emphasised the importance of discharging the capacitor properly. “I got a nasty shock when I went to test mine without discharging it. Now I always use a resistor,” one commented. Others pointed out that buying a premium brand capacitor (like a UK-made one) results in longer service life compared to generic replacements. If you find the capacitor is fine but the opener still struggles, many owners recommend checking the sensor wiring and alignment per LiftMaster 8500 Safety Sensor Wiring: Step-by-Step DIY Tutorial.
Frequently Asked Questions
Q1: What capacitance value should my LiftMaster 8500 capacitor have?
A1: The exact value varies by model year and motor type, but most LiftMaster 8500 units use a 35 µF run capacitor (rated 35 µF ±5% at 250 VAC). Always verify the printed rating on the side of the capacitor before testing or replacing.
Q2: Can I test a LiftMaster 8500 capacitor without removing it from the opener?
A2: It is not recommended. You must disconnect the wires and discharge the capacitor before testing. Measuring in-circuit can give false readings due to parallel components on the circuit board.
Q3: What happens if I touch the capacitor terminals with my bare hands after disconnecting power?
A3: You could receive a painful electric shock. Even when unplugged, the capacitor can hold a charge for hours. Always discharge with a resistor or insulated tool first.
Q4: Will a bad capacitor damage my LiftMaster 8500 motor?
A4: Yes. A failed capacitor forces the motor to draw high inrush current, overheating the windings. This can burn out the motor or damage the control board. Prompt replacement avoids costly repairs.
Q5: I measured my capacitor and it reads 45 µF, but it’s rated 35 µF. Is this okay?
A5: No. A reading significantly above the rated value indicates internal failure (often a shorted turn). Replace the capacitor immediately. It will cause excessive current and motor damage.
Q6: How often should I test the capacitor on my LiftMaster 8500?
A6: Check it if you notice any starting problems, humming, or unusual motor behaviour. Preventative testing every 2–3 years can catch degradation before it causes failure. Capacitors naturally lose capacitance over time, especially in hot or humid environments.