Is Replacing the LiftMaster 8500 Motor a DIY Job or a Pro Task?
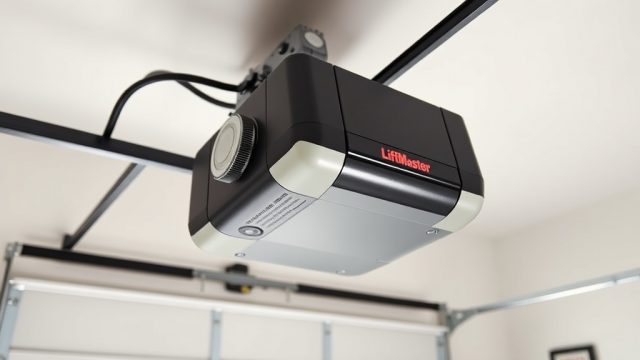
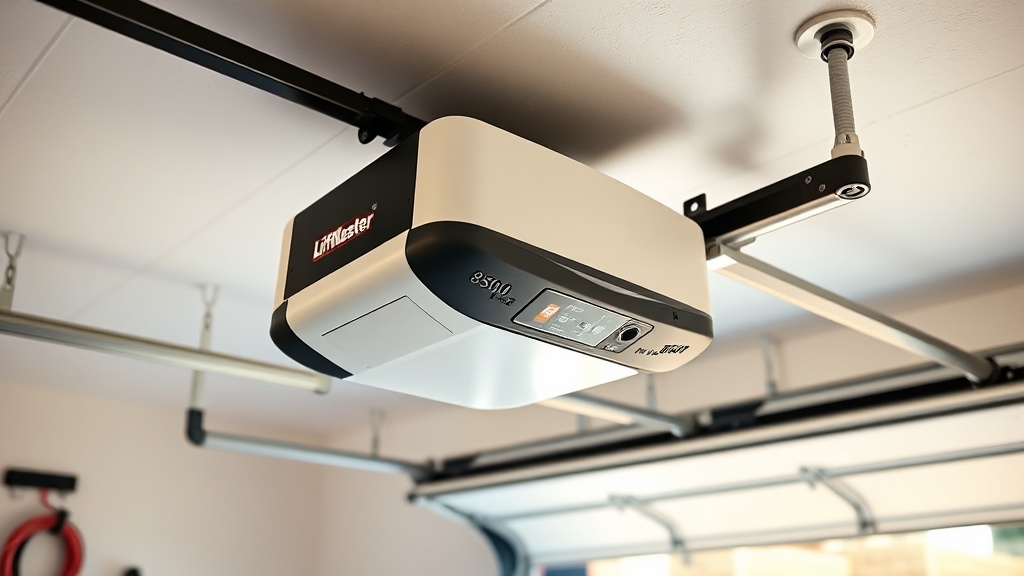
The LiftMaster 8500 wall-mount garage door opener is renowned for its space-saving design, quiet operation, and reliability. However, like any mechanical device, its motor can eventually fail due to years of heavy use, electrical surges, or simple wear and tear. When the unit begins to labour, groan, or stop responding entirely, homeowners face a crucial decision: attempt the replacement themselves or call in a garage door professional. This guide breaks down every cost component, skill requirement, and risk involved, helping London-area homeowners make an informed choice without spending unnecessarily on labour or risking further damage.
What Is the Typical Cost of a LiftMaster 8500 Motor Replacement in the UK?
The total expenditure for replacing a LiftMaster 8500 motor varies widely depending on whether you source the parts independently or hire a certified installer. Below is a realistic breakdown of costs in British Pounds (£), based on current market prices from UK suppliers and garage door service companies.
| Cost Component | DIY – Average Cost (£) | Professional Installation – Average Cost (£) |
|---|---|---|
| Replacement motor assembly (OEM LiftMaster) | £150 – £220 | £150 – £220 (parts included) |
| Capacitor (if needed separately) | £12 – £25 | Included in labour |
| Wiring harness / connectors | £8 – £20 | Included |
| Service call / labour fee | £0 (self labour) | £120 – £180 |
| Travel / call-out charge (if applicable) | £0 | £30 – £60 |
| Tools (multimeter, spanners, torque wrench) | £35 – £80 (one-time) | £0 |
| Estimated Total | £205 – £345 | £300 – £460 |
Note: Prices sourced from UK distributors and service providers (2025 data). Professional quotes typically include a 12-month labour warranty.
While the DIY route appears cheaper on paper, a botched installation can void the warranty on the new motor and damage the opener’s circuit board, turning a £200 part into a £500 repair. Professionals bring diagnostic tools to confirm the motor is the actual culprit—sometimes a failing capacitor or misaligned sensors are the real issue, as covered in our LiftMaster 8500 Opener Motor Capacitor Replacement: Step-by-Step Guide.
What Tools and Skills Are Required for a DIY Motor Swap?
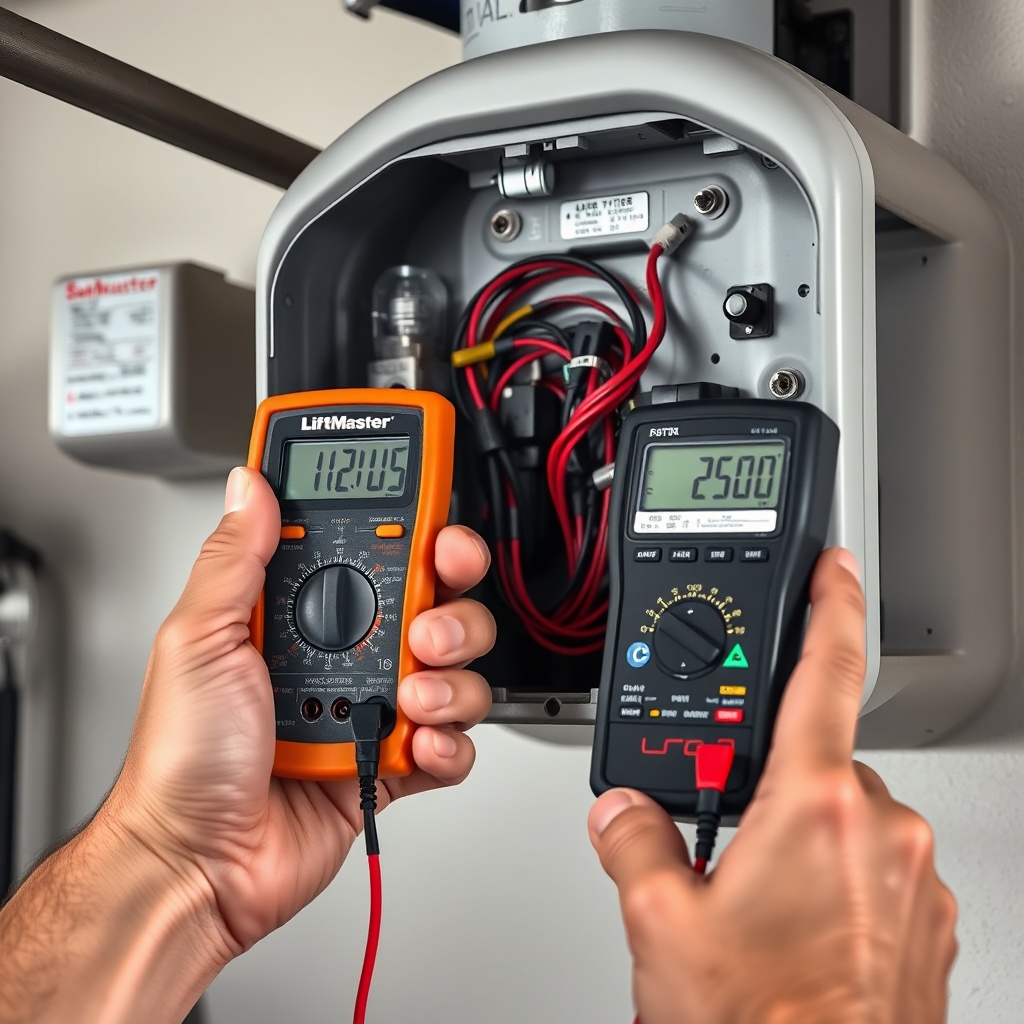
Before buying a spanner set, consider what is physically involved. Replacing the motor on a LiftMaster 8500 means working with high-torque springs, live electrical wiring, and heavy metal components. Below is a checklist of essential items and abilities.
Tools you will need:
- Socket set (metric, 10mm and 13mm most common)
- Phillips and flathead screwdrivers
- Digital multimeter (for continuity and voltage testing)
- Torque wrench (for re-tensioning the drive system)
- Allen keys (hex set, 4mm–8mm)
- Safety glasses and heavy-duty gloves
- Step ladder (the unit mounts at ceiling level)
Skills required:
- Comfortable working with mains electricity (230V UK supply)
- Ability to read wiring diagrams and label connections
- Mechanical aptitude for removing the motor housing and aligning gears
- Familiarity with spring tension safety (the 8500’s torsion bar can store lethal energy)
If you lack experience with electrical systems, it is wise to start with a smaller troubleshooting task. For instance, checking the motor capacitor is far less dangerous and can sometimes restore full power without any replacement. Our LiftMaster 8500 Wall-Mount Opener Motor Capacitor Testing Tutorial walks you through that low-risk diagnostic.
How Much Can You Save by Doing It Yourself?
The headline numbers from the table above show a DIY saving of between £95 and £115 compared to the lowest professional quote. However, hidden costs can erode that margin significantly. If you accidentally damage the new motor during installation—for example, cross-threading the mounting bolts or shorting a circuit board—you face buying a second motor at full price. Additionally, many UK suppliers charge a 20–30% restocking fee for opened electrical parts.
Another factor is time. A first-time DIY motor replacement on the 8500 typically takes 3 to 5 hours. A professional crew completes the same job in 60–90 minutes. When your garage door is inoperative, every hour of downtime can be inconvenient, especially if the garage provides access to the house. In contrast, hiring a pro ensures the door works correctly the same day, often with a warranty on both parts and labour.
For those who enjoy hands-on work and have already invested in quality tools, the DIY financial benefit is real. But remember: the LiftMaster 8500’s motor is integrated into a complex drive system. If the chain or belt tension is off after replacement, you will need to follow our LiftMaster 8500 Opener Drive Adjustment: Chain Tension and Belt Alignment Guide to avoid premature wear.
When Should You Absolutely Call a Professional?
Not every motor failure is a simple swap. Below are scenarios where professional intervention is strongly recommended, and sometimes legally required in the UK under PUWER regulations for overhead doors.
- Suspected main circuit board damage: If the motor does not receive power even after replacing the capacitor, a professional can diagnostic the control board. Mains voltage errors can be lethal.
- Broken torsion spring: The 8500 mounts directly to the torsion bar. Releasing spring tension without proper tools and training is extremely hazardous. Do not attempt to combine spring repair with a motor swap unless you are a certified installer.
- Motor seized due to gear wear: When internal plastic gears shatter, fragments can jam the drive system. A pro will perform a full gear assembly inspection, not just a motor swap.
- Warranty concerns: Your opener may still be under a 5-year parts warranty from the original purchase. DIY modifications can void future claims. Professional installation often preserves the warranty.
- Multiple error codes: If the opener flashes error codes like “1-5” (motor thermal overload) alongside “4-2” (safety sensor misalignment), the problem might be multi-factorial. Our LiftMaster 8500 Safety Sensor Alignment: Troubleshooting and Adjustment Guide can help, but a technician can diagnose everything in one visit.
Additionally, if you live in an apartment block or a terraced house with shared parking, building regulations may require a certified professional to service the door mechanism. Always check your local council’s rules before undertaking a DIY electrical repair.
What Do LiftMaster 8500 Owners Say About the Motor Replacement Experience?
Feedback from UK homeowners who have faced the motor replacement decision is largely consistent. On forums such as DIYnot and Screwfix Community, owners emphasise two main themes: the importance of correct diagnosis, and the steep learning curve of wall-mount opener mechanics.
Positive remarks from DIYers:
- “Swapping the motor on my 8500 took me four hours the first time, but the YouTube tutorials were spot-on. Saved £150.” – Steven, Manchester
- “I thought the motor was dead, but after reading the capacitor guide I realised it was just a swollen capacitor. 20-minute fix.” – Priya, Bristol
- “The 8500 is well-designed for service. LiftMaster provides a detailed manual and the parts are readily available from UK stockists.” – Graham, Glasgow
Cautions and regrets:
- “I forgot to release the tension on the torsion bar before unbolting the motor. The bar snapped and damaged the bracket. Ended up paying £250 for a pro to fix it all.” – Tom, Kent
- “Professional cost me £380 parts and labour. It was worth every penny because my opener was already 8 years old and the technician found a cracked drive gear as well.” – Sarah, Birmingham
- “If you have the tools and patience, go DIY. But if you have kids and need the door working ASAP, just call a pro.” – Marcus, Leeds
The consensus: owners who already own a multimeter, socket set, and have basic electrical knowledge tend to succeed. Those who are new to garage door repair should invest in a professional’s time—it often prevents a more expensive mistake.
Frequently Asked Questions About LiftMaster 8500 Motor Replacement
1. How long does a LiftMaster 8500 motor typically last before needing replacement?
With regular use (2–3 cycles per day), the motor on an 8500 generally lasts 10–15 years. Factors like power surges, dust, and lack of lubrication can shorten this lifespan. If you hear grinding or the opener stops mid-cycle, it is time to inspect the motor.
2. Can I replace only the motor capacitor instead of the entire motor assembly?
Yes. A failing capacitor is a common cause of motor failure. If the motor hums but does not start, or starts slowly, test the capacitor first. Our LiftMaster 8500 Opener Motor Capacitor Replacement: Step-by-Step Guide details the process. A new capacitor costs under £25 and can save the cost of a full motor.
3. What is the difference between OEM and aftermarket motor replacement parts for the 8500?
OEM (Original Equipment Manufacturer) parts are built by LiftMaster and match exactly. Aftermarket parts may be cheaper but often require modifications to fit, and they can void the opener’s warranty. For the 8500, always use genuine LiftMaster motor assemblies to ensure proper torque and safety compliance with UK standards.
4. Is it dangerous to replace the motor on a wall-mounted opener like the 8500?
Yes, if proper precautions are not taken. The 8500 mounts directly to the torsion spring bar, which stores thousands of pounds of force. Releasing the spring tension incorrectly can cause serious injury or damage to the door. Always follow the service manual’s step-by-step instructions and use a winding bar set.
5. How do I know for sure that the motor is defective and not something else like the logic board?
A systematic diagnosis is essential. First, check the power supply and safety sensors. Then test the motor capacitor. If both are good, measure voltage at the motor terminals while pressing the remote. No voltage suggests a logic board fault. A humming motor with no rotation points to a seized motor or failed capacitor. Our LiftMaster 8500 Opener Motor Noise Diagnosis: Causes and Solutions can help identify the sound pattern.
6. Will replacing the motor fix a noisy LiftMaster 8500?
Not always. Noise can originate from worn drive gears, loose chain/belt tension, or the torsion spring. If the motor runs smoothly but the door makes noise, inspect the drive components. A grinding motor that still runs may be poorly lubricated or have worn bearings. If the noise is a screech or clunk, see our LiftMaster 8500 Opener Drive Adjustment: Chain Tension and Belt Alignment Guide for adjustments.