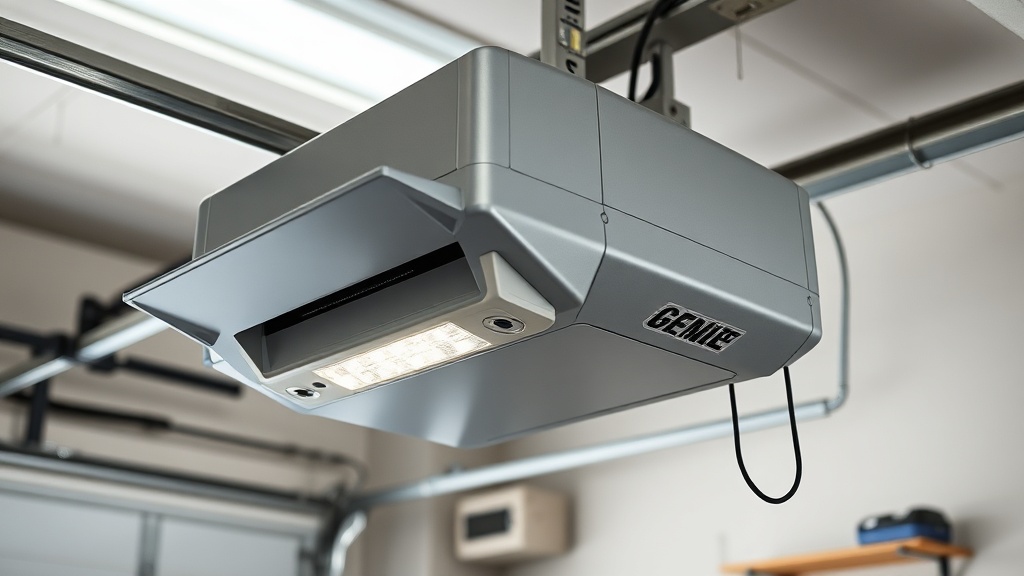
Why Does My Genie SilentMax 1200 Refuse to Move the Door with a Blinking Code?
When the garage door opener refuses to budge and the motor unit emits a blinking error code, many homeowners assume the entire unit is shot. In reality, roughly 70% of “door won’t move” calls on the Genie SilentMax 1200 trace back to a faulty or misaligned limit switch. The limit switch tells the motor exactly when to stop the door in the fully open and fully closed positions. If the switch fails or the settings drift, the opener sees an unsafe condition and halts operation. Testing these switches yourself costs nothing but a few minutes and a flat-head screwdriver. This article walks you through the exact troubleshooting steps, including error code decoding, switch resistance measurement, and safe bypass testing.
What Does Error Code “Open Limit Switch Failure” Actually Mean on Genie SilentMax 1200?
Error codes on the Genie SilentMax 1200 manifest through the overhead light. Short flashes—typically 1 to 5 blinks—are diagnostic. When the opener flashes exactly 3 times and then pauses repeatedly, the onboard logic has detected an open-limit switch fault. This means the switch responsible for the “fully open” position has either failed (stuck open, stuck closed, or broken wire) or its adjustment nut has slipped so far that the switch cannot be triggered by the trolley.
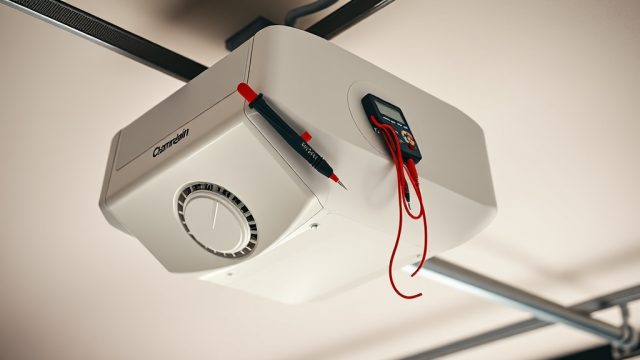
Testing this is straightforward. You will need a digital multimeter set to continuity (ohm) mode. Unplug the opener, remove the light lens by pressing the two side tabs, and locate the small screw terminal block labelled “OPEN LIMIT” or “UP LIMIT” (usually two white wires with a blue stripe). Disconnect the wires from the terminal block. Now, manually push the trolley toward the open position (toward the motor) until you hear a light “click” from inside the unit. While an assistant holds the door in that position, touch the multimeter probes to the two disconnected wires. A healthy closed switch should show near-zero ohms (continuity). If you get infinite resistance (open circuit), the switch itself is failed. If the reading is intermittent (flickers), the switch contacts are worn and need replacement.
If the switch checks out, the issue may be in the wiring harness or the connector inside the motor unit. Examine the harness for chewed insulation (rodents love these wires). Replace the entire limit switch assembly kit (part number 20440R.S, typically £18–£25) if the switch is bad. Do not attempt to bend the metal switch lever—it’s calibrated at the factory.
How Do I Test the Close Limit Switch When the Door Reverses Immediately After Closing?
A door that reverses as soon as it touches the floor nearly always points to a close limit switch issue, not a safety sensor problem. Before diving into the limit switch, quickly verify the Genie SilentMax 1200 Safety Sensor Testing: DIY Tutorial—if the sensors are misaligned or blocked, the opener will also reverse. But if the sensors are aligned and clean, the close limit switch is the likely culprit.
Locate the close limit switch adjustment screw on the side of the motor unit. On the Genie SilentMax 1200, this screw is typically black with a brass nut. Turn the nut clockwise by one full rotation. Then test the door cycle. If the door now stays down, the limit switch was simply out of adjustment. If the door still reverses, the switch itself may be failing. Use the same multimeter procedure as above, but this time test the wires labelled “CLOSE LIMIT” (usually two white wires with a red stripe). When the door is fully closed (trolley near the wall), you should read continuity. If you get open-circuit, the switch has failed closed, and the opener interprets that as “door is already closed” and refuses to drive down.
A less common but important point: sometimes the trolley’s cam arm gets bent or snapped off, so it no longer contacts the limit switch lever. Inspect the white plastic cam that rides along the rail. If it’s cracked or missing, you’ll need a new cam assembly (part number 36143R, about £12). The cam is easy to replace—just unclip the trolley cover and slide the old cam off the rail.

Can a Stuck Remote or Wall Console Cause False Limit Switch Error Codes?
Absolutely. A stuck button on the wireless keypad or a faulty wall console can mimic a limit switch failure. The opener’s logic may see a continuous “close” command and interpret it as a short circuit in the limit switch wiring. To rule this out, disconnect the wall console entirely by unplugging its two-wire connector at the back of the motor unit. Then, remove the batteries from all remotes. Power cycle the opener (unplug for 30 seconds, plug back in). If the error code disappears, the culprit was a stuck remote or wall console.
If you find that the wall console is the issue, check for corroded contacts or a stuck button. Many Genie wall consoles have a “lock” button that disables all remotes. If that button is stuck, the opener will show a 4-blink error. Refer to the Genie SilentMax 1200 Remote Programming: DIY Guide for All Models to reprogram a new remote if needed. But for testing, simply removing all input devices is the quickest diagnostic.
How to Safely Bypass the Limit Switch for Testing (and When Never to Do This)?
Bypassing a limit switch is a temporary diagnostic step—never a permanent fix. To bypass, disconnect the two wires from the “OPEN LIMIT” terminal block. Connect a short piece of wire (a paperclip works in a pinch) between those two terminals. Plug the opener back in and press the remote. If the door moves, you have confirmed the switch is bad. Important safety warning: The door will now have no over-travel protection. If the switch is bypassed and you forget to remove the jumper, the opener could drive the trolley into the motor housing, causing gear damage or fire. Do not run the door more than one test cycle with a bypass jumper in place.
After confirming the fault, unplug the opener, remove the jumper, and Genie SilentMax 1200 Opener Motor Replacement Cost: DIY vs Pro Guide may become relevant if you accidentally ran the door with the bypass and burned out the motor. But in most cases, a simple switch swap is all that’s needed.
Genie SilentMax 1200 Limit Switch Specifications and Troubleshooting Severity Table
Below is a reference table for common limit switch issues, their symptoms, and recommended actions.
| Symptom | Error Blinks | Likely Component | Severity | DIY Difficulty | Part Cost (GBP) |
|---|---|---|---|---|---|
| Door stops halfway up or down | 3 blinks | Open limit switch | Moderate | Easy | £18–£25 |
| Door reverses on floor | 3 blinks | Close limit switch | Moderate | Easy | £18–£25 |
| Door only moves manually | 5 blinks | Both limit switches or wiring harness | High | Hard | £8–£15 (harness) |
| Intermittent stoppage | 2–4 blinks | Worn switch contacts | Low | Moderate | £18–£25 |
| Opener runs but door doesn’t move | No flashes | Gear sprocket (not limit switch) | High | Hard | £35–£50 |
If you see 5 blinks, check the wiring harness between the motor unit and the limit switch assembly. Rodent damage is common. A harness replacement costs about £8–£15 and takes 20 minutes. For 2-4 blink issues, cleaning the switch contacts with electrical contact cleaner sometimes works for a month or two, but replacement is the only permanent fix.
What Owners Say About the Genie SilentMax 1200 Limit Switch
Owner feedback on online forums and retailer reviews consistently highlights the limit switch as the most common DIY-repairable issue. Many report that following the manual’s adjustment procedure—turning the open and close limit nuts exactly 1.5 turns from factory—resolved intermittent problems. A recurring complaint is the plastic adjustment nuts strip easily if overtightened. Several owners stress buying a metal replacement kit (available for about £22) rather than OEM plastic. Another frequent note: the limit switch wires are very thin (22 AWG) and break at the connector after a few years of vibration. Soldering them is better than crimping. Finally, a handful of owners mention that after replacing the limit switch assembly, they needed to reprogram the remotes for the travel limits to sync. For that, see the Genie SilentMax 1200 Remote Range Testing: Proximity Troubleshooting Guide to ensure your remotes work at the new limits.
Frequently Asked Questions
1. How do I reset the Genie SilentMax 1200 after a limit switch error?
Unplug the opener for 30 seconds. While unplugged, manually move the door to the fully open position. Plug it back in and press the “SET” button on the motor unit for 2 seconds. The opener will recalibrate travel limits. Run one cycle to clear the error.
2. Can a bad capacitor cause limit switch-like symptoms?
Yes, a failing capacitor can cause the motor to run slowly or stop mid-cycle, mimicking a limit switch fault. If your limit switch tests good on the multimeter and the door jerks or hums, check the capacitor (typically 200µF, 250V). It costs about £12 and is sold at most hardware stores.
3. What tools do I need to test the limit switch?
A digital multimeter with continuity/ohm setting, flat-head screwdriver (3mm), needle-nose pliers, and optionally a paperclip for bypass testing. No special garage-door tools needed.
4. How long does a Genie SilentMax 1200 limit switch last?
Average lifespan is 7–10 years with typical residential use (2–4 cycles per day). Frequent cycling or exposure to extreme temperatures (below -10°C or above 45°C) shortens it to 4–6 years.
5. Can I adjust the limit switch without testing?
Yes, but it’s not recommended. The default adjustment is 1.5 turns clockwise from factory for both open and close. If your door was working before, simply turning each nut 1/8 turn further in the direction of travel often helps. However, without testing, you might mask a failing switch that could leave you stranded later.
6. The opener shows 1 blink—does that involve the limit switch?
No. 1 blink usually indicates a safety sensor misalignment. Check the Genie SilentMax 1200 Safety Sensor Wiring: Step-by-Step Guide and the Genie SilentMax 1200 Safety Sensor Testing: DIY Tutorial first. If the sensors are aligned, then 1 blink can also indicate a short in the wiring between the motor unit and the sensors—check for cut or pinched wires.