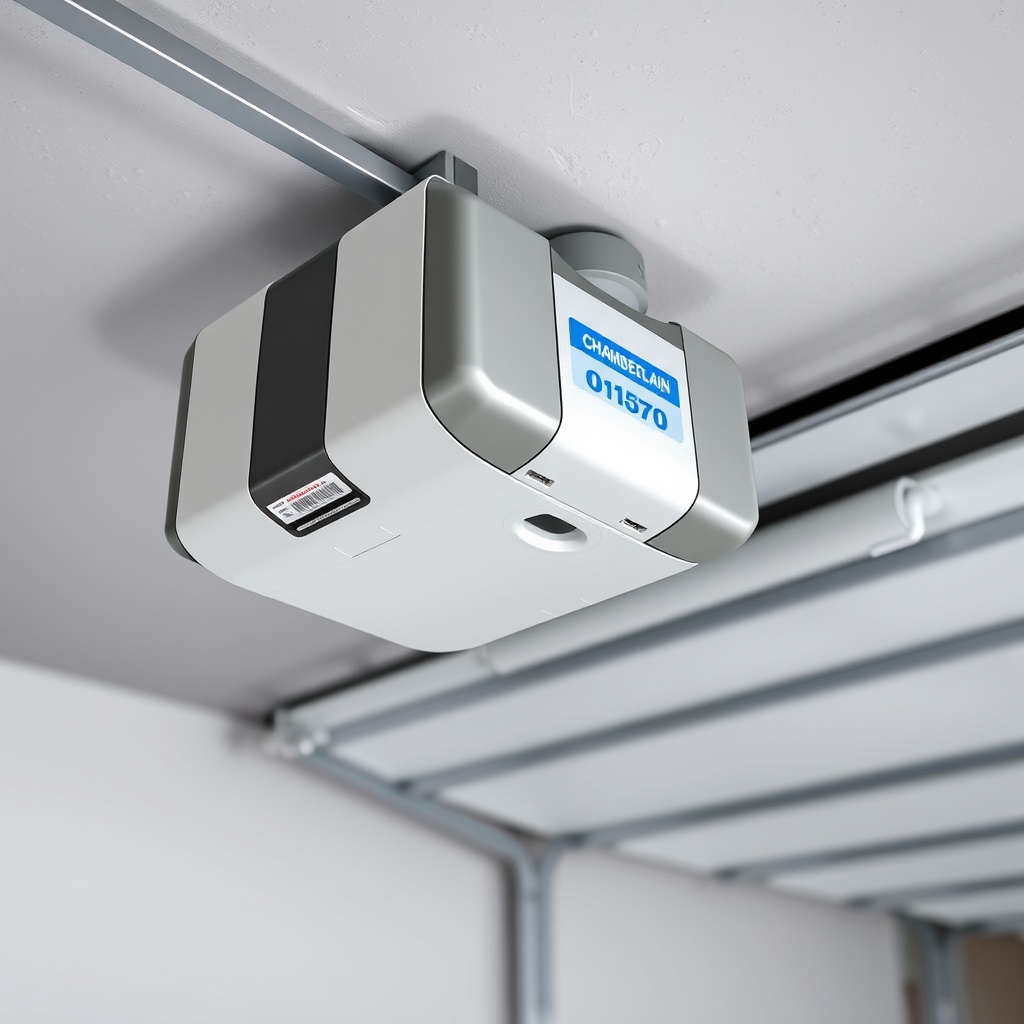
Chamberlain B1381 Limit Switch Adjustment: Precise Calibration Guide
When your Chamberlain B1381 garage door opener refuses to close fully or begins reversing unpredictably, the culprit is often misaligned limit switches. These electronic components tell the motor exactly where the door should stop—and when they drift by even 3 mm, safety sensors or travel limits trigger error codes. This guide walks through manual limit adjustment, common error-code troubleshooting, and calibration steps specific to the B1381’s belt-drive system.
What Are Limit Switches on the Chamberlain B1381, and Why Do They Need Adjustment?
Limit switches on the Chamberlain B1381 are electromechanical or magnetic sensors embedded in the opener’s rail assembly. They detect the door’s physical position during travel and cut power to the motor at the pre-set open and close limits. Over time, factors such as belt stretch, temperature shifts from 0°C to 40°C, or a slight cable fray can shift these limits. If the door hits the floor before the close limit is reached, the opener will reverse and display error code 1-4 (flashing up-down arrows) or code 4-2 (control board fault). Calibration is necessary to restore safe, full-door travel without unnecessary strain on springs or cables.
For a deeper understanding of how belt tension interacts with limit settings, see our Chamberlain B1381 Belt Drive Slippage: Causes and Fixes guide.
How Do I Know When My Chamberlain B1381 Limit Switches Need Adjustment?
Typical symptoms include:
- The door stops 15–30 cm above the floor and then reverses.
- The door opens only 60% of the way before stopping.
- Error code 1-4 or 4-2 flashes on the overhead console.
- The door slams into the rubber bottom seal with excessive force (limit too low).
- The door bounces back immediately after making contact with the floor.
These signs usually appear after replacing the belt, cable, or springs. Always verify the Chamberlain B1381 Spring Repair: Torsion vs Extension conditions first, as unbalanced spring tension can mimic limit-switch misadjustment.
Step-by-Step Procedure: How to Manually Adjust the Chamberlain B1381 Close Limit
Before starting, ensure the garage door is manually disengaged (pull the red emergency release cord) and the door can be lifted and lowered smoothly by hand. If it binds or is heavy, resolve the mechanical issue first.
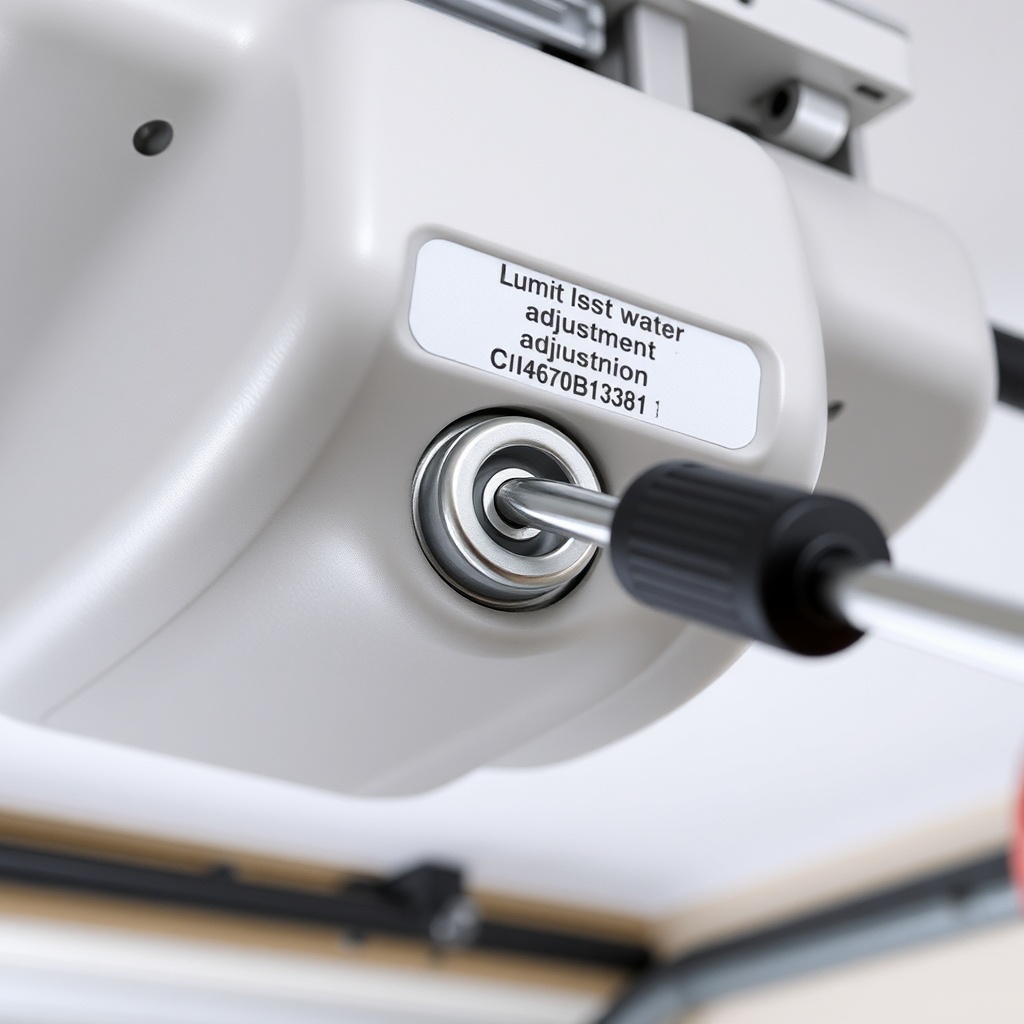
- Locate the adjustment screws. On the Chamberlain B1381’s rear panel (motor side), you’ll see two plastic screws labelled “OPEN LIMIT” (often with an upward arrow) and “CLOSE LIMIT” (with a downward arrow). They sit behind a small access hole; use a 3 mm flathead screwdriver.
- Reset the opener. Unplug the unit for 30 seconds to clear any transient error codes. Plug it back in.
- Check current settings. Press the wall control’s “UP” button. Note where the door stops. If it doesn’t open fully, the open limit is too low. Close the door using the wall control and note the distance from the floor.
- Adjust the close limit. Turn the CLOSE LIMIT screw clockwise in ⅛-turn increments to lower the limit (door stops closer to floor). Turn counter‑clockwise to raise it (door stops higher). After each turn, press the wall control to cycle the door.
- Set the open limit. Similarly, adjust the OPEN LIMIT screw. For optimal clearance, leave 5 mm between the top door edge and the header.
- Test safety reversal. Place a 4 cm block of wood under the door. Press “DOWN”. The door should reverse before hitting the block. This is a mandatory safety check—do not skip it.
If the door still won’t stay closed, inspect the safety sensor alignment. Misaligned sensors can prevent the door from closing, even when limits are correct. Our Chamberlain B1381 Ultrasonic Sensor Installation: Enhanced Safety Upgrade offers insights for upgrading sensor accuracy.
Error Codes 1-4 and 4-2: Which Limit Switch Adjustment Fixes Them?
| Error Code | Flashing Pattern | Indication | Adjustment Needed | Severity |
|---|---|---|---|---|
| 1-4 | Up arrow 1 flash, down arrow 4 flashes | Motor stalled or travel limit not reached | Close limit screw (often set too low); also check belt tension | Medium – door may not close |
| 4-2 | Both arrows 4 and 2 flashes | Control board communication fault; limit switch circuit open | Inspect limit switch wires for damage; may need new limit board | High – unit may not operate |
| 1-5 | Up 1 flash, down 5 flashes | Force limit exceeded (obstruction detected) | Not limit switch; adjust force settings (not covered here) | Medium |
| 4-3 | Up 4, down 3 flashes | Safety sensor misalignment | No limit adjustment; realign sensors | Low-medium |
For detailed diagnostics of all B1381 error codes, refer to the Chamberlain B1381 Error Code Analysis: Common Codes Decoded page, which includes a cross-reference table.
What Do Owners Say About the Chamberlain B1381 Limit Adjustment Process?
Many users note that after a cable replacement, the limit switches require fine-tuning. One owner said: “After following the CLOSE LIMIT adjustment procedure, my door now seals perfectly—no more gap at the bottom.” Another commented: “I had error code 1-4 and thought the motor was bad. Turning the close limit screw two clicks solved it.” The most frequent praise is the ease of access to adjustment screws compared to older models. A few users pointed out that the adjustment dials lack a positive click, so counting turns is essential—marking the starting position with a piece of tape helps.
If your door suffered a cable snap recently, see the Chamberlain B1381 Cable Replacement: Step-by-Step DIY Tutorial to avoid further limit drift.
How Do I Calibrate the Chamberlain B1381 Limit Switches Without a Smartphone App?
The B1381 does not rely on a smartphone app for limit settings; it uses manual screw adjustments. To perform a full calibration:
- Disconnect the power for 60 seconds.
- Set both limit screws to their midpoint positions (turn them fully clockwise until they stop, then turn them 5 full turns counter‑clockwise).
- Reconnect power and cycle the door using the wall control.
- Observe the open and close positions. Adjust each limit screw in ¼-turn increments.
- Once the door stops exactly 5 mm above the floor and sits flat at the top, run the safety reversal test again.
- If the door fails the test twice, recheck the force settings. The force adjustment dial is located near the limit screws and should be set to the midpoint (50 N).
For a broader comparison of serviceable models, our Best Garage Door Openers Review: Chamberlain vs LiftMaster vs Genie highlights which openers offer digital limit adjustment versus manual.
Frequently Asked Questions About Chamberlain B1381 Limit Switch Adjustment
1. How often should I check the limit switches on my B1381?
In normal use, check them every 12 months or after any repair involving the belt, cable, or springs. Seasonal temperature extremes can shift the limit by 2–3 mm.
2. Can I replace the limit switch assembly myself?
Yes. The limit switch board is a separate component (part number 81C060-1) costing around £45. Disconnect power, remove the motor cover, unplug the wiring harness, and snap the board out. Reassembly is straightforward.
3. Why does my B1381 door reverse immediately after hitting the floor?
This indicates the close limit is set too low—the door physically hits the ground before the limit switch triggers. Turn the CLOSE LIMIT screw counter‑clockwise by ¼ turn to raise the stopping point.
4. Is there a risk of damaging the opener during manual limit adjustment?
Only if you force the screws beyond their stop—this can strip the plastic gear. Always turn gently once resistance is felt. Over‑tightening can also crack the housing.
5. Do I need to reset the travel limits after a power failure?
No. The B1381’s limit switch settings are stored mechanically; power loss does not erase them. However, if the opener was unplugged for a repair, verify the settings are unchanged by cycling the door once.
6. What tools do I need for limit switch adjustment?
A standard 3 mm flathead screwdriver (small model) and a 4 cm wooden block for the safety test. No special digital tools are required.