Genie SilentMax 1200 Spring Torsion Replacement: DIY Step-by-Step Guide
Replacing a torsion spring on a Genie SilentMax 1200 is a critical maintenance task that restores balance to your garage door and ensures safe operation. While the opener itself is known for its quiet belt drive and reliable DC motor, the torsion spring system bears the weight of the door during every cycle. If you notice the door struggling to open, sagging, or making unusual noises, a spring replacement may be necessary. This guide covers the step-by-step process, safety precautions, and cost considerations for a DIY replacement in the UK, including all relevant costs in pounds sterling (£).
Why Does the Torsion Spring on My Genie SilentMax 1200 Need Replacing?
Torsion springs are under immense tension and typically last 7-10 years, depending on usage cycles. For a Genie SilentMax 1200 paired with a standard 7-foot door, the spring undergoes thousands of cycles annually. Signs of failure include a door that feels heavy to lift manually, gaps in the coils, rust, or the door dropping suddenly. When a spring breaks, the opener may struggle or stop working entirely, leading to potential damage to the gearbox or motor. According to Genie SilentMax 1200 Opener Drive Noise Diagnosis: Chain vs Belt, a broken spring can also mimic opener motor issues, so diagnosing the root cause is essential. Replacing the spring restores proper balance, reduces strain on the opener, and prevents further costly repairs.
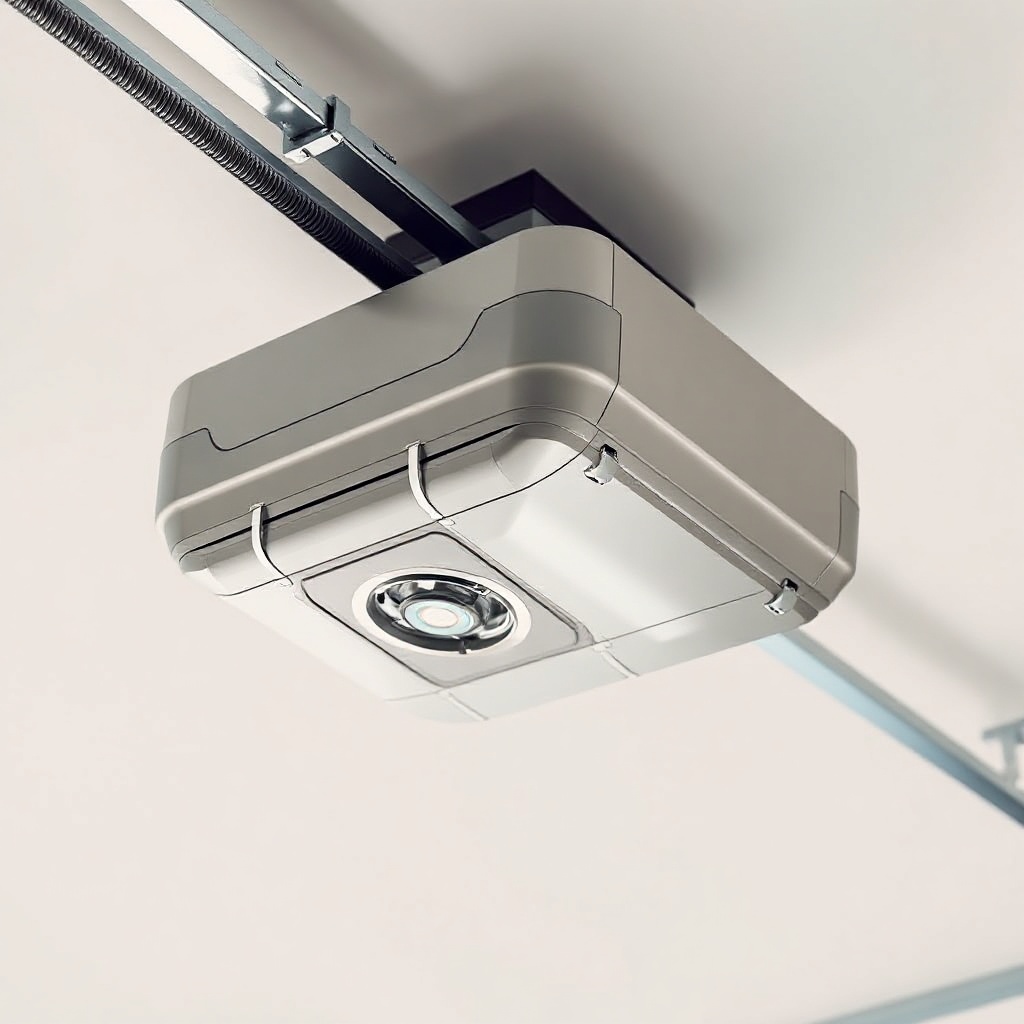
What Tools and Materials Are Needed for a Torsion Spring Replacement?
Before starting, gather the correct tools and replacement parts. In the UK, you can buy torsion springs from hardware stores or online specialists. Typical costs are listed below:
| Item | Description | Estimated Cost (£) |
|---|---|---|
| Torsion spring (pair) | Matched set for 7ft door, 0.225 wire size, 2-inch inside diameter | £45 – £75 |
| Winding bars | Two 18-inch steel bars, 5/16 inch diameter | £12 – £25 |
| Safety glasses | Impact-resistant polycarbonate | £5 – £10 |
| Gloves | Cut-resistant mechanics gloves | £8 – £15 |
| Socket set | Metric sockets with ratchet (10mm, 13mm, 15mm) | £15 – £30 |
| Adjustable spanner | 8-inch crescent wrench | £6 – £12 |
| Door balance scale (optional) | For precise spring tension adjustment | £30 – £60 |
| Total estimated cost | Excluding opener | £91 – £227 |
Always purchase matched springs from a reputable supplier. Measure your existing spring’s wire diameter, length, and inside diameter. For a Genie SilentMax 1200, the standard torsion spring is often 0.225 x 2-inch x 27-inch. If you are unsure, check with a garage door professional.
How Do I Safely Release Tension from the Old Torsion Spring?
Safety is paramount when working with torsion springs. The spring stores enough energy to cause serious injury if released improperly. Follow these steps to safely release tension:
- Disconnect the opener: Unplug the Genie SilentMax 1200 from the power outlet. Pull the emergency release cord to disengage the door from the opener. The door should be in the closed position.
- Clamp the door: Use locking pliers or a C-clamp on the door tracks just above the bottom roller to prevent the door from accidentally rising.
- Locate the winding cone: Identify the winding cone on the left end of the torsion shaft. The spring is on the right side (as viewed from inside the garage).
- Insert winding bars: Insert one winding bar into a hole in the winding cone. Hold it firmly. Insert the second bar into the next hole (at 90 degrees).
- Release tension gradually: Slowly rotate the winding bars downward to release tension. Keep the bars perpendicular to the door. Do not let the bars slip. When all tension is gone, the spring will be loose. Remove the bars carefully.
If the spring is broken, you may not need to release tension—it will already be slack. Check the other spring if you have a dual-spring system.
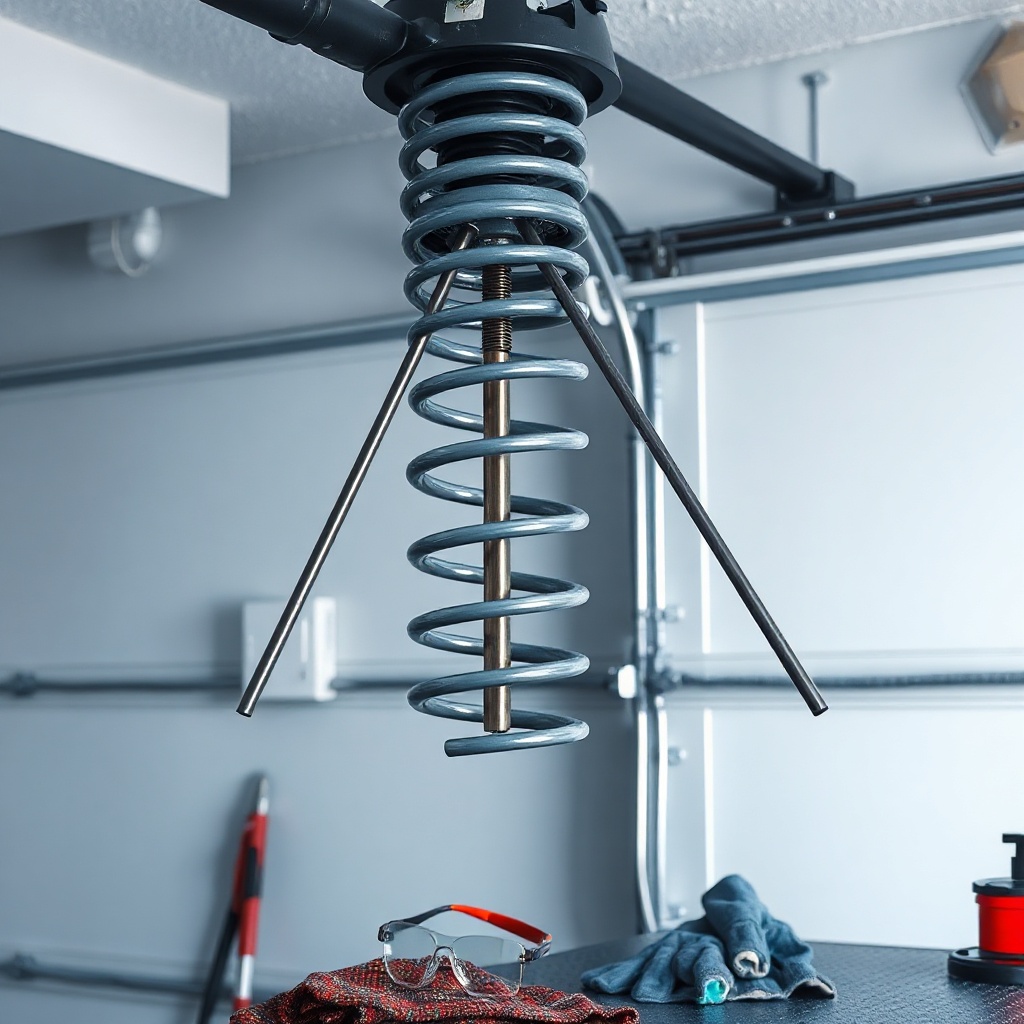
What Are the Steps to Remove the Old Spring and Install the New One?
With the tension released, you can remove the old spring. First, remove the center bracket bolts that hold the torsion shaft in place using a socket set. Slide the old spring off the shaft. If the shaft is rusty, clean it with a wire brush and apply a light layer of lubricant (e.g., silicone spray). Install the new spring onto the shaft, ensuring the winding cone is on the correct side (left for standard opening). Reattach the center bracket and tighten the bolts to manufacturer torque specs (typically 20-25 ft-lb). For dual-spring systems, repeat for the second spring. After installation, ensure the spring is centred and the cones are aligned with the cable drums on each end.
For detailed cable replacement instructions, see Genie SilentMax 1200 Spring and Cable Replacement: Step-by-Step Guide. Cables often wear at the same rate as springs, so inspect and replace them if frayed. The new spring should be attached to the cable drum using the same hole pattern as the old spring.
How Do I Wind the New Torsion Spring Properly?
Winding a torsion spring requires precision. Over-winding can cause door imbalance or spring breakage, while under-winding leads to door sagging. Follow these steps:
- Determine the number of turns: For a standard 7-foot door (84 inches), the typical number of quarter-turns is 7.5 (i.e., 30 quarter-turns). For a 7.5-foot door, use 8 turns. Check the spring manufacturer’s specifications with your door height and weight.
- Insert winding bars: Place one bar into the winding cone at the 12 o’clock position. Hold it firmly. Insert the second bar into the next hole at 90 degrees.
- Wind the spring: Rotate the bars upward in a clockwise direction (right-handed spring) or counterclockwise (left-handed spring). Do one quarter-turn at a time. For 7.5 turns, repeat 30 times. Keep the bars perpendicular to the door for safety.
- Secure the set screws: After each quarter-turn, tighten the set screws on the winding cone to prevent slippage. Repeat until the required number of turns is reached.
- Test balance: Reconnect the door to the opener manually. Lift the door halfway—it should stay in place. If it falls or rises, adjust tension by adding or removing quarter-turns.
Never leave winding bars in the cone unattended. After winding, confirm that both springs are wound equally. For a left-handed spring, winding direction is opposite. If you have a single spring, the number of turns may be higher—check the manual.
How Do I Reconnect the Opener and Test the System?
After winding, remove the door clamps. Reconnect the Genie SilentMax 1200 opener by pulling the emergency release handle and manually moving the door to the open position, then re-engaging the carriage. Plug the opener back in. Use the wall button or remote to test open and close cycles. Listen for grinding, squeaking, or popping sounds. If the door opens smoothly and the opener runs quietly, the replacement is successful.
If the door reverses without hitting an obstruction, you may need to adjust the force settings. Refer to Genie SilentMax 1200 Limit Switch Adjustment: Step-by-Step Calibration Guide for precise limit configuration. Also check the safety sensors; if misaligned, the door may refuse to close. Calibrating these is covered in Genie SilentMax 1200 Safety Sensor Replacement: Step-by-Step DIY Guide.
For noise complaints, a weak spring can cause the opener to strain, producing belt or chain vibration. See Genie SilentMax 1200 Opener Drive Noise Diagnosis: Chain vs Belt to differentiate between spring and motor issues.
What Owners Say
Homeowners across the UK have shared mixed experiences with DIY torsion spring replacement on the Genie SilentMax 1200. Many praise the quiet operation after a fresh spring installation, noting a significant reduction in opener strain. One owner from Manchester reported saving £150 by replacing springs themselves, though they emphasised the importance of using proper winding bars. Another in Edinburgh warned against skipping the balance test, as an under-wound spring caused the door to slam shut. Some users noted that the opener’s sensitivity settings needed adjustment after spring replacement, which was easily done via the limit switch calibration. Overall, owners recommend watching multiple tutorials and having a partner assist with lifting the door during setup.
Frequently Asked Questions
- Q: Can I replace only one spring if the other is intact?
A: It is recommended to replace both springs as a set to ensure even tension and balanced operation. Springs wear at similar rates, and replacing only one can cause door imbalance. - Q: What is the typical cost for a professional torsion spring replacement?
A: In the UK, professional replacement ranges from £120 to £250 for a dual-spring system, including parts and labour. DIY costs are around £90-£230 for tools and springs. - Q: How do I know if my Genie SilentMax 1200’s spring is broken?
A: Signs include a door that won’t open or close, a visible gap in the spring coils, loud snapping sounds during operation, or the opener running but the door not moving. - Q: Is it safe to wind a torsion spring without experience?
A: Torsion springs are under extreme tension and can cause serious injury. If you are not confident, hire a professional. Use certified winding bars and safety gear at all times. - Q: How often should I lubricate the torsion spring after replacement?
A: Lubricate the spring and bearings every 6 months with silicone spray or white lithium grease. Avoid WD-40 as it attracts dust. - Q: Can a weak spring affect the Genie SilentMax 1200’s WiFi connectivity?
A: No, spring tension affects mechanical operation, not electronics. However, if the opener jams due to spring failure, it may stop responding to WiFi commands. For WiFi issues, see Genie SilentMax 1200 WiFi Setup Troubleshooting: Step-by-Step Guide.